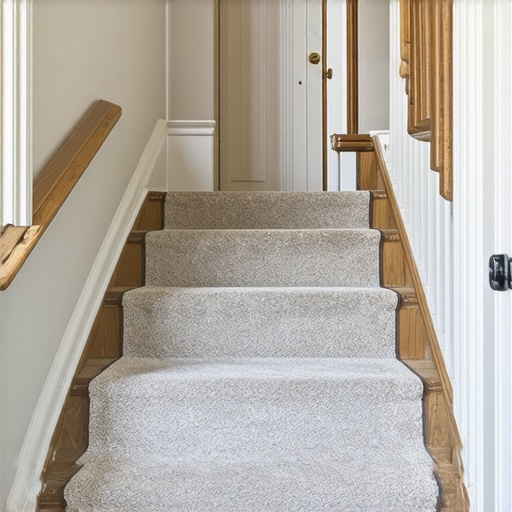
One morning, I was rushing down the stairs, and suddenly, I tripped over a stubborn bulge in the carpet, causing me to stumble and almost face-plant. It wasn’t just a minor bump; it was a glaring flaw that made me realize something needed to change. That moment was a lightbulb—staircase carpet bulges aren’t just an eyesore but a safety hazard that can catch you off guard when you least expect it.
Why You Can’t Ignore that Carpet Bulge Any Longer
I’ve learned the hard way that neglecting these carpet bulges can lead to bigger problems—damaged flooring, tripping hazards, and a loss of that polished look you want for your home. Luckily, after some trial and error, I discovered practical fixes that restore both safety and style, even without tearing everything out. These fixes are time-tested solutions I wish I knew sooner, especially as demand for sleek, seamless flooring and perfect staircases continues to rise in 2026, with many homeowners aiming for durability and aesthetic appeal.
Did you know that according to the Home Improvement Research Institute, improper carpet installation is among the top reasons flooring fails prematurely? That means many of us are unknowingly contributing to these issues right from the start. The good news? Small, effective adjustments can make your staircases safer and look incredible—no extensive renovations needed.
Is It Really Worth Fixing Carpet Bulges on Stairs?
Initially, I thought these bulges were just cosmetic annoyances, not worth my time. But once I experienced how a simple fix could prevent accidents and make my home look professionally finished, I was sold. Trust me, investing a bit of effort now saves you from bigger headaches later. Ready to learn how to iron out those pesky bulges and restore your staircase’s sleek profile?
Let’s dive into the four staple-pattern fixes that truly work for tackling these stubborn carpet issues—because your safety, stairs, and sanity deserve it.
Tighten the Carpet with Power Stretching
The most effective way I found to eliminate bulges is using a power stretcher. I rented a professional-grade stretcher from a tool rental store—think of it as a giant hairbrush designed for carpets—then carefully anchored it at the base of the stairs. As I pulled, I worked my way up alongside the stair nosing, stretching the carpet tight and removing all slack. The key is to work slowly and evenly to avoid creating new wrinkles elsewhere. This method ensures a smooth surface that looks professional and is safe underfoot. For detailed tips, check out carpet installation secrets.While many homeowners focus on the visible aspects of flooring, baseboards, and showers, there are lurking nuances that can make or break your project’s success. Contrary to popular belief, a flawless finish doesn’t solely depend on choosing high-quality materials; it hinges on understanding intricate installation details that professionals master through experience. For instance, common myths like using drywall-level adhesive for bathroom tiles can lead to long-term issues such as mold and cracking, as expert waterproofing and sealant techniques are often overlooked. An advanced mistake many make is assuming that squeezing grout tightly will prevent leaks—when in reality, proper waterproofing layers and precise curing times are critical, as highlighted in a recent study by the National Tile Contractors Association. Keep in mind, shortcuts during installation may seem harmless but can cause costly repairs down the line. Have you ever fallen into this trap? Let me know in the comments.
What’s the Impact of Subfloor Preparation on Long-Term Durability?
Many think that subfloor preparation is a minor step, but skipping or rushing this phase can lead to warping, squeaking, or even tile delamination. Advanced installers recommend detailed moisture tests and using quality underlayment—elements often underestimated by DIY enthusiasts. Proper subfloor prep creates a stable foundation that ensures longevity and minimizes maintenance. Additionally, understanding the precise requirements for different flooring types, such as vinyl planks versus ceramic tiles, can save you from failures like buckling or water damage, which are often caused by improper installation techniques. For expert insights on achieving a durable, flawless finish, check out this comprehensive guide. Remember, attention to detail during the initial phase pays dividends over the lifespan of your floors and walls.
Tools That Make Flooring Maintenance a Breeze
Investing in the right equipment is crucial for preserving your installations. I personally swear by a high-quality cordless oscillating multitool, like the Dremel Multi-Max, because it offers precision when cleaning tight corners around baseboards or grout lines. For deep cleaning of textured carpets, I recommend a power brush attachment for your vacuum, which effectively lifts embedded dirt without damaging fibers. A good moisture meter is indispensable when evaluating subfloor conditions before any refinishing, helping prevent future issues like warping or mold.
Predicting Future Trends in Home Maintenance
Looking ahead, I see smart maintenance becoming standard — sensors integrated into floors and fixtures that alert you to leaks, humidity, or wear in real-time. These innovations will streamline upkeep, reduce costly repairs, and extend the lifespan of your home investments. Keep an eye on developments in app-controlled waterproofing systems and AI-driven home monitoring to stay ahead of potential issues.
How Do I Maintain My Flooring and Fixtures Over Time?
Routine inspection and proactive care are key. Regularly check for signs of wear, loose baseboards, or grout deterioration, and address them promptly. Using proper cleaning methods, like damp mops instead of harsh chemicals, helps preserve finishing layers. For example, sealing grout lines every couple of years prevents staining and cracking, ensuring a pristine look. When dealing with showers, consistent waterproofing and resealing of tile joints prevent leaks that can lead to costly water damage. Consult detailed guides like this comprehensive guide for expert tips on long-term maintenance. Remember, a little scheduled upkeep now can save significant time and money later. Don’t forget to try out a professional-grade scribing tool when installing new baseboards over uneven walls — it makes all the difference in achieving a flawless finish and avoiding gaps or cracks.
Lessons from the Trenches: What I Didn’t Expect About Flooring Fixes
- Small details matter more than I thought: Proper subfloor prep and precise stretching can prevent bulges and gaps, saving tons of trouble later. It’s the unseen work that makes all the difference.
- Patience outperforms haste: Rushing through installations often leads to mistakes like uneven seams or gaps. Taking my time with tools like a power stretcher or scribing tools has paid dividends in quality and durability.
- DIY is empowering, but respect the craft: Watching tutorials and practicing makes me more confident, but knowing when to call a pro for tricky steps ensures flawless results every time.
- The real secret isn’t just tools—it’s understanding materials: Knowing how different flooring types respond to temperature and moisture helps me avoid future issues like buckling or warping.
- Learning from failures saves me money: Every mistake taught me how to spot potential problems early, turning accidents into lessons for next time.
Tools and Resources That Elevate My Home Projects
- Comprehensive flooring guide: The cornerstone for understanding long-term durability and proper techniques.
- Carpet installation secrets: Trusted for flawless seams and tackling stubborn bulges effectively.
- Shower waterproofing tips: Essential for preventing leaks that can compromise your flooring and cause costly repairs.
- Baseboard trends: Inspires modern styles that elevate your space and hide imperfections effortlessly.
Your Next Step Toward a Home You’ll Love
Embracing these insights and tools transforms home improvement from a daunting task into an enjoyable journey. The key is to stay curious, patient, and proactive—your perfect flooring and trim details await. Don’t shy away from trying new techniques or upgrading your toolkit; each effort brings you closer to a flawless finish and a safer, more beautiful space. Remember, every small fix contributes to your home’s long-term charm and value. Ready to tackle that bulging carpet or uneven baseboard? What’s the first project you’re excited to perfect? Share your plans below and let’s inspire each other to keep improving!
,

![Fix Wobbly Shower Handles: 3 Behind-the-Wall Bracing Hacks [2026]](https://tilecraftsmens.com/wp-content/uploads/2026/03/Fix-Wobbly-Shower-Handles-3-Behind-the-Wall-Bracing-Hacks-2026-150x150.jpeg)