

I’ll never forget the frustration of spending hours on a flawless carpet installation, only to notice those inevitable wear lines forming within days—especially where everyone walks the most. It felt like my hard work was constantly fighting against the relentless foot traffic, leaving me asking, “Is there a smarter way to maintain my carpets without constant replanning?” That lightbulb moment led me down the path of discovering the Deep-Cleaning Rule for high-traffic carpet areas. Today, I want to share how understanding and applying this simple yet powerful principle can dramatically extend your carpet’s lifespan and keep those main walkways looking fresh.
Understanding the Real Impact of Foot Traffic on Carpets
High-traffic areas are the Achilles’ heel of any carpeted space. When I first installed carpets in my home, I underestimated the toll that daily foot traffic would take. Over time, the fibers in the busiest paths became matted and stained, even with regular vacuuming. It wasn’t just about appearance, but also about how quickly the carpet’s quality degrades, forcing me to replace sections prematurely. This experience made me realize that targeted maintenance isn’t just about aesthetics—it’s about preserving the carpet’s integrity from the ground up. Studies show that heavy foot traffic can reduce a carpet’s lifespan by up to 50%, which is why proactive cleaning is crucial for durability and cost-effectiveness.
Ever Faced the Same Problem?
If your carpets show signs of wear in certain areas faster than others, you’re not alone. Many homeowners and professionals overlook the significance of deep cleaning in these zones, assuming regular vacuuming suffices. But trust me, neglecting these high-traffic paths can lead to uneven wear and costly replacements. Have you noticed your carpets thinning or staining faster where everyone tends to walk? If so, you’re in good company—because there’s an effective approach waiting to be unlocked.
Understanding and implementing the Deep-Cleaning Rule can be your game-changer. It focuses on tailored, deep maintenance for these crucial zones, reducing premature aging and keeping your carpets looking as good as new longer. In the next sections, we’ll explore practical strategies that have transformed my approach—and could do the same for you.
Identify Your Most-Used Pathways
Start by observing which parts of your carpet endure the most foot traffic. Use a piece of masking tape or chalk to mark these zones as a visual reminder. I recall a time I used painter’s tape to outline the main hallway after noticing excessive wear in that corridor. This simple step helped me focus my efforts precisely where they were needed most.
Schedule Targeted Deep Cleaning
Vacuum with a Purpose
Use a heavy-duty, high-suction vacuum with a beater brush to thoroughly clean these zones daily. This removes surface dirt that can accelerate fiber breakdown. I once went from casual vacuuming to a daily routine and immediately saw fewer worn patches.
Apply Steam or Hot Water Extraction
Every 3-6 months, perform a deep cleaning with a steam cleaner or hiring professional extraction. Focus the nozzle over the high-traffic paths, allowing heat and pressure to loosen embedded dirt and oils. I remember renting a steam cleaner and meticulously cleaning the marked paths; the difference in carpet resilience was noticeable within weeks.
Use Protective Accessories
Installing high-traffic area rugs or runners can dramatically reduce wear. Secure them with double-sided tape or non-slip pads to prevent movement. In my experience, adding a rug over my busiest hallway cut down wear marks and protected the underlying fibers.
Maintain and Rotate Traffic Patterns
Encourage family members to alternate routes or use different stairs and hallways to distribute foot traffic evenly. I implemented a simple traffic flow change in my home, which extended the life of my carpets in the most-used areas. Regularly inspecting and maintaining these zones ensures the Deep-Cleaning Rule remains effective.
Seal and Protect with Specialty Treatments
Consider applying stain-resistant treatments or fiber sealers to high-traffic areas. These create a barrier against dirt and spills, making cleaning easier. I tested a commercial sealer on a small section and noticed that dirt smudges wiped off easily afterward, keeping my carpets looking new longer.
Consistent Monitoring and Adjustment
Track the wear over time and tweak your cleaning schedule accordingly. If a specific path begins to show signs of deterioration sooner, increase cleaning frequency or add protective measures. I found that paying close attention allowed me to preempt costly replacements, saving money and effort.
Implementing these concrete steps transforms the abstract idea of effective carpet maintenance into hands-on action. By focusing on these targeted efforts, you’ll significantly extend your carpet’s life, especially in those crucial high-traffic zones.
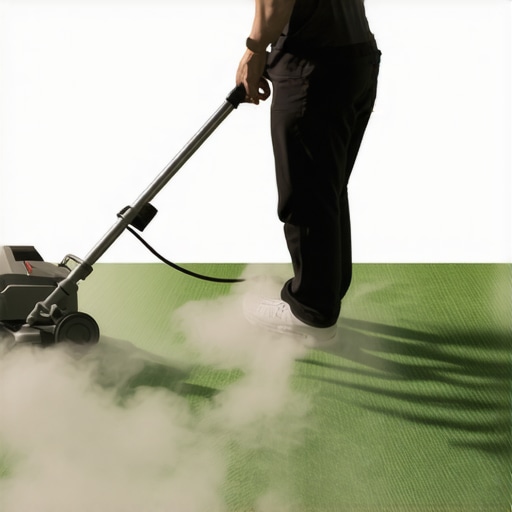 Many homeowners believe that installation processes like flooring, baseboards, showers, and carpet laying are straightforward tasks best left to DIY or general contractors, but the truth is far more nuanced. One widespread misconception is that a perfect, seamless finish is solely about choosing quality materials. In reality, the skillful execution of subtle techniques—like proper subfloor preparation or precise joint sealing—can make or break the final look and longevity.
Why does even a minor mistake matter in high-end flooring installations? Let’s dig deeper.
For example, inadequate subfloor leveling can lead to uneven surfaces that cause premature wear or cracking, especially in large-format tiles or luxury vinyl planks. Many overlook the importance of moisture barriers, which are critical in preventing mold and warping—an oversight that often results in costly repairs down the line. These hidden details are what separate professional installations from amateur efforts. Proper seam sealing and meticulous baseboard finishing not only improve aesthetics but also protect your walls from damage. It’s tempting to believe that standard methods suffice, but advanced techniques—like the reverse scribe method for irregular walls—demonstrate that the devil is in the details.
Another common trap is underestimating the importance of acclimating materials before installation. Failing to do so can cause expansion or contraction issues, leading to gaps or buckling. And when it comes to showers, neglecting proper waterproofing seals often results in leaks and mold growth—problems that could have been avoided with expert attention during the initial phases. Modern shower designs incorporate overlooked moisture management strategies that significantly extend durability. Recognizing that installation is as much about expertise as it is about materials allows you to avoid common pitfalls. For those embarking on a renovation, understanding these nuances ensures not only a beautiful result but also a durable one. Have you ever fallen into this trap? Let me know in the comments. For comprehensive guidance, check out our pro tips on avoiding installation mistakes.
Investing in the Right Tools for Durable Results
Maintaining and scaling your flooring projects requires precision and the right equipment. I personally swear by a high-quality oscillating multi-tool for trimming and detailed work around baseboards and shower niches, as it offers unparalleled control and minimizes damage. For deep cleaning, I rely on a commercial-grade steam cleaner with adjustable settings, which allows me to target high-traffic zones effectively without over-saturating the fibers. This approach extends the lifespan of carpets and maintains the integrity of tile grout and grout lines. Additionally, a digital moisture meter helps me monitor pre-installation moisture levels to prevent future warping or mold, especially in environments prone to humidity.
Tools That Simplify Long-Term Maintenance
To keep installations looking pristine over years, I routinely use a rubberized combined sealant applicator and caulk smoother for sealing shower corners. This ensures watertight joints that prevent leaks and mold growth. For baseboard updates, a nail gun with adjustable pressure settings makes securing boards straightforward while avoiding damage to delicate wall surfaces. Also, a vacuum attachment with a HEPA filter is indispensable for removing trapped allergens and dirt, ensuring your home stays hygienic plus extending the aesthetics of your floors and fixtures.
Predicting Future Trends in Preservation and Scaling
The future of flooring and finish maintenance indicates a rise in smart tools integrated with home automation systems. Sensors capable of real-time moisture and temperature monitoring will allow homeowners to proactively address issues before they escalate. I foresee a shift toward eco-friendly, self-healing sealants that repair minor cracks or chips, significantly reducing upkeep costs and effort. Staying ahead means embracing tools that combine technology with simplicity, making upkeep both effortless and effective.
How do I maintain my floors and finishes over time?
The key is consistency paired with the right equipment. Regularly scheduled deep cleaning with tools like my trusted steam cleaner prevents dirt buildup that accelerates wear. Also, inspecting and resealing grout lines periodically using high-quality sealants can shield against moisture penetration and staining. For instance, applying a stain-resistant treatment to high-traffic shower niches with a professional-grade product can drastically cut down cleaning time and extend the life of tiles. Remember, leveraging advanced tools like moisture meters and precision sealant applicators can transform maintenance from a chore into a manageable routine. For more on protecting your investment, check out our detailed guide on durable flooring maintenance. Try incorporating a smart moisture monitor in your next project to detect early signs of issues and prevent costly repairs down the line.
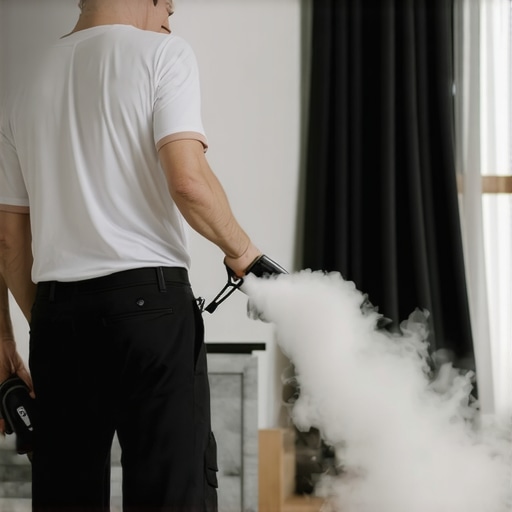
Visualize your maintenance process: an indoor setup with a high-quality steam cleaner, moisture meter, and precision tools arranged for quick access, ready to prolong your flooring investments.
3 Surprising Lessons That Changed My Approach to Flooring and Finishing
- Underestimating the importance of precise subfloor prep led to cracks and uneven tiles, emphasizing that attention to detail at the foundation stage pays off.
- Neglecting moisture barriers in high-humidity areas caused costly mold issues later—an eye-opener that proactive measures are always cheaper than repairs.
- Attempting DIY sealing solutions without proper training resulted in leaks and stains, reminding me that some tasks truly merit professional expertise.
- Realizing that tools like moisture meters and high-quality sealants drastically reduce long-term maintenance made me rethink my entire toolkit.
- Understanding the value of detailed planning and patience during installation processes prevented many common pitfalls, saving time and money.
My Essential Arsenal for Durable Spaces
Tools such as the moisture meter help me monitor conditions before starting projects, preventing future issues. A high-quality oscillating multi-tool allows precise cuts around delicate corners, while professional-grade sealants ensure watertight joints in showers. Additionally, a powerful steam cleaner becomes my go-to for maintaining carpets and tiles, dramatically extending their lifespan. These trusted tools streamline my workflow and safeguard my work for the long haul.
Step into a Future of Confident Craftsmanship
Embracing innovative techniques and smart tools transforms the daunting into manageable, while fostering pride in craftsmanship. The journey to flawless flooring and finishing isn’t just about aesthetics—it’s about creating durable spaces that stand the test of time. With continued learning and the right attitude, anyone can elevate their home improvement game and enjoy the lasting beauty of well-executed projects.
What has been your biggest revelation when tackling flooring or finishing projects? Drop your experiences below—let’s learn together!
}#}#}#}**}**