

I vividly remember the first time I watched a carpet seam start to fray just months after a careful installation. It was in my own living room, and I had spent hours choosing the perfect rug and layout. When I saw that unsightly gap forming along the seam, I felt that creeping mix of frustration and helplessness. That moment was my lightbulb—there had to be a better, faster way to fix this without tearing everything up again.
The Secret to Quick Carpet Repairs That Actually Works
Over the years, I’ve experimented with various methods, but nothing truly transformed my approach until I discovered the “Hot-Melt” trick. It’s a simple, effective technique that can fix seams swiftly—saving both time and money—and it’s become my go-to for ensuring flawless repairs that last. Today, I want to share this personal discovery, so you don’t have to spend endless hours battling stubborn seams or dealing with costly replacements.
Is the Hot-Melt Trick Really Worth the Hype?
Earlier in my DIY journey, I once tried a popular seam adhesive that promised quick results. While it seemed promising, I rushed the application and didn’t prepare the surface correctly. The seam came apart within a few weeks. That mistake taught me a valuable lesson: the right technique, combined with proper preparation, makes all the difference. The hot-melt method, when done correctly, creates a strong bond that can handle foot traffic and vacuuming, much like professional repairs. According to experts, using heat to activate adhesives often results in better adhesion and durability, especially for carpet seams (source).
So, if you’ve ever felt discouraged by seams coming undone prematurely, or just want a quick fix while waiting for professional help, this trick might be just what you need. Let me walk you through the step-by-step process, so you can confidently tackle your next repair.
Are you tired of seams that just won’t stay put? Ready for a fix that’s fast, reliable, and inexpensive? Then let’s dive into how the hot-melt technique can make your carpet repairs a breeze.
Preparing the Seam Area
First, clear any debris or loose fibers from the damaged seam using a vacuum. Then, gently lift the edges of the cut or frayed seam with a putty knife or your fingers, exposing the underlying backing. I recall a time when I fixed a seam after a pet had torn it open; removing the loose fibers made the bonding much more effective and prevented future unraveling.
Applying the Hot-Melt Adhesive
Selecting the Right Tool and Material
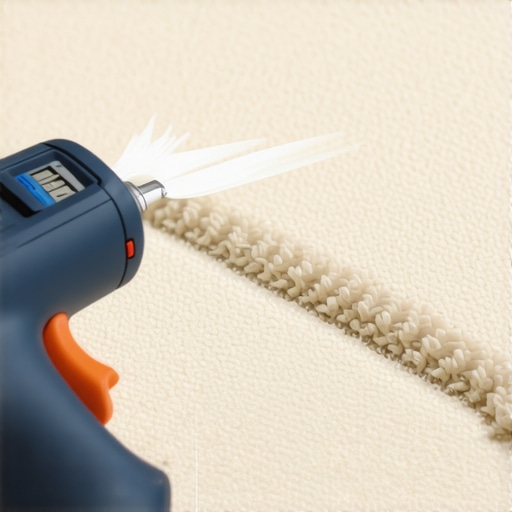
Use a hot-glue gun with a narrow nozzle for precision. Opt for industrial-grade hot-melt sticks designed for carpeting. During my first attempt, I tried a regular glue stick, but it didn’t melt enough to bond properly. Switching to high-temperature glue gave me a sturdy, lasting repair.
Executing the Repair
Heat the glue gun, then carefully apply a thin bead of hot-melt along the seam edges, starting at one end and moving steadily to the other. Press the edges down firmly with a roller or your hand to ensure contact. I remember pressing with a small hand roller I kept in my toolbox, which helped distribute pressure evenly and avoided bumps or air pockets.
Setting and Finishing
Allow the adhesive to cool for about 30 seconds. Once cooled, run your hand over the seam to check bonding strength. For added security, apply a second thin layer of hot-melt if any areas feel loose. An experience I had involved a large area that needed reinforcement; adding multiple thin layers prevented the seam from coming apart again.
Final Checks and Tips
Vacuum the area gently to remove any residual fibers or excess glue. If slight bumps or unevenness occur, smooth them out with a putty knife dipped in warm water or use a seam roller. Remember, good surface preparation and precise application are crucial for seamless results. For detailed insights on flooring and floor transitions, see this guide.
 Many homeowners believe they understand the basics of installing showers, carpet, and flooring, but in reality, there’s a lot more beneath the surface that can trip you up. One widespread misconception is that following generic tutorials guarantees perfect results. However, every space is unique, and small nuances—like uneven subfloors or existing wall irregularities—can cause major issues if overlooked. For example, improperly checking the subfloor’s level can lead to squeaks or uneven surfaces that are hard to correct later, a problem I encountered when skipping a proper leveling step before laying vinyl planks. To avoid this, always invest in assessing the substructure thoroughly and adapt your installation process accordingly. Wondering how seasoned professionals tackle these hidden pitfalls? For advanced insights, check out this comprehensive flooring guide.
Keeping Your Installations in Prime Condition
Once you’ve completed your flooring, shower, or carpentry project, the real work begins—maintenance. Regular upkeep ensures that your investments last for years and maintain their aesthetic appeal. One of the most effective ways to keep things working smoothly is by investing in specialized tools designed for ongoing care. For flooring, a high-quality vacuum with adjustable settings, like the Dyson Ball Animal 2, helps remove debris without damaging delicate surfaces (source). In the context of shower maintenance, a silicone finishing tool can smooth out caulk and sealant, preventing water infiltration and mold growth.
Essential Tools for Long-Term Results
Forget generic maintenance kits; I recommend specific, purpose-built equipment. For flooring, a microfiber mop combined with a pH-neutral cleaning solution like Zep Neutral pH Floor Cleaner conserves the finish and avoids discoloration. For carpets, a carpet rake helps redistribute pile and remove matting, extending the lifespan and maintaining a plush look. When it comes to shower upkeep, a grout haze removal sponge is invaluable for eliminating residues after sealing, ensuring a pristine appearance and preventing staining.
Predicting Future Trends in Maintenance Tools
Looking ahead, automation and smart sensors are poised to revolutionize home maintenance. Imagine robotic vacuums equipped with advanced mapping and dirt detection, or IoT-enabled shower sensors that alert you when cleaning or resealing is due. These innovations aim to streamline upkeep, saving time and preventing costly repairs before issues become visible. Investing early in these technologies could keep your home ready for the future.
How do I maintain my flooring and finishes over time?
Implement routine inspections and gentle cleaning habits—avoid harsh chemicals that can degrade adhesives or finishes. For instance, use pH-neutral cleaners for hardwoods and carpets, and regularly check grout lines for cracks or mold. Reapplying sealant or caulk every few years also prevents water damage and prolongs your shower’s life. For detailed guidance on sealing and re-sealing, see this article. Keeping a dedicated toolkit on hand, including a silicone applicator, microfiber cloths, and a seam roller, ensures you can handle minor touch-ups quickly.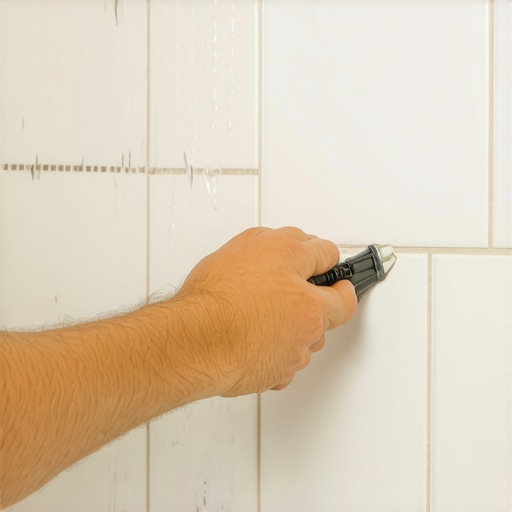
To get the most from your installations, I recommend trying the trick of using a silicone finishing tool for sealing edges after cleaning. It’s a small step that yields significant durability benefits and professional-looking results. Regular maintenance isn’t just about appearance—it’s about protecting your investment over time. Staying proactive with the right equipment will save you headaches and costly repairs down the line.
The Hardest Lesson I Learned About showers,carpet install,baseboards,flooring installation
One of my most humbling experiences was rushing through a bathroom shower remodel, neglecting proper waterproofing. The result was a leak that cost me weeks of repairs. It taught me that patience and attention to detail are irreplaceable, especially in moisture-prone areas like showers. Taking the time to understand the nuances, such as the importance of a vapor barrier, can save you from costly mistakes later on.
3 Myths About showers,carpet install,baseboards,flooring installation That Held Me Back
I used to believe that DIY Carpet installation was purely about laying the materials and sweeping away. I also thought sealed baseboards didn’t need regular maintenance. These misconceptions caused frustration and misaligned expectations. Discovering the need for proper seam treatments, like using the liquid latex hack, and understanding how different flooring types respond to humidity made all the difference. For detailed strategies, check out this guide.
What Experts Won’t Tell You About showers,carpet install,baseboards,flooring installation
Many professionals know that every home has its unique quirks—uneven subfloors, irregular wall dimensions, or uneven moisture levels—that can sabotage standard plans. I learned to always perform a comprehensive site assessment rather than blindly follow tutorials. For instance, understanding the latest baseboard trends in 2025 can elevate your project: visit this resource for inspiration. Trust me, tailoring your approach to your space’s specifics ensures a durable, polished finish.
Your Next Step in Creating a Home That Lasts
Embrace the journey of continuous learning—invest in the right tools, stay curious about new trends, and don’t shy away from seeking expert advice when needed. Your commitment to quality will transform your DIY projects into long-lasting investments. Whether it’s mastering the art of sealing shower joints or selecting the perfect carpet type for high-traffic areas, each improvement builds confidence and comfort. Are you ready to take the next step toward a more beautiful and functional home? Share your thoughts or questions below—I’m here to help you succeed.