

It was a typical Saturday morning when I noticed it — a faint, damp smell lingering in my bathroom. I looked closer and realized that behind my shower curb, there was a telltale sign of trouble: dark spots and a strange softness when I pressed on the tile. My heart sank. I had just finished renovating the shower, and now I was staring at potential nightmare material. That moment was a lightbulb for me — I had overlooked a crucial step that allows moisture to sneak in and cause rot behind the tile.
The Hidden Danger Lurking Behind Your Shower Tile
If you’re like me, you probably never gave much thought to what’s happening behind that decorative tile or the shower curb itself. But trust me — if moisture gets trapped behind those tiles, it doesn’t take long for rot, mold, and structural damage to set in. The frustrating part? It’s often caused by a simple installation oversight, and once rot appears, the repairs can be extensive and costly. My aim here is to share what I’ve learned from my own struggles and help you prevent the same fate. Today, I’ll walk you through the common mistakes that lead to behind-the-tile rot and how to prevent them with practical, real-world tips. If you’ve ever faced the smell of mold or seen the subtle bulge of rotting behind the grout, then buckle up. We’re going to unravel this sneaky problem and get your bathroom functioning safely again.
Could This Be Worth the Extra Effort? Don’t Brush It Off
I’ll admit it — early on, I thought I could just seal everything and hope for the best. That was a mistake. Proper waterproofing isn’t just about slapping on some tile and grout; it’s about creating a barrier that actively blocks moisture from penetrating behind your tiles. Ignoring the importance of a quality waterproof membrane is a mistake many make, myself included. According to experts in bathroom renovation, proper waterproofing can extend the life of your shower substantially — sometimes by decades — and prevent those unexpected, costly repairs that always seem to come at the worst time. I learned this the hard way, and I want to save you from the same pitfalls. Upgrading your waterproofing details might seem tedious, but it’s well worth the effort.
So, what exactly causes this rot? It boils down to a few common issues, which we’ll explore next, and how to ensure your shower’s foundation stays dry and durable. Ready to dive into the practical steps that will keep your bathroom healthy and looking like new? Let’s get started.
Prep the Surface for Waterproofing
Begin by thoroughly cleaning the shower base and walls to remove dust, grease, and old mortar. Use a stiff brush and a degreasing cleaner, ensuring all dirt is removed. This base must be smooth and free of paint or sealants that can interfere with adhesion. I once skipped a proper cleaning, resulting in the membrane peeling off after a few months—lesson learned the hard way. Proper prep guarantees the waterproof membrane bonds correctly, preventing future leaks.
Install a Waterproof Membrane Correctly
Choose a high-quality waterproofing membrane designed for showers. Apply it with a roller or brush, following the manufacturer’s instructions meticulously. Pay special attention to corners, seams, and transitions—these are common failure points. I recommend applying two coats for extra security, especially on curved surfaces. During my last project, I initially skimped on membrane thickness and faced leaks within a year. It’s worth taking the extra time to ensure complete coverage and multiple coats.
Create a Seamless Shower Pan for Reliability
The shower pan is the foundation of waterproofing. Use a liquid sealant or membrane to create a continuous, seam-free surface. If you’re installing a custom pan, ensure the slope directs water toward the drain—about 1/4 inch per foot. While working on my own shower, I used a flexible membrane that conformed perfectly to the slope, preventing water pooling. Avoiding joints in the pan itself minimizes points of failure.
Seal All Vulnerable Joints and Corners
Corners, drain areas, and gaps between walls and floors are high-risk zones for leaks. Apply a high-quality silicone sealant in these joints, then reinforce with a waterproof tape if needed. Pay close attention to the area where the curb meets the wall; a common mistake is leaving gaps that allow water behind the tile. I once used only silicone in an awkwardly shaped corner, which later peeled away—adding fabric tape fixed the issue. Proper sealing here is essential to prevent behind-the-tile rot.
Incorporate a Weep Hole or Drainage Layer
Adding a small weep hole or drainage layer behind tiles allows any trapped moisture to escape, reducing the risk of rot. This is especially critical if you notice early signs of moisture buildup. During a renovation, I included a drainage layer in the mortar bed, which made a noticeable difference in keeping the area dry. If you’re not confident in DIY, consulting a professional ensures this step is correctly executed.
Finish with Proper Tile Installation
Finally, tile installation should start with a waterproof adhesive or thinset. When grouting, use only mold-resistant, waterproof grout. Avoid filling grout joints excessively, as water can seep through. Regular maintenance with grout sealer prolongs the lifespan. Remember, even the best waterproof membrane can fail if the tile and grout aren’t sealed properly. I’ve seen many issues originate at this last stage, emphasizing the importance of thorough sealing and using quality materials.
Following these concrete steps—prepping thoroughly, installing membranes carefully, sealing all joints, and finishing with quality tiles—will vastly reduce the chances of behind-tile rot. It’s an upfront effort that saves time and money down the road, preserving your bathroom’s integrity and your peace of mind.
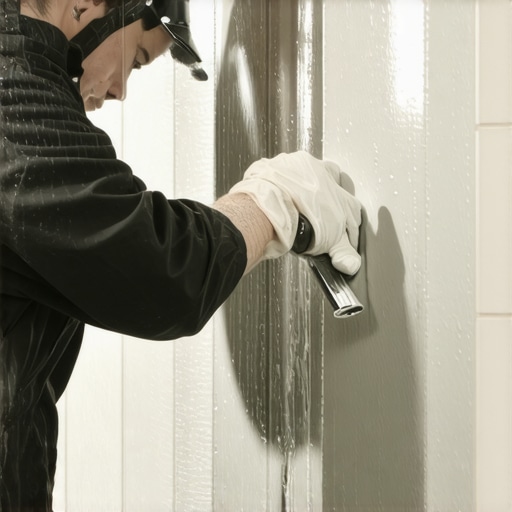
When considering flooring installation, baseboards, or shower setups, many homeowners operate under common assumptions that can lead to costly mistakes. One widespread misconception is that simply adhering to standard practices guarantees a perfect finish. However, the reality is that small nuances—often overlooked—play a significant role in the longevity and aesthetic appeal of your projects. For instance, everyone talks about choosing the right tiles or carpets but underestimates the importance of substrate preparation and moisture management. Skipping meticulous surface leveling or neglecting proper vapor barriers can allow unseen issues like subfloor movement or moisture accumulation to wreak havoc over time.
Many believe that all adhesives or grouts are created equal. In truth, selecting the appropriate product for your specific environment and applying it with precision is crucial. Using regular thinset where a flexible, Portland cement-based mortar is required can cause tiles to crack or lift as substrates expand and contract. Similarly, for carpet installations, those who opt for cheap adhesives or ignore proper stretching techniques often face ripples and fraying within months. Investing in high-quality materials and understanding their nuances ensures durability and a professional look, which is why I recommend exploring detailed guides like step-by-step flooring installation.
Advanced Tip: How to Navigate Moisture and Subfloor Movement
A less obvious but critical aspect involves understanding substrate behavior. Many DIYers overlook that concrete slabs can develop cracks or unevenness over time due to temperature fluctuations or moisture ingress. Applying a simple leveling compound might seem sufficient, but without addressing underlying moisture issues, the repair is merely superficial. Experts recommend inspecting vapor barriers thoroughly and incorporating rigid insulation and moisture-retardant layers—techniques supported by recent studies emphasizing their role in preventing subfloor damage (see this guide).
Another hidden trap is the assumption that once the installation is complete, no further maintenance is necessary. In reality, sealing joints and edges periodically is vital, especially in damp areas like bathrooms and kitchens. Such proactive steps can prevent water infiltration behind baseboards or under tiles, averting hidden rot and mold issues. Incorporating these detailed nuances might seem cumbersome initially, but they pay off by extending your project’s lifespan and maintaining its beauty over the years.
Are you aware of how subtle differences in materials and techniques could elevate your DIY or professional projects? By paying attention to these expert tips and understanding the intricacies involved, you’ll avoid common pitfalls. Remember, the devil is in the details, and strategic planning now can save you significant trouble later. Have you ever fallen into this trap? Let me know in the comments, or if you’re ready to elevate your next renovation, reach out through our contact page.
Tackling Maintenance with Precision and Strategy
Achieving durable, long-lasting floors and showers isn’t just about initial installation — it hinges on consistent, informed maintenance practices. For DIY enthusiasts and pros alike, having the right tools at your disposal makes all the difference. From specialized equipment to software that streamlines your workflow, the investment pays off in longevity and quality. Today, I’ll share the specific tools I trust and the maintenance routines that keep my projects resilient over time.
The Power of Proper Equipment: What I Use and Why
When it comes to flooring and shower maintenance, I swear by a high-quality moisture meter. This device, like the Extech Moisture Meter, allows me to regularly monitor the subfloor and wall moisture levels. Staying ahead prevents issues like mold or warping before they escalate. I also rely on a precision angle grinder fitted with a diamond blade for surface repairs or cleaning grout lines—ensuring I maintain the aesthetic and structural integrity of tiles over the years.
For carpentry and baseboard upkeep, a cordless finish nailer is indispensable. It speeds up re-installations and allows for delicate adjustments without damaging finished surfaces. Over the long term, a reliable shop vacuum—such as the Dyson V15 Detect—keeps dust and debris in check, reducing the risk of buildup that can lead to mold or material degradation in hidden corners.
Leveraging Software for Long-Term Success
In today’s digital age, I utilize design and planning tools like SketchUp to simulate layouts before executing real-world projects. This helps identify potential problem areas—like inadequate slopes or misaligned joints—which could cause issues down the line. Regularly updating digital checklists ensures routine inspections, such as sealing grout joints or inspecting drain seals, are never overlooked. These proactive steps extend the lifespan of your tile work and waterproofing layers, aligning with expert advice from industry leaders.
Future Trends in Maintenance and Tools
Looking ahead, I anticipate that smart sensors—integrated into tiles or shower bases—will alert homeowners of moisture intrusion before damage visibly appears. As these technologies become more accessible, routine maintenance will shift from manual checks to real-time monitoring, making long-term care more straightforward and effective. Staying informed about these innovations ensures you’re always ahead of potential problems.
How do I keep my flooring and showers performing over time?
The answer lies in regular inspections using the tools I’ve mentioned and adopting a proactive maintenance mindset. Applying a high-quality grout sealer after every cleaning session prevents water from seeping into joints, which can cause deterioration. Additionally, revisiting your waterproof membranes periodically—especially in showers with high usage—is vital. For a detailed guide, I recommend exploring our comprehensive shower renovation guide. Don’t hesitate to schedule annual inspections—think of it as health checkups for your home’s most vital systems. And if you’re ready to implement advanced maintenance techniques, try using your moisture meter monthly to track fluctuations; it can save you from costly repairs later on.
Remember, the longevity of your investments depends heavily on your tools and habits. Regular upkeep combined with the right equipment ensures that your floors and showers stay beautiful and functional for years to come. Want to dive deeper into maintenance strategies? Visit our contact page to get personalized advice or professional support.
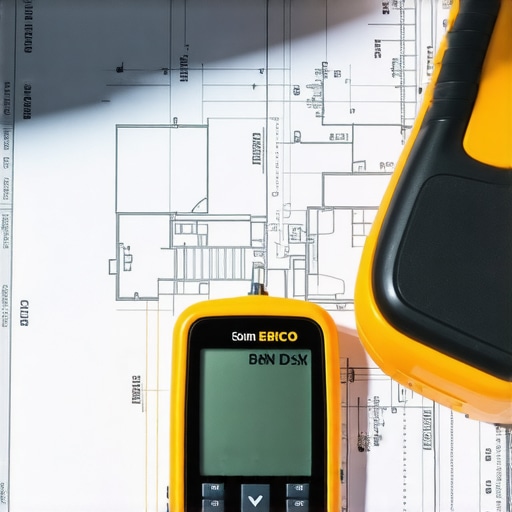
For efficient and reliable maintenance, invest in a dependable moisture meter like the Extech Moisture Meter. Accurate readings help prevent hidden damage, saving you costly repairs down the line. Incorporating digital tools like SketchUp can also streamline your planning phases, ensuring future-proof installations that stand the test of time. Staying proactive with these tools and routines empowers you to keep your flooring, baseboards, and showers working flawlessly for years ahead.
3 Lessons I Hate That Took Me Years to Learn
- Skimping on waterproof membrane applications often leads to hidden rot that ends up costing a fortune. A thorough, double-coat application on all seams saved my floors from future damage.
- Neglecting proper surface prep before waterproofing can cause membranes to peel or fail prematurely. Investing time in cleaning and smoothing surfaces pays off in longevity.
- Underestimating the importance of sealing joints and corners can lead to moisture intrusion. Using quality sealant and reinforcing with tape in these areas is essential, even if it feels meticulous.
Top Tools and Resources That Changed My Approach
- The Extech Moisture Meter has become my go-to device for early detection of hidden moisture problems. It helps me catch issues before they become repairs.
- SketchUp isn’t just for design—it’s a powerful planning tool that helps me visualize slope, drainage, and layout, ensuring everything works smoothly in real life.
- The comprehensive guides on shower renovation and flooring installation have been instrumental in refining my techniques and avoiding costly mistakes.
Take Action Today and Protect Your Space
The key to a durable, beautiful bathroom starts with smart planning and diligent maintenance. Whether you’re tackling a renovation or just upgrading your current setup, remember that the smallest details—like sealing corners or verifying moisture levels—can save you significant headaches in the future. Stay proactive, keep learning, and don’t hesitate to leverage the right tools and resources to elevate your project. Now’s the time to create a bathroom that truly stands the test of time. How will you improve your waterproofing game this weekend? Drop your ideas or questions below — I love hearing about your home projects!