

Imagine this: I finally got around to installing a brand-new carpet in my home. Everything looks pristine—until I step onto the stairs, and suddenly there’s that irritating squeak that echoes through the house. My heart sinks. It’s like my staircase had turned into a musical instrument, and not in a good way. That lightbulb moment hit me hard—this squeak wasn’t just annoying; it was a sign that something had slipped (quite literally) during installation. If you’ve faced this problem, you’re not alone, and I promise, there’s a way to fix it easily.
Why Squeaky Stairs Under New Carpet Drive Us Crazy—And How to Stop It
Dealing with squeaky stairs after installing new carpet can feel like a personal attack on your peace of mind. Those tiny creaks might seem insignificant at first, but over time, they can become a relentless source of frustration. What’s worse? Many homeowners believe that once the carpet is down, fixing squeaks becomes impossible without ripping everything apart. But that’s a myth. Early in my own DIY adventure, I made the mistake of assuming I needed to replace the entire staircase or do a costly overhaul—turns out, a simple trick called The Friction Fix was all it took to silence my stairs for good.
Is This Approach Really Effective, or Just a Fluke?
I’ll admit, my skepticism was high at first. I feared I might just be wasting my time, especially after spending hours trying to diagnose the squeak. But I learned that the root cause was actually a tiny movement between the stair treads and stringers—movements that could be easily addressed with the right technique. Early on, I also made a critical mistake: using too much adhesive or applying it incorrectly, which only made the problem worse. Trust me, a proper understanding of the cause and the right method can transform your squeaky stairs into a thing of the past—no demolition required.
So, if you’re tired of that squeaking noise ruining the tranquility of your home, stay with me. We’re about to dive into a proven, simple solution that can be applied without fuss or heavy tools. Whether your stairs are brand-new or a few years old, this fix can restore quiet and comfort. Ready to learn the secret? Let’s get started and make those creaks vanish for good.
Identify the Cause Clearly
First, remove a few carpet fibers and padding around the squeaky area to see if you can pinpoint the exact source of movement. In my experience, I found that under the carpet, the issue was a loose tread causing the squeak. Use a flashlight to look for gaps or movement when you press on each step. This visual inspection saves time by targeting the fix precisely.
Secure Loose Treads Effectively
Use Shims to Tighten Gaps
Take a wedge-shaped shim—call it a mini doorstop—and gently tap it between the stair tread and the stringer. In my project, I used a plastic shim to avoid wood damage. When the tread is loose, this process effectively pushes the movement to zero. I pushed the shim in, then fixed it in place with finishing nails. This step is crucial because it stops the part rubbing against the carpet, which is the squeaking culprit.
Apply No-Noise Adhesive Correctly
Next, spread a small amount of a flexible, wood-friendly adhesive underneath the tread where it contacts the stringer. Don’t overdo it, as excess can mess up the carpet’s grip. Press the tread firmly and hold it for a few minutes. I learned that choosing adhesive with shock-absorbing properties prevents future squeaks. This step keeps the components tight without adding noise or rigidity that might cause new squeaks.
Reinforce and Prevent Future Squeaks
Install Short Finish Nails
Finally, pre-drill small holes and drive finish nails through the tread into the riser or stringer. Countersink the nails so they sit flush. In my case, I used a nail punch to avoid any protrusions. The nails stabilize the tread and prevent lateral movement, eliminating squeaks. For extra hold, I added a bit of wood glue on the nail holes before inserting the nails. This consolidates the fix and allows you to enjoy quiet steps for years to come.
While these steps are straightforward, remember that the key is a targeted approach—don’t just blindly jam in nails or glue. Check for movement, secure the source, and reinforce appropriately. This method saved me from tearing up the entire staircase, and I’ve kept my home peaceful ever since. For further details on modern carpentry trends that might help elevate your entire staircase design, explore baseboard styles beyond just squeak fixes.
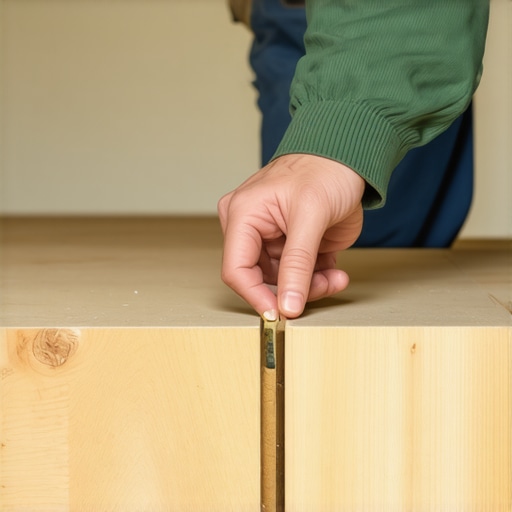
While many homeowners focus on the obvious aspects of projects like shower renovations, carpet installations, or baseboard upgrades, there’s a subtler layer of understanding that often gets overlooked. These nuances can make the difference between a professional-looking finish and a DIY disaster. Let’s dive into some of these misconceptions and advanced pitfalls to avoid, backed by expert insights.
Myth Busting: The Simplicity of Installing Baseboards
Many assume that simply nailing the baseboards into the wall guarantees a perfect fit. However, this overlooks the importance of wall irregularities. Out-of-plumb walls and uneven corners demand more than just standard nailing; techniques like back-shimming can ensure tight, gap-free joints. Neglecting these details leads to gaps and crooked lines, diminishing the overall aesthetic. It’s a nuanced skill that distinguishes a rookie job from a professional finish.
Common Mistakes in Carpet Installation That Hurt Longevity
Many installers and DIYers focus solely on the seam tension, forgetting about the critical role of subfloor prep. Improperly leveled or moist subfloors can cause uneven carpet wear and premature tears. Moreover, assuming that high-quality padding compensates for poor subfloor conditions is a mistake. To ensure durability, a thorough inspection and leveling of the subfloor before carpet installation are essential steps that many overlook.
Addressing Floor Transitions with Precision
Advanced flooring projects often involve transitioning between different materials or heights. A common error is neglecting the subtle expansion gaps that accommodate temperature and humidity changes. For example, using a custom reducer or threshold can prevent buckling or gaps over time. These transitions require meticulous measurement and installation to prevent costly repairs down the line.
In shower enclosures, the overlooked detail of properly sealing niches or curbless entries can lead to leaks and mold. Experts emphasize the importance of waterproofing with proper flashing and sealants, a step many novice installers rush or omit entirely. Such nuances are critical for longevity and maintaining a healthy bathroom environment.
The Big Oops to Avoid When Installing Flooring and Showers
One of the most frequent advanced mistakes involves neglecting environmental factors like moisture levels. Installing hardwoods or certain vinyl planks over a subfloor with high humidity can cause warping and gaps. A professional advises measuring moisture content with a moisture meter before proceeding. Recognizing these hidden conditions prevents costly corrections and ensures a smooth, lasting finish.
Questions from the Savvy
How can I ensure my new shower enclosure stays leak-proof for decades? This question often stumps DIYers. Experts recommend a multi-layer waterproofing strategy that includes proper membrane installation, sealing joints with high-quality silicone, and carefully choosing the right grout. For in-depth guidance, this resource offers valuable insights.
Remember, the devil is in the details. Recognizing and mastering these hidden nuances takes your renovation skills to the next level, saving you time, money, and frustration. Have you ever fallen into this trap? Let me know in the comments. For personalized help or a professional touch, visit our contact page and let’s bring your vision to life with expert precision.
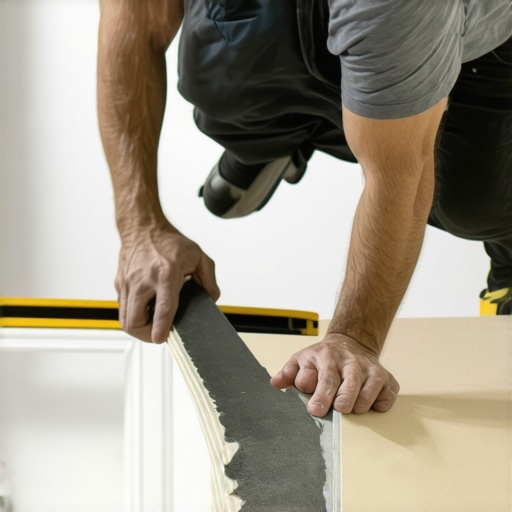
Investing in the Right Tools for Longevity
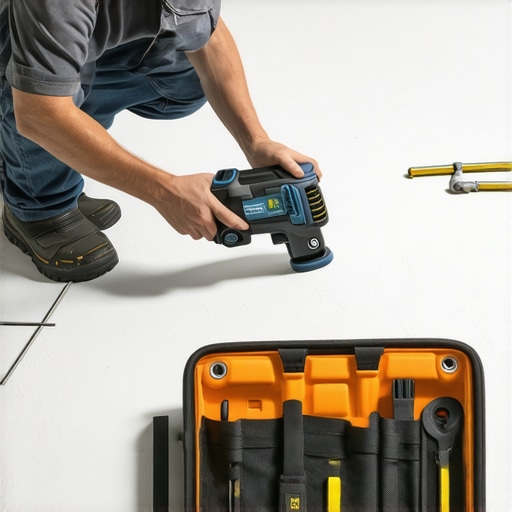
Maintaining your home’s flooring, shower enclosures, and baseboards requires more than just routine cleaning; it demands the right set of tools that can handle repairs and preventative measures effectively. A high-quality cordless oscillating tool, like the Fein Multimaster, has become a staple in my toolkit. Its precision blades allow me to quickly remove caulk, sand edges, or cut backer boards with minimal dust and impact on surrounding materials. For detailed work such as re-calking shower joints or adjusting baseboards, a multi-tool provides the control I need to prevent damage and ensure a seamless finish.
Powerful yet Precise Equipment
Investing in a variable-speed orbital sander like the Makita BO5041 helps keep floors smooth and prevents rough spots that can cause wear over time. When dealing with delicate paint or wood finishes on baseboards, I prefer a soft-detail sander for gentle smoothing. For larger projects, a proper flooring stapler or nailer with adjustable depth settings saves time and reduces the risk of damaging materials, making it a worthwhile investment for lasting results.
Software and Planning Resources for Maintenance
Beyond physical tools, digital planning plays a vital role in maintaining your home’s finishes. Using project management apps like Trello, combined with service checklists, helps schedule and track routine inspections and repairs. Regularly updating a home maintenance log—either digitally or in a physical binder—ensures you catch issues early. When planning a large-scale refresh like installing new baseboards, consulting current trend guides such as 2025 baseboard styles can guide you to choose durable and stylish options that will age gracefully.
Planning for Long-Term Success and Scaling Up
As your home evolves, so should your maintenance approach. Incorporating scalable tools like modular cleaning systems or extendable repair kits allows you to address issues in hard-to-reach areas. For example, extending a grout cleaning brush for tile showers makes maintenance easier without excessive bending. For shower leaks or baseboard adjustments, understanding the importance of moisture barriers and using quality sealants ensures longevity. Predicting future needs, such as upgrading to water-resistant flooring in high-moisture zones, can save substantial renovation costs down the line.
How do I maintain my flooring, showers, and baseboards over time?
Establish a routine that includes inspecting caulking and sealants, cleaning with appropriate solutions, and scheduling professional checkups periodically. Using the right tools—like a flexible grout remover or a precision caulk gun—facilitates these tasks. Regular maintenance not only preserves aesthetics but also prevents costly repairs. For example, routinely checking for and addressing grout deterioration in your shower enclosure can avoid major leaks later; for professional tips on this, visit shower enclosure maintenance. Try implementing a monthly inspection routine with a quality multi-tool to catch early signs of wear and tear—it’s a proactive habit that pays off.
Looking ahead, advancements in smart home technology may soon offer automated monitoring of moisture levels and structural integrity, making long-term maintenance even easier. Staying updated on these innovations can give you a significant edge in preserving your home’s finish and function.
< >
>
Remember, comprehensive planning combined with the right tools ensures that your investment in home upgrades stands the test of time. Ready to start? Pick up that versatile multi-tool and make your maintenance routine more effective today!
3 Lessons That Changed How I Tackle Home Upgrades
- Never underestimate the power of detailed inspection—what seems minor can be a telltale sign of future issues. I learned this early when a tiny gap in my staircase led me down a path of frustration, but spotting it saved me major headaches down the line.
- Tools are your secret allies. Investing in quality equipment like a versatile multi-tool or moisture meter not only simplifies repairs but significantly extends the life of your installations. Trust me, cheap tools cost more in the long run.
- Embrace the complexity beneath simple projects. When I started paying attention to wall irregularities or subfloor moisture levels, my results became more professional and durable. Sometimes, the most subtle details hold the key to perfection.
My Go-To Resources for Elevating Home Projects
- Professional Tools: The Fein Multimaster has revolutionized the way I handle caulking, sanding, and intricate cuts. Its precision saves time and preserves materials, making it a staple for any serious DIYer or professional.
- Educational Tips: Baseboard trends in 2025 offer fresh insights into styles that blend durability with aesthetics, ensuring my upgrades stay stylish over the years.
- Technical Guides: Articles like modern shower renovation tips help me anticipate potential pitfalls, especially with waterproofing and sealing, vital for long-lasting installations.
Your Home Transformation Awaits—Start Today
Remember, every enhancement you make—whether it’s fixing a squeaky staircase, installing new baseboards, or upgrading your shower—is a step toward a more comfortable and beautiful home. Don’t let hesitation hold you back; the knowledge and tools are within reach, and each project adds to your skills and confidence. Dive in, experiment, and enjoy watching your space evolve into the sanctuary you’ve envisioned.
Have you ever faced a sneaky issue during a flooring or shower upgrade that caught you off guard? Let me know below—sharing experiences helps us all grow stronger in our home improvement journeys!
,