

I remember the first time I proudly stepped onto my brand-new luxury vinyl planks. I’d spent three days crawling on my knees, making sure every seam was tight, and the finish looked like a million bucks. But as I walked toward the kitchen with my morning coffee, I felt it—that sickening, rhythmic thump-thump-thump. My coffee was sloshing in the mug, not because I was clumsy, but because the floor was literally diving under my feet like a trampoline. I thought I’d followed the step-by-step flooring installation guide to a T, but I’d ignored the warning signs coming from the dark void beneath the subfloor. It was a gut-wrenching realization that all my hard work was sitting on a foundation that had the structural integrity of a marshmallow.
Why Your Floor Acts Like a Trampoline
You spend thousands on materials and days on labor, only to realize your home feels structurally mushy. It’s a common nightmare. Most homeowners assume it’s a product defect or a simple flooring installation mistake, but usually, the culprit is hidden in the joists. Back in my early days, I made a classic rookie error: I tried to ‘cushion’ the bounce with extra-thick underlayment. Bad move. All that did was create more vertical movement, which eventually caused that annoying snapping sound every time I took a step. The truth is, if your joists are over-spanned or weakened by age, no amount of expensive flooring will stay flat. I’ve even seen cases where the floor flexes so much it causes baseboard gaps appearing along the perimeter, making a brand-new renovation look twenty years old. Today, we are going to tackle the real solution: the joist fix. We aren’t talking about cosmetic patches; we are looking at ‘sistering’ and bridging—methods that actually turn a bouncy floor into a rock-solid foundation. Before you lay another plank, you need to perform the string line test to see exactly how much your wood is sagging.
Is this kind of structural work really necessary for a DIYer?
You might be thinking, ‘I just wanted new floors, not a structural engineering degree.’ I get it. The skepticism is real, and the thought of crawling into a damp basement to bolt heavy lumber together is daunting. However, according to the International Residential Code (IRC), floor joists must meet specific deflection limits—typically L/360 for live loads—to prevent finish materials like tile or hardwood from failing. If your joists are undersized, your floor will never be quiet or stable. I once ignored a slight dip and ended up having to perform a fix for a spongy spot that required ripping up half the room. Trust me, addressing the ‘why’ behind the bounce now is much cheaper than a total redo later. Have you ever finished a room only to realize your furniture wobbles when you walk past it? If so, send me a message—I’d love to help you diagnose the issue before you spend another dime on materials. We also need to ensure that moisture testing has been completed, as damp joists are significantly more prone to flexing and bowing under weight.
Find the Sag Before You Swing the Hammer
To fix a trampoline floor, you first have to find out exactly where the dip lives. I’ve seen guys try to eyeball it, but your eyes will lie to you in a dimly lit basement. The most reliable method is the string line test. You stretch a masonry string tight across the bottom of the joists from one load-bearing wall to the other. If you see a gap between the string and the wood, you’ve found your culprit. Think of the string as the ‘truth’—if your joist is dipping an inch in the middle, no amount of leveling compound on top will fix the structural weakness underneath. Once you’ve mapped the sags, you can move on to the actual heavy lifting.
Sistering Joists the Right Way
Sistering is essentially giving your floor a structural splint. You are taking a new, straight piece of lumber and bolting it directly to the side of the existing, weakened joist. I remember a project in a 1920s bungalow where the kitchen floor felt like walking on a sponge. I rushed the job and forgot to ‘crown’ my new lumber—that is, making sure the slight natural bow of the wood faces upward. Because I slapped it on upside down, the floor actually developed a hump a month later. I spent three hours trying to use the dead-blow hammer secret just to get the planks to seat correctly. Don’t be like me. Crown your wood, use plenty of construction adhesive, and bolt them every 12 inches in a staggered pattern. 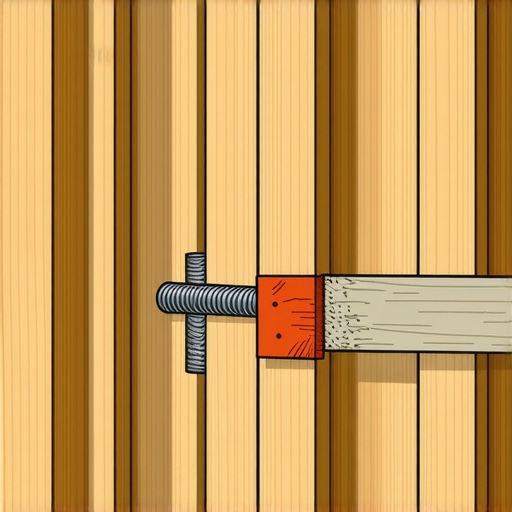
Stop the Sway with Solid Bridging
If your joists are structurally sound but still feel ‘nervous’ when you walk, the issue might be lateral movement. This is where the joists twist slightly under your weight. To stop this, you need bridging or blocking. This is like the cross-bracing on a bridge; it transfers the load from one joist to its neighbors, making the whole floor act as a single unit. If you skip this, you’ll eventually see baseboard gaps appearing because the floor is pulling away from the walls as it flexes.
Prepare the Surface for the Final Layer
Once the skeleton is strong, you have to verify the environment. I never start a layout until I’ve performed the moisture meter test on the joists and subfloor. If the wood is too wet from a recent leak or high humidity, it will shrink as it dries, loosening your sistering bolts and bringing back the squeaks. For those installing wide planks, I always recommend the glue-assist trick. It provides an extra layer of defense against movement. By taking these steps now, you avoid the most common flooring installation mistakes that turn a weekend project into a decade-long headache.Most people assume that once the structural joists are solid, the hard part of the job is over. However, in my years of fixing ‘completed’ DIY projects, I’ve found that the finish work is where the most expensive mistakes actually happen. Let’s talk about a major contrarian view: everyone tells you that the tighter the baseboard fits to the floor, the better the job. That is a total lie. If you jam your baseboards down onto a floating floor, you’re essentially pinning the material and preventing it from expanding. I’ve seen high-end laminate pop like a Pringle in the summer because the installer didn’t respect the expansion gap rule for flooring under door jambs. If you want a seamless look without sacrificing the floor’s health, you need to use the scribe and block tactic for baseboards on wavy drywall rather than just forcing the wood into place. Most people also fail at the fastening stage; nailing baseboards into the bottom plate only is a common trap that leads to the trim bowing away from the wall within six months. 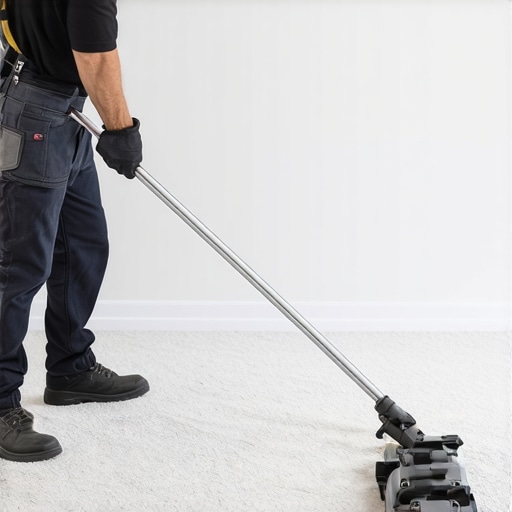
Is Your Shower Actually Leaking or Just ‘Sweating’?
It’s a sophisticated question that separates the pros from the amateurs. Often, what looks like a failed pipe is actually ‘wicking’—moisture moving upward from a saturated sub-layer because the installer skipped the mud bed secret for rock-solid shower floors. According to the Tile Council of North America (TCNA) Handbook, a shower floor must maintain a continuous slope of at least 1/4 inch per foot toward the drain. If your slope is off, water sits in the mortar bed, eventually causing a swampy odor. This is specifically why your new shower smells like hardboiled eggs—it’s bacteria living in stagnant water beneath your beautiful tile. The ‘oops’ factor for most DIYers is neglecting the triple point seal for leak-proof shower corners, which is the most common failure point for waterproofing membranes. The same level of precision is required for carpet. I see homeowners trying to stretch a whole room with a simple knee kicker. Stop. That is the knee kicker mistake that ruins new carpet. You simply cannot get the necessary perimeter tension without a power stretcher. If you skip this, you are guaranteed to deal with carpet wrinkling two years after install. Have you ever fallen into the trap of thinking ‘good enough’ would last, only to have it fail a year later? Let me know in the comments. If you’re currently staring at a gap or a bulge that won’t go away, send me a message and we can troubleshoot your specific layout before you decide to rip the whole thing out.
After you’ve successfully navigated the structural repairs and the initial layout, you enter the phase that separates a ‘weekend warrior’ project from a professional-grade renovation. I’ve learned the hard way that the best installation in the world won’t matter if you don’t have a plan for longevity. I used to think that once the last nail was driven into the baseboard, my job was done. I was wrong. The real work is ensuring that the environment stays stable so your hard work doesn’t unravel six months down the line.
The Gear That Separates Pros From Panicked DIYers
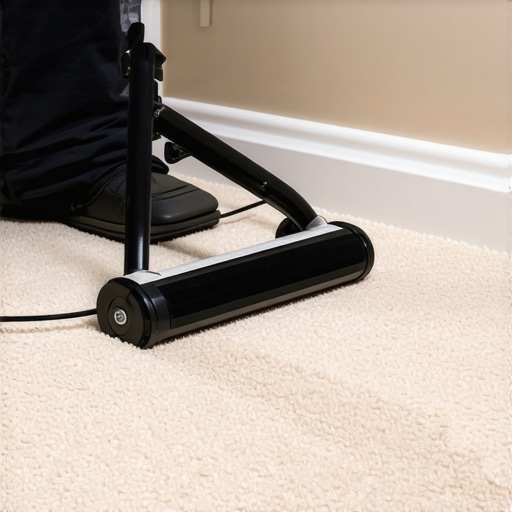
People often ask me if they really need to buy specialized tools or if they can just ‘make do’ with what’s in their garage. If you’re working with carpet, my answer is a firm no. I’ve seen too many homeowners attempt a layout using only a knee kicker, which is essentially the knee kicker mistake that ruins new carpet. To get the tension required for a wrinkle-free finish, you must use the power stretcher setting for plush pile carpets. It’s the difference between a floor that looks great for a decade and one that ripples like a lake by next summer. For baseboards, stop trying to eyeball the gaps. I personally use a dedicated compass or a simple block to execute the scribe and block tactic for baseboards on wavy drywall. This tool-specific approach ensures that your trim hugs the wall perfectly, even if your house is a century old and lacks a single straight line.
How do I keep my new floors and shower looking factory-fresh for years?
Maintenance is where most people drop the ball. In the bathroom, moisture is your primary antagonist. The Tile Council of North America (TCNA) specifies in their Handbook that grout joints must be properly maintained and sealed to prevent sub-surface moisture damage. If you start seeing discoloration, you need to act fast. You might find why your shower grout is turning pink or orange is due to Serratia marcescens bacteria, which thrives on soap scum. I’ve found that the toothbrush trick for cleaning stubborn shower grout combined with a high-quality sealer is the only way to how to stop shower grout from turning pink and slimy permanently. For your flooring, especially in high-traffic zones, refer to best carpet types for high-traffic areas in 2025 to ensure your cleaning routine matches the fiber’s durability. Regular the moisture meter test every flooring pro uses can also help you catch leaks behind the scenes before they cause rot.
What the Future of Home Installation Looks Like
As we look toward transform your flooring top trends in installation for 2025, we are seeing a massive shift toward ‘smart’ subfloors and high-performance composites. I predict that within the next five years, integrated moisture sensors built directly into underlayment will become standard for luxury builds, alerting you to a leak before you ever see a water spot. We are also seeing an upgrade your bathroom the ultimate shower renovation guide trend where modular, waterproof wall panels are replacing traditional tile in high-use areas to minimize grout-related failures. If you want to stay ahead of the curve, I challenge you to try the scribe and block tactic on your next trim project; mastering this advanced manual skill now will make you much more adaptable as materials evolve.
The Brutal Truth About What Usually Fails First
After years of fixing DIY disasters, I’ve realized that 90% of failures happen in the corners. Whether it is the shower or the carpet, the edges are where the stress lives. For showers, I never trust just one layer of protection; I always use the triple point seal for leak-proof shower corners. It’s a five-minute step that prevents a five-thousand-dollar mold problem. Another thing—don’t trust your eyes in the corners of a room when laying carpet. If you don’t have perimeter tension, that carpet will eventually bunch. Finally, if you are doing wet work, remember the liquid flash secret for waterproofing shower corners. It’s my go-to move because it creates a seamless membrane that a standard sheet just can’t match.
Tools That Will Save Your Sanity and Your Back
If you’re serious about this, stop borrowing your neighbor’s rusty hammer. There are three things I never step onto a job site without. First is a professional moisture meter. I’ve seen beautiful hardwood buckle in weeks because someone skipped the moisture meter test every flooring pro uses. Second, if you’re tackling trim, grab a simple compass. Using a compass for the ultimate baseboard to rock scribe is the only way to get that high-end, gap-free look on uneven walls. Lastly, if you are doing carpet, rent a power stretcher. Setting the power stretcher setting for plush pile carpets correctly ensures the backing doesn’t delaminate and the floor stays flat for years.
#IMAGE_PLACEHOLDER_FINAL#
Take the First Step Toward Your Dream Floor
I know the structural stuff feels intimidating, and the precision of baseboards can be frustrating, but there is nothing quite like the feeling of walking across a floor you fixed yourself—without a single squeak or bounce. Whether you are starting with a step-by-step flooring installation or diving into a full shower renovation, take it one joist at a time. Your home is your biggest investment, and your flooring installation is the foundation of its comfort. If you hit a snag or just want a second pair of eyes on your plans, don’t hesitate to send me a message. I’m here to help you get it right the first time.
Have you ever encountered a “trampoline floor” in your home, and what was the first thing you tried to fix it? Let me know in the comments below!