

The morning sun was hitting my new luxury vinyl planks just right, and I couldn’t help but admire the finish. But then, I stepped on a seam near the doorway. Pop. It wasn’t a loud noise, but in the silence of a Saturday morning, it sounded like a gunshot to my DIY pride. I looked down and saw a hairline gap that hadn’t been there yesterday. By the end of the month, that single gap had invited three of its friends to the party, all following a perfect diagonal line across the room. I had fallen into the ‘stair-step’ trap, a common blunder that compromises the structural integrity of the entire floor.
The Day My “Perfect” Floor Started Falling Apart
I’ll be the first to admit it: I used to think floor layout was just about aesthetics. When I did my first big install, I wanted everything to look uniform. I figured if I started every other row with the same size cut, it would look “clean.” It looked great for about ninety days. What I didn’t realize—and what many homeowners overlook during their flooring installation—is that vinyl planks rely on a mechanical locking system. When you create a predictable stair-step pattern, you’re essentially creating a “fault line” in your floor. I’ve learned the hard way that the tapping block mistake isn’t the only thing that breaks these floors; sometimes, it’s the very way we lay them out. If your joints aren’t sufficiently varied, the floor can’t distribute weight properly. According to the World Floor Covering Association (WFCA), maintaining a minimum stagger of 6 to 8 inches is vital because these floating floors expand and contract as a single unit. Without a random distribution of joints, the “grip” of the locking tongues is significantly weakened.
Does the stagger really affect how the floor handles weight?
You might be skeptical. You might think, “It’s just plastic and stone dust, how much can it move?” The truth is, a floor with a repetitive stair-step pattern is much more likely to pull apart under the foot traffic of a busy household or near heavy furniture. It’s why the offset joint secret is so critical for a long-lasting finish. We aren’t just making it look pretty; we are building a structural web that holds itself together through friction and geometry. Today, I’m going to show you exactly how to avoid this structural nightmare and what to do if you’ve already started laying planks. Have you ever noticed your floor starting to separate in a weird, diagonal line? It’s a frustrating sight, but we can fix the logic behind your layout before the next row goes down. Before we get into the nitty-gritty of the random method, let’s look at how to ensure your step-by-step flooring installation actually holds up over time.
How to Stop Your Floor from Zippering Apart
To keep your floor from becoming a giant puzzle that won’t stay together, you have to embrace the ‘random’ method. I remember doing a 12×20 sunroom early in my career where I got lazy. I thought I could eye-ball the seams and it would be fine. A week later, three rows had ‘zippered’—the joints aligned perfectly enough that they just slid apart like a cheap jacket. I had to go back in with the suction cup hack to pull them back together, but the damage to my timeline was done. Now, I use the three-box rule. Open three boxes of planks at once and mix them. This ensures that slight color variations don’t clump together and, more importantly, it forces you to grab boards of different lengths. For a truly professional finish, your flooring installation depends on creating a staggered bond where no two seams are closer than six to eight inches in adjacent rows. Think of it like a brick wall; if the vertical mortar lines lined up, the wall would fall over. Your floor is no different.
Why Six Inches is the Magic Number for Board Staggering
The structural ‘grip’ of a floating floor comes from the overlap of the boards above and below a seam. If that overlap is too small—say, only two or three inches—the clicking mechanism doesn’t have enough surface area to resist the tension of you walking across it. This is why the offset joint secret is the foundation of any long-lasting install. When I’m starting a new row, I use the off-cut from the previous row as my starter piece, provided it’s at least eight inches long. This naturally shifts the pattern. However, you have to be careful not to fall into a ‘stair-step’ where every seam is exactly six inches further than the last. That creates a diagonal weak point. Instead, vary your starter boards between 8, 16, and 24 inches. 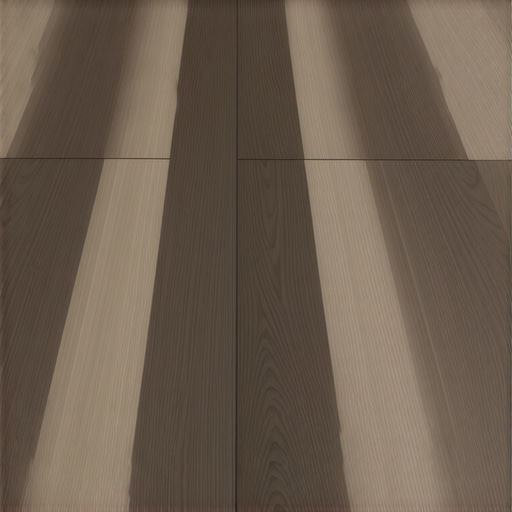
The Right Way to Handle Doorways and Jambs
Doorways are where most DIYers lose their cool. The floor needs to continue through the opening, but you still need that expansion gap. This is where the undercut saw secret becomes your best friend. Instead of trying to cut the vinyl to fit the weird shape of the door trim, you cut the trim to fit the vinyl. Slide the plank under the jamb, but ensure you are still following the expansion gap rule. If the plank is pinned tight against a door frame, the rest of the floor will buckle when the temperature changes. To get those planks locked tight in these tight spaces where a tapping block won’t fit, I always keep a pull bar handy. Giving it a firm tap with the dead blow hammer secret ensures that the tongue is fully seated in the groove without damaging the delicate edges. If you encounter a gap that just won’t close, you might need to check for debris in the groove before you keep hammering, as forcing a dirty joint is a one-way ticket to a broken plank. If you’ve already finished a section and notice a separation, you might be able to save it by fixing gaps in luxury vinyl without ripping the whole room apart, but prevention through proper staggering is always the better path.While the staggering layout provides the structural web, it is the trim that often dictates the floor’s ultimate lifespan. A common myth persists that baseboards should be pressed firmly against the flooring to create a ‘seamless’ look. I’m here to tell you that this ‘tight fit’ is actually a ticking time bomb. When you jam your trim down, you are essentially creating a clamp that prevents the floor from moving. This is a crucial nuance often missed in a standard your guide to durable flooring installation.
How much room does your floor really need to breathe?
According to the National Wood Flooring Association (NWFA), the perimeter expansion gap is the most vital part of a floating floor system. If that gap is compromised—either by debris or by overly tight baseboards—the floor has nowhere to go when humidity rises. This leads to peaking, which is why your vinyl plank floor is buckling at the windows where temperature fluctuations are most extreme. I always recommend leaving a gap of about 1/16th of an inch between the bottom of the baseboard and the top of the floor. You can easily achieve this by using a few playing cards or scrap pieces of vinyl as temporary spacers. 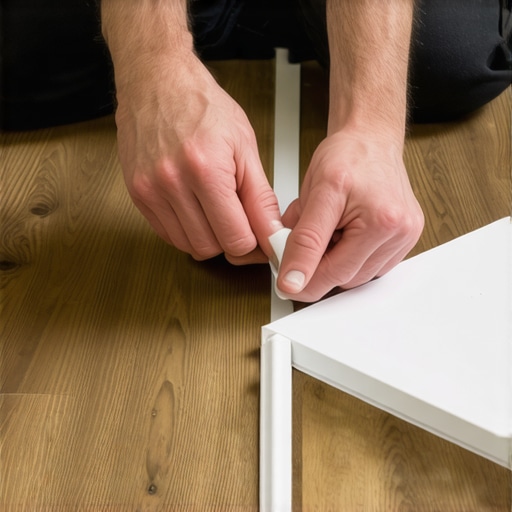
Avoid the bottom plate nailing trap
The mechanics of how you fasten your trim matters just as much as the spacing. A common ‘oops’ I see is people angling their finish nails straight into the subfloor or the bottom plate of the wall. If a nail pierces the expansion gap and catches the edge of a plank, that floor is no longer floating. Why you should never nail baseboards into the bottom plate only is a lesson in avoiding floor failure; you must nail horizontally into the wall studs. If you’re dealing with wonky walls that leave huge gaps, don’t just push the baseboard harder. Instead, use the shimming secret for making MDF baseboards look custom to bridge the distance without pinning the floor.
Should you caulk the gap between the floor and the trim?
This is a point of contention among pros. While caulking makes the room look finished, standard hardware store caulk is too rigid. Over time, as the floor moves, that caulk will pull away. This is why your baseboard caulk is cracking and the flex fill fix is necessary—you need a high-stretch elastomeric sealant. Before you even reach for the caulk gun, though, ensure your corners are tight by using the back bevel secret for seamless baseboard corners. If you have particularly uneven stone or slate floors, you might even need the scribing tool every DIYer needs for tight baseboards to get a perfect fit without the pressure. Have you ever fallen into the trap of making your trim too tight? Let me know in the comments. It’s a common blunder, but once you understand that your floor needs to breathe, your flooring installation will finally stand the test of time.Once you’ve mastered the art of the stagger and the nuance of the expansion gap, you’re 90% of the way to a professional finish. But that final 10% is where a DIY project transforms into a legacy. I used to think a tape measure and a utility knife were enough. I was wrong. If you want to avoid the heartbreak of a floor that fails in year three, you need to talk about data.
Why a Cheap Moisture Meter is Your Best Insurance Policy
Most people skip the subfloor prep because they can’t ‘see’ the problem. I’ve walked onto job sites where the homeowner was ready to click the first plank into place, only for me to pull out my moisture meter and find the concrete was still weeping. I personally use a pinless moisture meter because it allows me to scan the entire room without leaving marks. If you don’t perform the moisture meter test every flooring pro uses, you are essentially gambling with your warranty. According to the Resilient Floor Covering Institute (RFCI), the presence of hydrostatic pressure can force its way through even the best vapor barriers, causing the adhesive or the core material to delaminate over time. This is why your subfloor needs a 48-hour moisture test first. If the readings are too high, you’re not just installing a floor; you’re building a petri dish. 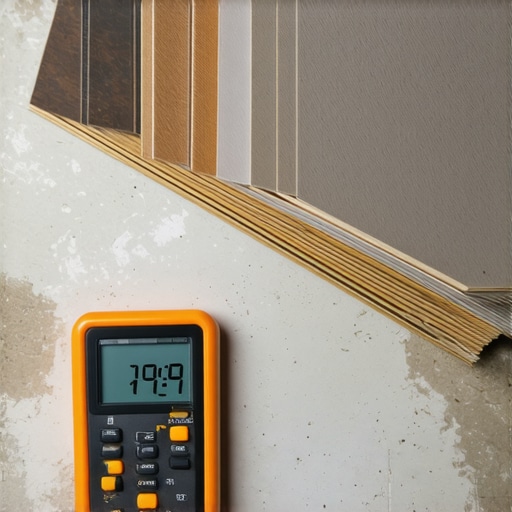
How do I keep my new floors looking fresh for a decade?
The biggest mistake I see in long-term care is the ‘steam mop trap.’ It’s marketed as the ultimate cleaning tool, but for luxury vinyl, it’s a death sentence. The high-heat steam can penetrate the seams and soften the locking mechanism, leading to why your laminate planks are peaking at the seams or your vinyl curling. Instead, I stick to a pH-neutral cleaner and a damp—never soaking—microfiber mop. If you do encounter a soft spot later on, knowing how to fix a spongy spot in your vinyl floor without a full teardown can save you thousands. Maintenance is less about scrubbing and more about protection; high-quality felt pads under furniture are non-negotiable.
The Future of Home Flooring Technology
Looking ahead, I predict we are going to see a massive shift toward ‘smart’ underlayments that can detect leaks before they cause visible damage. We are already seeing the beginning of this with expert flooring installation tips for 2025 focusing on carbon-infused cores for better thermal stability. As houses become tighter and more energy-efficient, our floors will need to handle even higher internal humidity levels without flinching.
Scaling Your Skills for the Rest of the House
Once you’ve conquered the living room, the itch to keep going is real. Many homeowners move straight into the bathroom, but that is a different beast entirely. You’ll need to transition from floating layouts to waterproof membranes and potentially the mud bed secret for rock-solid shower floors. If you’re feeling confident, I challenge you to try a ‘glue-assist’ on your next wide-plank project. It’s an advanced move, but it eliminates the ‘hollow’ sound that plagues many DIY installs. Before you start your next room, check your subfloor flatness one more time with a 10-foot straightedge; it’s the one step that separates the amateurs from the pros.
The Expensive Lessons I Learned the Hard Way
Over the years, I’ve realized that the ‘eye test’ is the biggest liar in home renovation. I used to trust my sight to tell me if a floor was flat, only to be haunted by the sound of hollow clicks months later. Now, I never start without checking the subfloor with a 10-foot straightedge because even a tiny dip can ruin the structural integrity of your luxury vinyl. Another hard-earned truth? The transition is the soul of the room. Taking the extra twenty minutes to perform the undercut saw secret for professional doorway transitions is what differentiates a DIY project from a professional-grade masterpiece. Lastly, never underestimate the power of acclimation; rushing the boards from the truck to the floor is a recipe for buckling once the house settles into its natural humidity levels.
Gear I Never Step on a Job Site Without
If you want to avoid the most common flooring installation mistakes to avoid for a seamless look, you need the right arsenal. I don’t consider a project started until I have these four items:
- A Pinless Moisture Meter: This is your best defense against failure. I always run the concrete moisture test that saves your vinyl floor before a single plank hits the ground.
- A Heavy-Duty Pull Bar: Not the thin ones from the big-box kits, but a thick, professional bar that can handle the force of the dead blow hammer secret for flat floor seams.
- A Quality Scribing Tool: For those moments when you meet an uneven wall, using the scribing tool every DIYer needs for tight baseboards ensures a gap-free finish without stressing the expansion zone.
- Elastomeric Sealant: For the finishing touches, skip the rigid caulk and use a high-flex filler to stop baseboard hairline cracks as the floor shifts seasonally.
Take the First Step Toward Your Dream Home
Installing your own floor is one of the most rewarding transformations you can undertake. It changes the way light hits the room, the way the house sounds, and honestly, how you feel when you walk through your front door. By following expert flooring installation tips for 2025 and respecting the mechanics of expansion and moisture, you are building a legacy of quality in your home. Don’t be intimidated by the technical details; view them as the ‘cheat codes’ to a floor that looks as good in ten years as it does on day one. Your flooring installation journey is just beginning, and the results will be worth every careful measurement. #IMAGE_PLACE_HOLDER_E# Have you ever encountered a stubborn gap in your planks that just wouldn’t close, or did you fall into the ‘stair-step’ trap on your first try? Let me know your stories in the comments below!