

I remember the first time I felt that unmistakable gap under my socks. I was carrying a heavy tray of drinks into the living room when my big toe caught on a frayed edge that had decided to go rogue. It wasn’t just a tiny blemish; the seam had completely split, leaving a yawning canyon of scratchy backing exposed right in the middle of the floor. My first instinct was panic, thinking I’d have to call in a crew for a full carpet install just to fix one three-foot stretch of floor. I’ve been there, staring at a tripping hazard and wondering if a strategically placed rug is my only future. Today, I’m going to show you that you don’t need a professional’s van or a thousand-dollar budget to pull those edges back together. We are going to fix that separation so it stays put for good.
Have you ever looked at a fraying seam and tried to hide it with furniture, or have you already attempted a quick fix that didn’t quite stick?
Your Carpet Is Splitting but Your Wallet Does Not Have To
Years ago, before I knew better, I made the classic rookie mistake of thinking a bottle of superglue and some heavy books would solve my problems. I ended up with a rock-hard, jagged mess that ruined the fibers. This is a common story in the world of DIY; in fact, why your carpet feels crunchy after a botched repair is usually down to using the wrong adhesives. I learned the hard way that carpet needs to move and breathe, and standard household glues are just too brittle. According to the Carpet and Rug Institute (CRI), improper seam sealing is one of the leading causes of premature carpet failure, often voiding warranties because the edges aren’t protected from fraying. Whether you are dealing with a high-traffic hallway or a quiet bedroom, the goal is a fix that is invisible to the eye and the foot. If you’ve previously struggled with how to hide a carpet seam that was poorly executed, this process will be your redemption. We are going to use the right tools—like a proper seam iron or specialized adhesive—to ensure those fibers knit back together without the ‘frankenstein’ look.
Does a DIY Seam Repair Actually Hold Up Over Time?
It is natural to be skeptical. You might worry that as soon as the vacuum runs over it, the whole thing will pop back open like a cheap zipper. I can tell you from experience that if you prep the subfloor correctly—perhaps even checking to patch a hole in the subfloor if the separation was caused by a dip—the repair can actually be stronger than the original factory seam. The secret isn’t just more glue; it’s about the heat-bond tape and the way you ‘marry’ the two sides of the nap. If your carpet is starting to look like a topographic map, you might also want to check why your carpet is buckling, as tension issues can often be the hidden culprit behind a splitting seam. Let’s get into the nitty-gritty of the tools you’ll need to grab from the hardware store to make this look seamless again.
Clean the Fray Before You Bond
Before you even think about plugging in a seam iron, you need to treat the carpet edges like a surgeon treats an incision. Those loose, fuzzy strings are the enemy of a solid bond. If you leave them there, the glue will grab the loose fibers instead of the structural backing, and you will be right back where you started in a month. I take a pair of extremely sharp duckbill shears and carefully trim away the ‘whiskers’ along the edge of the split. You want a clean, crisp line where the backing of one piece meets the other. If the carpet has pulled away significantly due to tension, you might find that you cannot quite pull the edges together by hand. This is where the power stretcher rule for large living room carpets comes into play—you need to tension the carpet toward the seam to close that gap without creating ripples elsewhere in the room. Trimming too much will leave a permanent gap, so take off only the frayed threads, not the actual backing.
Slide the Tape into Position
Once your edges are clean, it is time to introduce the heat-bond tape. Think of this tape as the bridge that connects two islands; it needs to be perfectly centered under the two edges. I once worked on a tricky repair where the carpet met a bathroom threshold, and I did not center the tape properly. Half an hour later, one side was rock solid while the other was flopping around like a loose floorboard. To avoid this, fold the carpet back just enough to see the subfloor. If you find a dip or a hole there, take a moment to level a subfloor dip without removing the old subfloor to ensure the tape lies perfectly flat. Center the tape, smooth it out, and make sure the edges of the carpet are resting right on the middle line of the adhesive strip before you apply any heat.
Master the Heat and Pressure Cycle
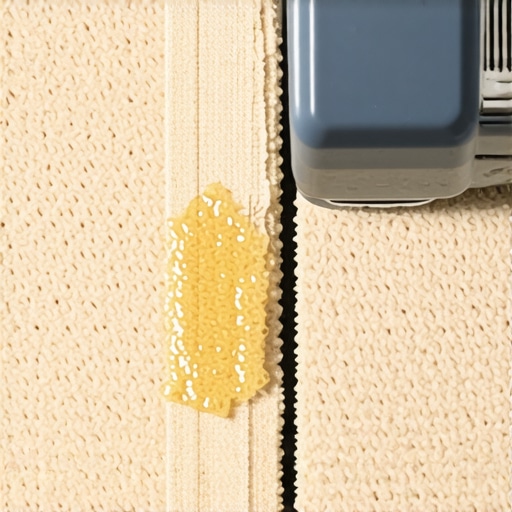
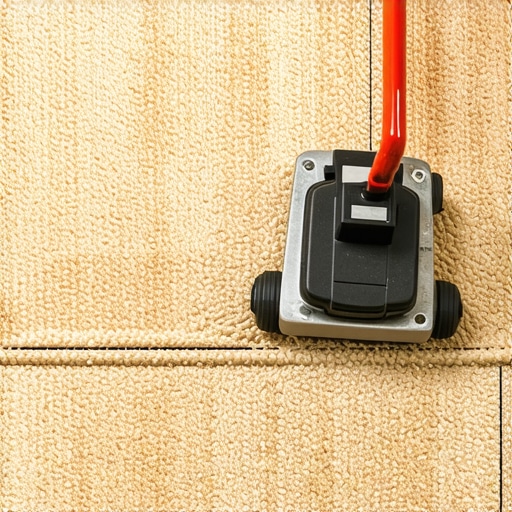
Now comes the part that requires the most focus: the iron. You are not ironing a shirt here; you are melting a specialized thermoplastic glue. Set your seam iron to the recommended setting (usually around 3 or 4) and let it get to temp. You will slide the iron onto the tape, under the carpet, and wait about 30 seconds for the glue to liquefy into a molten state. As you slowly move the iron forward, you follow right behind it, pressing the carpet into the glue. I learned the hard way that if you do not use a seam tractor—a tool with spiked wheels—immediately after, the fibers will not ‘knit’ together properly. On a particularly stubborn carpet install, I once rushed the cooling process and did not use a weight. The seam looked okay until the afternoon sun hit it, revealing a valley where the glue had not fully bonded the edges. Now, I always use a heavy toolbox or a specialized carpet weight to hold the seam flat while it cools. If you ever accidentally singe the fibers because you left the iron too long, you might need the iron and towel trick for fixing carpet dents or burns to restore the texture. The goal is to move steadily, ensuring the two sides of the nap are ‘marrying’ into a single, continuous surface. If you are working near a doorway, make sure you know how to transition from thick carpet to thin vinyl without a lip so your new seam does not become a trip hazard. This precise method is the backbone of any step-by-step flooring installation that involves soft surfaces.
Common wisdom says that if you pull the carpet edges tight enough, the seam will vanish. In my years of troubleshooting, I’ve found that’s exactly how you end up with a ‘peaked’ seam that catches the light like a sore thumb. Most DIYers think the more tension they apply, the better, but professional installers know that over-tensioning causes the backing to lift, creating a visible ridge. According to the Carpet and Rug Institute’s CRI 105 standards, proper seaming requires a precise balance of temperature and cooling time to ensure the adhesive does not just ‘stick’ but actually bonds into the secondary backing. If you have ever wondered why your carpet feels crunchy after a DIY spill fix, it is often because that same ‘more is better’ mentality led to saturated fibers that never recovered.
One of the biggest ‘traps’ I see people fall into is relying solely on a knee kicker for the entire room. While it is great for small adjustments, the knee kicker mistake that ruins luxury carpets is trying to use it to stretch a whole living area. You will end up with uneven tension that eventually pulls your beautiful new seam apart. For a truly professional finish, you need to look at the room as a whole system. This includes how the carpet interacts with the perimeter. Choosing from the various baseboard styles that elevate your interior design is not just about looks; it is about providing that perfect gap for the carpet to ‘tuck’ into, which locks the tension in place.
Can a seam in a high-traffic hallway ever be truly invisible?
The short answer is yes, but not by just gluing it. The secret is ‘fiber blooming.’ After the glue has set, you need to gently massage the fibers across the seam with a clean, damp cloth or a specialized brush to blend the pile. If you skip this, the two factory edges will sit side-by-side like two separate entities. If you have had a mishap during the process, knowing how to fix a carpet burn without a professional kit can save you from a total disaster. The goal is to avoid the common flooring installation mistakes to avoid for a seamless look by respecting the cooling cycle. If you rush it, the glue remains ‘plastic’ and will shift the moment someone walks on it. Have you ever fallen into this trap? Let me know in the comments.
Once the adrenaline of the repair wears off, the real work of preservation begins. I used to think that a repair was a ‘one and done’ event, but I quickly realized that the way you treat those seams in the following months determines if they last five years or fifteen. To keep that invisible look, you have to be disciplined about your cleaning routine. I always tell my friends that the biggest threat to a new carpet install isn’t heavy boots; it’s the invisible grit that acts like tiny saws against the fibers. If you’ve invested in best carpet types for high traffic areas in 2025, you already have a head start, but even the toughest nylon needs a break from abrasive dirt. I personally swear by a vacuum with adjustable brush roll height—if it’s too low, you’re just scrubbing the life out of your new seam.
How can I keep my flooring looking fresh for a decade?
Maintenance is about more than just avoiding spills. For my own home, I follow a strict ‘no shoes’ policy because the oils from our skin and the asphalt from the street can chemically bond to the fibers, making them look grey and dull regardless of how much you vacuum. If you start noticing a funky smell over time, I recommend you stop carpet odors with the baking soda vacuum trick rather than reaching for heavy chemical sprays that can break down the seam adhesive. Beyond the soft stuff, if you have integrated tile or stone nearby, keep an eye on the transitions. A loose metal strip can catch the edge of the carpet and rip your beautiful seam right back open. If that happens, knowing how to fix a loose carpet transition that trips everyone immediately will save you a much bigger headache later.
The Professional Tool Kit You Actually Need
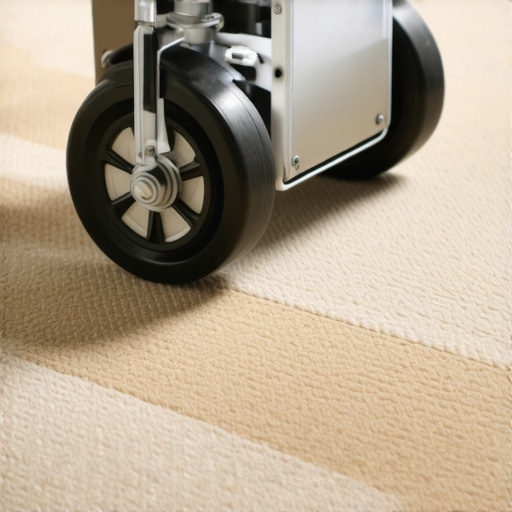
I get asked all the time if the cheap ‘DIY’ kits at the big-box stores are enough. Honestly? Usually not. If you want a result that doesn’t scream ‘amateur hour,’ you need a professional-grade seam iron with an adjustable heat shield. I personally use a Taylor Tools 22-inch model because its heat distribution is consistent across the entire plate, preventing those horrific hot spots that lead to a panicked search for how to fix a burnt carpet spot without a pro kit. Also, never underestimate the power of a seam tractor. Those little star-shaped wheels aren’t just for show; they mechanically press the carpet backing into the hot glue, ensuring the bond is structural, not just superficial. For larger rooms, I always follow the power stretcher rule for large living room carpets. A knee kicker is fine for a closet, but for a living room, you need the leverage of a wall-to-wall stretcher to keep those seams from peaking. According to the CRI 105 Standard for Installation of Residential Carpet, using a power stretcher is actually a mandatory requirement for a valid warranty in most residential settings.
The Future of Smart Flooring Systems
Looking ahead, I see the industry moving toward ‘active’ flooring materials. We are already seeing the rise of bio-based adhesives that are much more forgiving during the heat-bonding process and less likely to off-gas. In the next few years, I expect to see more modular carpet systems that mimic the look of broadloom but allow for individual ‘plank’ replacement without the need for a seam iron. This would totally change the game for flooring installation mistakes to avoid for a seamless look. Even the way we frame our floors is changing, with more homeowners choosing baseboard styles that elevate your interior design while providing hidden channels for cable management. I’m excited for a future where a split seam doesn’t mean a whole day of work with an iron. For now, my best advice is to grab a professional seam tractor and spend an extra ten minutes ‘massaging’ those fibers after you glue—it’s the single biggest difference between a seam you can see from the doorway and one that disappears entirely.
The Costly Mistake of Rushing the Glue Cycle
One of the hardest lessons I learned is that patience is more important than the iron itself. In my early days, I thought as soon as the glue was melted, the job was done. I would walk over the area immediately, only to have the seam shift and create a permanent ridge. I realized that the bond is not just about heat; it is about the cooling phase where the thermoplastic sets. If you rush this, you risk the dreaded peaking effect where the seam lifts up. I have seen this happen even with a professional carpet install when the installers were in too much of a hurry. Another lightbulb moment was understanding the limit of my tools; specifically, how the knee kicker mistake that ruins luxury carpets can apply to repairs too. If you use a kicker to force a seam together, the tension will eventually win, and the seam will pop. Always use a power stretcher for large areas to ensure the tension is even across the room.
Invest in Tools That Save Your Knees and Your Nerves
If you plan on doing more than one repair in your lifetime, put down the hairdryer and the hardware store super glue and get the right gear. First, get a professional seam iron with a heat shield. It prevents the backing from scorching while ensuring the glue reaches the exact temperature needed to bite into the fibers. If you do mess up and singe the edges, do not panic; knowing how to fix a burnt carpet spot without a pro kit can be a lifesaver. Second, the star-wheeled seam tractor is non-negotiable. It physically meshes the carpet pile together while the glue is still molten. Finally, I always keep a copy of the CRI 105 guidelines handy. It is the bible of carpet installation and keeps you from making mistakes that void your warranty. These tools turn a stressful weekend project into a satisfying afternoon of craft.
#IMAGE_PLACEHOLDER_E#
Step Into Your Professional DIY Era
Repairing your own floor is about more than just saving a few hundred dollars; it is about the pride of walking across a room and knowing that the invisible seam under your feet is there because of your own two hands. Do not be afraid to take that first cut or plug in that iron. With the right tension and a bit of patience, your carpet install repair will look like it was done by a crew with twenty years of experience. As you look toward other projects, keep exploring transform your home expert flooring installation tips for 2025 to keep your skills sharp. You have the knowledge now—it is time to put it to work and make your home feel brand new again. Have you ever accidentally burnt a spot while trying to fix a seam? Let me know your biggest DIY flooring challenges in the comments below!