

I was standing in my living room, staring at a three-quarter-inch gap between my brand-new luxury vinyl planks and the jagged edge of a rustic fieldstone fireplace. It looked like a canyon. My wife called it ‘character,’ but to me, it was a glaring sign of a DIY project gone wrong. I’d spent hours on the step-by-step flooring installation, but this one transition was threatening to ruin the whole aesthetic. I remember the exact moment of defeat when I tried to fill that gap with a mountain of almond-colored caulk, only for it to shrink and crack within a week. It was ugly. It was unprofessional. And honestly, it was embarrassing. But that failure led me to discover the ‘Zero-Clearance’ cut—the professional secret to making your floor look like it grew right out of the stone. Today, I’m going to show you how to stop hiding your mistakes with trim and start achieving that high-end, seamless look that usually costs thousands in custom labor.
The Day I Stopped Using Caulk to Hide My Gaps
Let’s be real for a second: we’ve all been tempted to take the easy way out. Early in my renovation journey, I made one of the most common flooring installation mistakes by assuming that a thick bead of silicone could solve any problem. It can’t. When you’re dealing with a stone fireplace, the irregular surface makes traditional baseboards or quarter-rounds look clunky and out of place. I learned the hard way that if you want a floor that looks truly integrated, you have to embrace the scribe. Back then, I didn’t know the scribe tool trick, and I ended up wasting three boxes of planks trying to eye-ball the cuts. It was a disaster. According to the Natural Stone Institute, fieldstones vary significantly in hardness and density, meaning a one-size-fits-all approach to cutting or gapping will almost always result in visible fractures or unsightly spaces. If you’ve ever looked at a professional home magazine and wondered why their floors look so much better than yours, this is the reason. They aren’t using trim; they are using precision.
Can you actually cut stone without making a massive mess?
This is the biggest fear I hear from my neighbors and readers alike. The idea of taking a diamond-blade oscillating tool to a $10,000 fireplace is enough to make anyone’s palms sweat. You’re probably thinking, ‘What if I slip?’ or ‘Won’t the dust ruin my entire house?’ I’ve been there, clutching my tool with white knuckles, wondering if I was about to devalue my home in a single afternoon. But here’s the truth: with the right guide to durable flooring installation, it’s actually a very controlled process. We aren’t hacking away at the stone; we are creating a thin, surgical relief cut that allows the flooring to slide underneath. Have you ever felt like a specific part of your home was ‘untouchable’ because you were afraid of breaking something expensive? Tell me about your fireplace frustrations in the comments—I’ve likely made the same mistake you’re worried about. We’re going to walk through the prep work next to ensure your living room doesn’t turn into a dust bowl.
Get Your Marks Right Before Touching the Blade
To master the zero-clearance look, you have to stop thinking like a carpenter and start thinking like a tailor. You are essentially ‘hemming’ the stone. First, lay your flooring plank as close as possible to the fireplace. I use the scribe tool trick for baseboards against stone walls to trace the jagged topography of the fieldstone onto the plank. But here is the professional pivot: we aren’t going to cut the plank to that line. We use that line as a guide for where our undercut needs to happen on the stone itself. If you’re working with LVP, make sure you follow the stay sharp blade rule for cutting luxury vinyl when you finally trim the ends of your rows, ensuring every piece that butts up against the hearth is crisp and clean.
How to Undercut Stone Without the Mess
This is the part that usually scares people. You need an oscillating multi-tool equipped with a diamond-grit blade. It eats through stone like a hot knife through butter, but it generates a fine, gray silt that will find its way into your kitchen cabinets three rooms away if you aren’t careful. I learned this the hard way during a remodel in a tight colonial hallway. I was so excited to see the progress that I ignored the dust. By the time I finished the four-foot hearth, the entire downstairs was coated in a layer of ‘stone snow.’ It took me three days to clean it up. Now, I always use the vacuum seal trick for cleaning dust by taping a shop-vac nozzle an inch away from the cutting blade.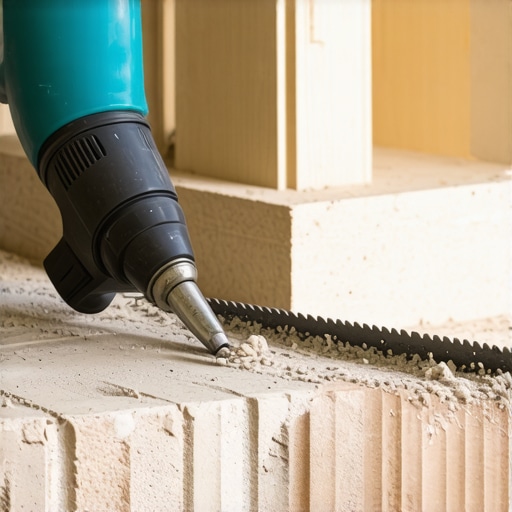
Why Half an Inch is the Magic Number
You aren’t trying to cut through the entire rock. You only need to create a slot about 1/2 to 3/4 of an inch deep. Think of it like a mail slot for your flooring. This depth is critical because it hides the edge of the plank while providing enough room for expansion. If you don’t leave this space, you’ll run into one of those classic flooring installation mistakes where the floor has nowhere to go when the humidity rises, leading to peaking or buckling. Before you slide the final pieces in, check that your subfloor is perfectly level. If there’s a dip right at the fireplace, use the self-leveler move for perfectly flat vinyl installs to ensure the plank doesn’t ‘bounce’ inside the stone slot.
Slide the Plank Home for a Friction Fit
When you’ve cleared the stone debris out of the slot, it’s time for the payoff. If you did it right, the flooring plank should slide right under the stone. It looks like the stone was built on top of the floor, which is the ultimate mark of a pro. For the rest of the room where you are using traditional walls, make sure you’re using the inside corner cope for perfect baseboard installs to match this level of quality. You can even stop baseboard gaps with the caulk and paint sequence on the flat walls, but around that stone, you won’t need a drop of caulk. The shadow line created by the undercut does all the work for you.
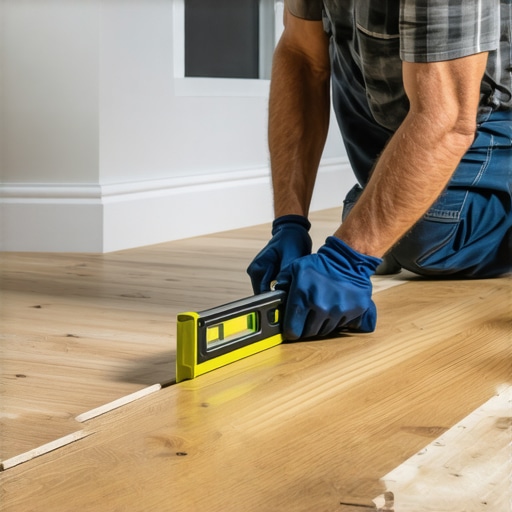
Once you’ve mastered the fireplace undercut, you might think the hard part is over, but this is where most DIYers lose their momentum and start making the ‘good enough’ excuses. I used to think that a level was my best friend on every job site, but experience taught me a contrarian truth: in an old house, a level can be your worst enemy. If you install your trim perfectly level against a floor that slopes even half an inch across the room, the human eye will catch that tapering gap immediately. This is exactly why your baseboards look crooked on perfectly level floors. Instead of forcing the trim to be ‘correct’ by the tool, you have to make it ‘correct’ for the room. I now rely on the wood shim secret for baseboards on uneven slabs to ensure the transition looks intentional rather than accidental. This subtle adjustment keeps the profile consistent without creating those massive voids that swallow tubes of caulk.
The Invisible Trap Beneath Your Luxury Planks
The most dangerous mistake I see is people obsessing over the top layer while ignoring the concrete beneath it. We often think of concrete as a solid, inert block, but it’s actually a porous sponge that breathes moisture. The National Wood Flooring Association (NWFA) specifies that subfloor flatness—not levelness—is the absolute requirement for a successful install. If your floor has a crown or a dip greater than 3/16 of an inch over a 10-foot span, your luxury vinyl will eventually fail. This is why we never skip the subfloor moisture test on concrete. If you trap vapor under a waterproof floor without a proper barrier, that pressure has nowhere to go. It will eventually force the locking mechanisms apart, leading to that annoying clicking sound or, worse, mold growth that you won’t smell until it’s too late. Have you ever noticed your floor feeling ‘spongy’ in just one spot? Tell me about it in the comments—it’s usually a sign that the subfloor prep was rushed.
Why is your shower floor grout already starting to crack?
The same principles of ‘hidden’ quality apply when you move into wet areas. Many homeowners assume a plastic liner and some thinset are enough for a waterproof shower. But if you want a base that doesn’t flex or leak, you need to understand the dry pack secret for rock solid shower subbases. A traditional ‘mud bed’ provides a structural integrity that pre-formed plastic pans simply can’t match. When you combine this with the right scale for your trim—something I discuss in my guide on how to choose baseboard heights for high ceilings—the entire room starts to feel like a cohesive, professional space rather than a collection of separate parts. Don’t let the invisible details ruin your hard work; the difference between a five-year floor and a fifty-year floor is always in the prep work you can’t see once the transition strips are down.
Stop believing the lie that modern materials are maintenance-free. I’ve seen enough ‘waterproof’ luxury vinyl floors fail within three years to know that the marketing doesn’t always match the reality of a busy household. If you’ve followed my earlier advice on getting those tight stone undercuts, you’ve already won half the battle. But the real victory is in how you treat the floor once the furniture is moved back in. I used to think a quick sweep was enough, but now I’m a stickler for the stop hardwood scratches with the felt pad routine even on LVP and tile. Grit is a floor’s worst enemy; it acts like sandpaper under your feet. If you are working on a bathroom, you need to be just as vigilant. For my clients, I always recommend the the bead and smooth strategy for shower corners using 100% silicone, because acrylic caulk will inevitably fail and lead to the very leaks we worked so hard to prevent.
Invest in Tools that Save Your Body and Your Budget
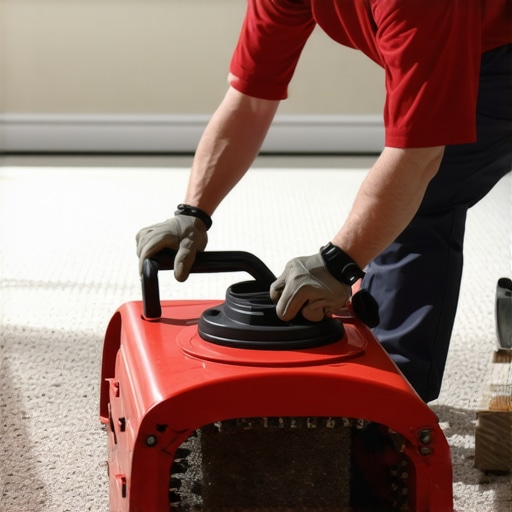
When it comes to carpet, the biggest mistake I see DIYers—and even some ‘pros’—make is relying solely on a knee kicker. Your knees will thank you later if you switch to the the power stretcher rule for large living room carpets. A knee kicker is only meant for positioning; a power stretcher is what actually tensions the carpet to the tack strips. According to the Carpet and Rug Institute (CRI) 104/105 residential installation standards, failing to use a power stretcher is a primary cause of delamination and premature wear. I personally use the Roberts 10-254 because of its leverage, and it’s the secret behind carpet install secrets for achieving flawless results every time. If you’re dealing with transitions between rooms, don’t just wing it. Using the double glue method for high-traffic vinyl plank transitions ensures that those high-stress areas near doorways won’t buckle or pop loose after a summer of humidity changes.
How do I keep my high-end transitions looking new for decades?
The answer isn’t a special chemical; it’s consistency. For stone and tile, you have to know how to seal a marble shower without changing the color to prevent hard water deposits from etching the surface. For flooring transitions, check the gaps twice a year. If you find a slight shift, address it immediately. In my experience, a small problem in the threshold is usually a symptom of the floor not having enough room to breathe elsewhere. If you’re moving from a thick rug to a modern floor, learn how to transition from thick carpet to thin vinyl without a lip to prevent the edges from fraying. I predict that by the time we see the top trends in flooring installation for 2025, we’ll be using even more augmented reality tools to predict these wear patterns before we even lay the first plank. For now, focus on the manual precision. I want you to try the ‘double-glue’ method on your next threshold transition; it sounds like overkill, but it’s the only way to ensure that high-traffic lip never lifts. Don’t settle for ‘good enough’ when the tools to make it perfect are already in your hands.
What I Learned After Ruining Three Cases of Luxury Planks
If I could go back to that first living room renovation, I’d tell myself to put down the hammer and pick up the notebook. My biggest lightbulb moment came when I realized that ‘close enough’ eventually becomes a structural failure. I used to rush the layout, but now I know that the first and last rows are the only ones that matter for the visual balance of the room. I also learned that wood is alive—it breathes and moves—and if you don’t respect the expansion gaps, the floor will fight back. Finally, I realized that my best work happened when I stopped trying to hide the stone transitions and started highlighting them through precision cutting.
#IMAGE_PLACEHOLDER_E#
The Gear That Separates Pros from Amateurs
You don’t need a warehouse full of tools, but you do need the right ones for high-stakes moments. For any carpet install secrets for achieving flawless results, I never skip using a power stretcher; it is the only way to prevent ripples. When I’m working on a luxury shower renovation, my go-to is a high-quality laser level to keep those horizontal lines from drifting. For the stone undercutting we discussed, a variable-speed oscillating tool is non-negotiable. I personally trust brands like Fein or Bosch because the vibration control keeps my hands steady when I’m millimeters away from a $500 fieldstone. These aren’t just gadgets; they are insurance policies for your craftsmanship.
Build a Home You’re Proud to Walk Through
Taking on your own flooring installation is more than just a way to save money—it’s a way to reclaim the character of your house. There is a specific kind of pride that comes from walking across a floor and knowing that the gap-free transition at the fireplace was your handiwork. Don’t let the fear of a dusty room or a complex cut stop you from achieving a professional-grade finish. Whether you are looking at the top trends in flooring installation for 2025 or sticking with a timeless hardwood look, the key is to prioritize the details that most people ignore. You have the guide, you have the strategy, and now you have the confidence to finish strong. Have you ever tried to undercut a stone hearth, or did you opt for the ‘caulk and pray’ method for your last project? Let me know in the comments below!