

I remember the smell first—musty, damp, and heavy, like a basement that hadn’t seen a breeze since the nineties. I was standing in my hallway, just outside the master bath I had proudly renovated only two years prior, and there it was: a faint, brownish tide mark creeping up the drywall right where the shower bench sat on the other side. My heart sank. I had spent thousands on marble and high-end fixtures, but I had missed the one thing that actually keeps a house standing. Water wasn’t just sitting on my bench; it was hitching a ride straight into the wall cavity, turning my 2×4 studs into mush. This is the nightmare every homeowner fears, but I promise you, we are going to get to the bottom of it today so you don’t have to tear your bathroom down to the studs like I did.
Gravity Always Wins the Bathroom War
The biggest mistake I made back then—and it’s a mistake I see pros and DIYers make every single week—is treating a shower bench like a piece of furniture rather than a dam. If that bench isn’t perfectly sloped, water doesn’t just sit there; it migrates. Through capillary action, moisture finds its way into the grout lines, then behind the tile, and eventually into the framing. I didn’t realize that why your shower curb is always the first part to fail is often the same reason benches fail: improper water management at the transition points. According to the Tile Council of North America (TCNA), horizontal surfaces in a wet area must have a minimum pitch of 1/4 inch per foot to ensure drainage, a rule I ignored because I thought ‘level’ meant ‘perfect.’ It didn’t. It meant disaster.
Is a Built-in Bench Actually Worth the Hassle?
You might be wondering if you should just rip the thing out and buy a plastic stool. I get it. The skepticism is real when you’re looking at a $5,000 repair bill for a seat you only use to shave your legs. But the truth is, a bench can be perfectly safe if you understand the curb slope requirement for waterproof shower pans applies to your seating too. My early failure taught me that waterproofing isn’t just about the product you paint on; it’s about the geometry of the build. We need to talk about why the ‘dry pack’ method is superior to wood framing and how to ensure your stop shower pan leaks with the flood test requirement includes the bench itself. Have you ever noticed a mysterious damp spot on the wall behind your shower? Tell me about it in the comments below; I’ve probably been exactly where you are right now. We’re going to fix this by looking at the dry pack secret for rock solid shower subbases and applying that same logic to your seat.
Build with Mud Instead of Wood
Stop reaching for those 2x4s. In a wet environment, wood is essentially a sponge waiting to expand. When it does, your tile and grout are the first casualties. I learned this the hard way on a job in a tight master suite where I thought a plywood box would save me two hours. Within months, the client called me back because the grout lines looked like a spiderweb. Now, I exclusively use the dry pack secret for rock solid shower subbases to create a solid, inorganic mass that won’t move, rot, or harbor mold. Think of it as building a small mountain inside your shower—it is not going anywhere.
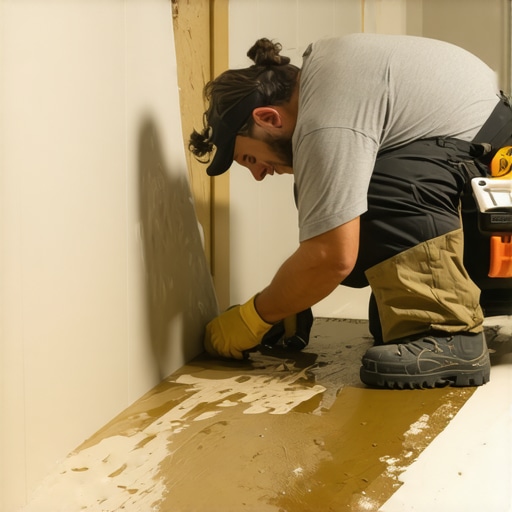
The Slide Rule for Proper Drainage
A bench should never be flat. If you place a level on it, that bubble should be noticeably off-center. Think of the bench as a playground slide; if water sits still, it eventually sinks in. We follow the same logic as the curb slope requirement for waterproof shower pans. You need at least a quarter-inch drop toward the drain for every foot of depth. If your bench is 12 inches deep, the back should be a quarter-inch higher than the front. This prevents the ‘puddle effect’ that eventually eats through your sealer and causes why your shower grout is crumbling just months after install.
Waterproof the Joints Like Your Life Depends on It
The most vulnerable spot isn’t the flat top of the bench; it is the 90-degree angle where the seat meets the wall. This is where most DIYers fail because they rely on grout to do a gasket’s job. I always use a topical membrane—either a sheet or a liquid-applied roll-on—and I bridge those corners with reinforcing tape. To ensure a clean finish that doesn’t bulk up and cause tile lippage, I employ the bead and smooth strategy for shower corners. It ensures the waterproofing is continuous without creating a big hump that makes the tile kick out.
The Foam Wall Advantage
If you aren’t comfortable mixing mud, pre-formed high-density foam blocks are your best friend. They come pre-sloped and ready for thinset. When using these, treat them with the same respect as the foam wall secret for waterproof shower niches. You must seal every single screw penetration and seam. Even a tiny pinhole can lead to a slow-motion disaster. Before you even think about thinset, you must verify your work. This is why we never skip stop shower pan leaks with the flood test requirement, making sure the water level sits against the bench transitions for at least 24 hours. If that water level drops, you have got a leak, and it is better to find it now than after the marble goes down.
Alignment and Finish
When you finally start laying tile, use the laser level move for perfectly horizontal shower tiles to ensure your bench top aligns perfectly with the wall patterns. If your bench is slightly off-kilter visually, it ruins the entire aesthetic. Use stop tile lippage with this leveling system move on the large top piece of the bench to ensure it is perfectly smooth for sitting—no one wants a sharp tile edge digging into their leg while they are trying to relax.
Let’s dig deeper into the ‘waterproof grout’ fallacy. Most homeowners—and frankly, too many contractors—believe that a high-quality sealer or epoxy grout makes the bench impervious to water. This is a dangerous lie. In my experience, relying on the surface finish to keep the substructure dry is like using a screen door on a submarine. According to the Tile Council of North America (TCNA) Handbook, grout is a porous medium, not a waterproofing layer. If you don’t have a dedicated membrane beneath that tile, you are essentially gambling with the structural integrity of your floor joists. Have you ever fallen into this trap where you thought a bit of extra sealer would fix a persistent damp spot? Let me know in the comments; I’ve seen some wild ‘quick fixes’ that ended in catastrophe.
Does Your Bench Actually Require a Complete Tear-Down?
I often get asked if a leaking bench can be saved with a simple surface patch or a fresh bead of silicone. The nuanced answer is almost always no. Because the bench is structurally integrated into the pan, a leak at the seat level often indicates a failure of the dry pack secret for rock solid shower subbases or the underlying pan liner. When you start seeing signs of failure, such as crumbling grout or persistent odors, you must evaluate shower repairs when to fix vs replace for longevity. Trying to ‘caulk and walk’ is the fastest way to turn a manageable repair into a five-figure disaster.
Beware the Deadly Moisture Sandwich
One of the most common advanced mistakes I see during an upgrade your bathroom the ultimate shower renovation guide project is the creation of a ‘moisture sandwich.’ This happens when a builder installs a traditional polyethylene vapor barrier behind the cement board and then applies a modern liquid-topical membrane over the front. You have now created a waterproof vault for any moisture that manages to sneak in through screw holes or transitions. This trapped water cannot evaporate, leading to a rotting, stinking mess that can’t be diagnosed until the drywall on the other side of the wall starts to rot. 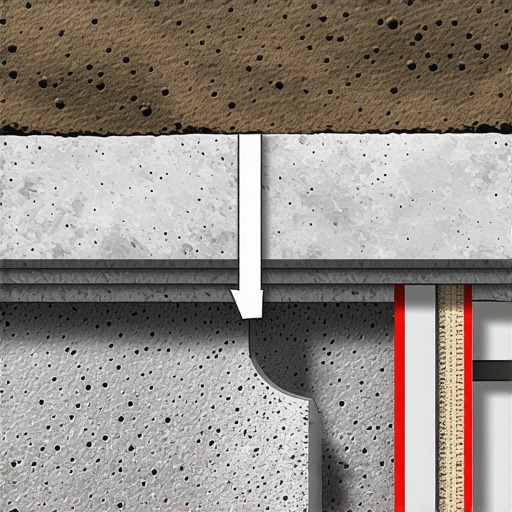
Stop the Wicking at the Bench Wall Junction
To prevent moisture from climbing your walls like a ladder, you need a true capillary break. I use the bead and smooth strategy for shower corners to ensure the transition from the horizontal seat to the vertical wall is bulletproof. This isn’t just about the visible corner; it’s about ensuring the waterproofing membrane extends at least six inches past the junction point in every direction. If your waterproofing stops exactly at the corner, you’re leaving the door wide open for moisture migration. If you are currently planning a remodel, remember that flooring installation mistakes to avoid for a seamless look often start with what you can’t see, and in a shower, what you can’t see can definitely hurt you.
Keep Your Hard Work Dry with a Pro Moisture Meter
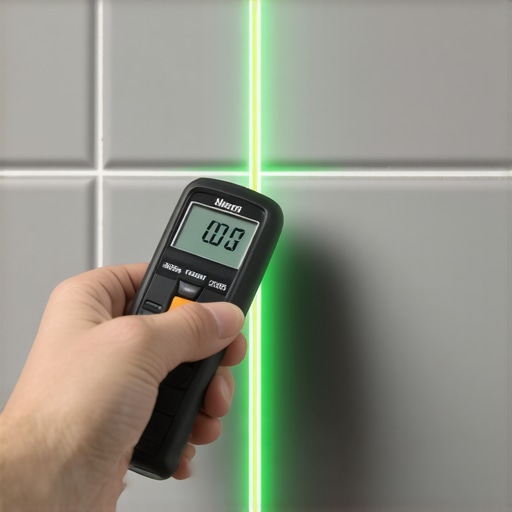
If there is one tool that separates the weekend warriors from the guys who never get a callback, it is a high-quality pinless moisture meter. I don’t just use it for the moisture meter requirement for basement flooring jobs; I use it to verify that my shower subbase is bone-dry before the first drop of liquid membrane hits the surface. I’ve seen too many people trap water inside their dry pack because they were in a rush to tile. I personally use the Wagner Meters Orion series because it doesn’t leave holes in my waterproofing, and it gives me a clear picture of what is happening two inches deep into the mud bed. If you’re serious about an upgrade your bathroom the ultimate shower renovation guide, this tool is your insurance policy against rot.
Why My Laser Level is My Best Employee
Precision isn’t just about looks; it’s about water flow. I rely on the laser level move for perfectly horizontal shower tiles to ensure that my bench height and the surrounding wall tiles are in perfect harmony. But more importantly, I use the laser to double-check my slope. A quick beam across the bench top instantly shows me if I have that crucial 1/4-inch pitch. If that light isn’t hitting my mark, the tile doesn’t go down. It is that simple. This level of accuracy prevents the pooling that leads to why your shower grout is crumbling just months after install, saving you a massive headache down the road.
How do I maintain my shower bench without tearing it out?
The secret to a twenty-year shower isn’t just the install; it’s the upkeep. You have to treat your grout and sealant like the oil in your car. According to the National Tile Contractors Association (NTCA) Reference Manual, sealant in movement joints—like that 90-degree corner on your bench—needs to be inspected and often replaced every 3 to 5 years. I always tell my clients to look for ‘the gap.’ If that silicone is pulling away, moisture is getting in. You should also learn how to seal a marble shower without changing the color to keep that stone from absorbing body oils and soaps, which can eventually degrade the bond. Regular maintenance is the only way to avoid the tough conversation about shower repairs when to fix vs replace for longevity.
Smart Sensors are the Future of Leak Protection
I predict that in the next five years, we won’t just be building showers; we will be wiring them. We are already seeing the rise of smart leak detectors that sit behind the wall or under the pan. Imagine getting a notification on your phone that your shower bench has a 2% increase in humidity before you ever see a water spot on your ceiling. This technology will take the guesswork out of maintenance and could eventually be integrated into building codes for multi-family dwellings. Until then, we rely on the fundamentals, like the bead and smooth strategy for shower corners, to keep our homes standing. Before you tile your next bench, I want you to grab a moisture meter and check your subbase—it’s the one tool that will actually give you peace of mind.
What Most Contractors Won’t Tell You About Shower Seating
After years of tearing out “professional” installs, I’ve realized that the biggest failures aren’t caused by a lack of skill, but a lack of patience. Here is what I wish I knew on day one: First, grout is a filter, not a barrier. If you are counting on your grout to keep the water out, you’ve already lost the battle. Second, the junction where the bench meets the wall is the most high-stress point in your entire bathroom. This is where movement happens and where most topical membranes fail if they aren’t reinforced. Finally, never trust a “waterproof” plywood. In a wet environment, wood is the enemy; sticking to the dry pack secret for rock solid shower subbases is the only way to sleep soundly at night.
#IMAGE_PLACEHOLDER_E#
The Gear I Trust to Build Showers That Last Decades
You don’t need a truck full of tools, but you do need the right ones. I never start an upgrade your bathroom the ultimate shower renovation guide without my Wagner Orion moisture meter. While it’s technically part of the moisture meter requirement for basement flooring jobs, it is just as vital for checking your shower mud bed. I also recommend keeping a copy of the TCNA Handbook nearby; it is the industry bible for a reason. For the actual build, I prefer high-density foam components for benches because they remove the human error of sloping, as long as you seal them with the same care you’d use for the foam wall secret for waterproof shower niches.
Build Your Sanctuary with Confidence
A shower renovation is a big undertaking, but don’t let the fear of a leak stop you from creating a spa-like shower experience. By focusing on the fundamentals—proper slope, inorganic materials, and meticulous waterproofing—you are building something that will last for a generation. Remember that shower repairs when to fix vs replace for longevity is a choice you make during the install phase, not after the mold starts to grow. You have the knowledge now to do it right the first time. Have you ever discovered a hidden leak behind a shower bench that looked perfectly fine from the outside? Share your story in the comments below; I’d love to help you figure out your next move.