

I was standing in my basement three years ago, admiring what I thought was a job well done. I had just laid down some gorgeous luxury vinyl planks. It was my “man cave” masterpiece. Then, a month later, I started hearing it—that rhythmic, annoying tick-tick-tick every time I walked to the laundry room. I ignored it at first, but then the gaps started showing up. I had made the classic rookie mistake: I trusted my eyes instead of a sensor. I thought because the slab looked bone-dry and had not flooded in a decade, I was in the clear. I was wrong, and it cost me a weekend of ripping up planks and a few hundred bucks in wasted material.
Why Your Concrete Is Lying to You
The problem with basement concrete is that it is basically a giant, hard sponge. Even if it feels dusty and dry to the touch, it is constantly pulling vapor up from the earth. When you slap a beautiful new floor on top of it, you are essentially putting a lid on a pot of simmering water. That moisture has nowhere to go, so it attacks your adhesive or causes your planks to warp and shift. This is exactly why your vinyl plank floor is clicking when you walk after a few months of use. I used to think I could just “feel” if a slab was ready. I would do the old plastic sheet test and call it a day. But modern flooring materials are pickier than they used to be. Whether you are dealing with carpet install secrets or high-end vinyl, the moisture levels in that slab are the ultimate deal-breaker. If you do not check them, you are just gambling with your bank account. According to data from the World Floor Covering Association, moisture-related issues are the single most common reason for flooring warranty claims being denied.
Is a Fifty-Dollar Tool Actually Worth the Hype?
I get the skepticism. You are already spending thousands on materials, and now some guy on the internet is telling you to buy another gadget. You might be wondering if you can just wing it. Trust me, I have been there. But after seeing my own floor fail, I realized that why we never skip the subfloor moisture test on concrete is not just a professional rule; it is a sanity-saver for the DIYer. Have you ever finished a project only to have it literally fall apart under your feet a month later? It is a gut-punch. Today, I am going to show you why that moisture meter is your best friend and how to use it so you never have to rip up a “finished” floor again. We will talk about the moisture barrier move for concrete slabs and how to read the signs your basement is sending you before you lay a single plank. [IMAGE_PLACEHOLDER]
Test Your Concrete Like a Pro
When I finally broke down and bought a pinless moisture meter, it felt like I was cheating. I used to tape squares of plastic to the floor and wait two days, but that is like trying to predict the weather by looking at the clouds—it is a guess. You need hard data. For concrete, you are looking for a Relative Humidity (RH) level below 75% for most vinyl products. If you are higher than that, you are not just installing a floor; you are building a mold farm. I remember a job in a tight kitchen where I thought the floor was “close enough.” I skipped the self-leveler move for perfectly flat vinyl installs and figured the underlayment would hide the dips. Within three months, the planks were literally showing every single bump and valley in that slab. This is why your vinyl plank floor is telegraphing subfloor bumps—because gravity always wins. 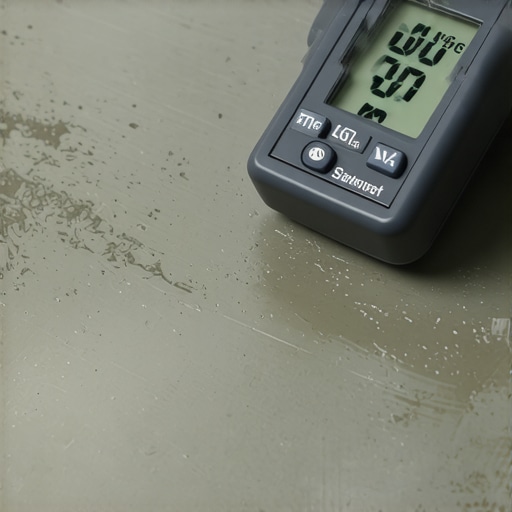
Kill the Click with a Flat Subfloor
If your concrete slab looks like the surface of the moon, do not expect your flooring to lie flat. You need to identify the high spots and the craters. I use a ten-foot straightedge or a long level to find the “valleys.” Anything deeper than 3/16 of an inch over a ten-foot span needs to be filled. Think of your flooring like a bridge; if the supports (the subfloor) are uneven, the bridge will flex and eventually crack. This flexing is a primary reason why your vinyl plank floors are making a clicking sound. I once tried to “shim” a vinyl floor with extra padding in a low spot—big mistake. The padding compressed, the joint opened up, and I had to start over. Use a high-quality cementitious leveler instead.
The Vapor Barrier is Non-Negotiable
Even if your meter says the concrete is dry today, you must protect against tomorrow’s humidity. On concrete, I always insist on the vapor seal requirement for luxury vinyl on concrete. This is usually a 6-mil poly film. It acts as a raincoat for your floor. Without it, moisture vapor can turn your floor’s adhesive into a gooey mess or cause the core of the planks to swell. I have seen beautiful basements ruined because someone saved twenty bucks by skipping the plastic. It is the cheapest insurance policy you will ever buy for your home.
Mind the Gaps and the Trim
Once the floor is down, do not just slam your baseboards against the planks. Vinyl floors need room to breathe—or rather, to expand and contract. Use the spacer block rule for consistent gaps around the entire perimeter. When you go to install your trim, you might find the floor is still slightly wavy. Instead of forcing the wood down and leaving a visible gap at the top, I use the wood shim secret for baseboards on uneven slabs to keep everything looking tight and professional. If you are dealing with tricky walls, the scribe tool trick for baseboards against stone walls can save you hours of frustration and tubes of caulk. Every small detail, from the moisture test to the final nail in the baseboard, determines if your floor lasts three years or thirty.Most DIYers—and honestly, a lot of ‘pros’—think a knee kicker is the only tool needed for a bedroom carpet. In my experience, that is a recipe for disaster. Relying solely on a kicker is the fastest way to see your floor develop wrinkles in three years. The Carpet and Rug Institute (CRI) explicitly states in their S201 standard that a power stretcher is mandatory for all residential installations. If you skip the power stretcher rule for large living room carpets, you are basically setting a timer for when the fabric will buckle and pull away from the tack strips. This is a classic ‘oops’ factor that turns carpet install secrets into a frustrating rework project. Then there is the shower, where the hidden nuance is everything. I have seen homeowners spend thousands on premium marble and then completely neglect the foam wall secret for waterproof shower niches. They assume the grout and tile are the waterproof layer. They are not. Grout is porous and will eventually let moisture through. This is why your shower niche keeps leaking through the bathroom wall just months after the ‘final’ inspection. 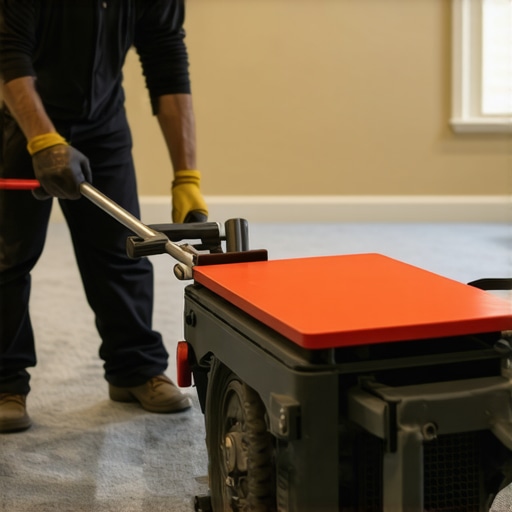
Why Does Your New Carpet Look Like It Has Different Colors?
Sometimes you finish an install and notice dark patches that look like the carpet is wet or stained. This is not a manufacturing defect; it is pile reversal or shading. It is why your carpet looks different colors from different angles. The way light hits the fibers determines the shade, and if the pile is not brushed in the same direction during installation, it looks patchy. These are the nuances that separate a weekend warrior from a seasoned pro. Even with trim, people often forget the spring miter secret for tight crown and baseboard corners, which keeps those joints closed even when the house shifts. Have you ever fallen into one of these traps where you prioritized the aesthetics over the structural integrity? Let me know in the comments. Using the inside corner cope for perfect baseboard installs can also save you from that ‘rookie’ look where the gaps are filled with tubes of caulk. Whether you are browsing top trends in installation for 2025 or fixing a 20-year-old bathroom, remember that the prep work you cannot see is always more important than the finish you can.
Stop Guessing with a Laser Level
If you are still using a bubble level for your bathroom remodel, you are working too hard and risking a lopsided disaster. I switched to a 360-degree green beam laser years ago, and it changed everything. Why? Because the laser level move for perfectly horizontal shower tiles ensures that your first row is dead-level across all three walls. If you are off by even an eighth of an inch at the start, that error will grow as you reach the ceiling, leaving you with slivers of tile that scream ‘amateur.’ I personally recommend the self-leveling units from brands like Bosch; they are the gold standard for a reason. Precision isn’t just about looks; it is about ensuring that the shower repairs when to fix vs replace for longevity conversation never has to happen in your house. I also never go to a job site without an oscillating multi-tool for trimming door casings. It is the only way to get a clean, flush fit when your new floor height is different from the old carpet.
How can I maintain my flooring for the long haul?
Maintenance isn’t just about mopping; it is about tactical prevention. For my hardwood and vinyl clients, I always leave behind a pack of heavy-duty felt. I have found that stop hardwood scratches with the felt pad routine is the easiest way to prevent those deep gouges from kitchen chairs that inevitably ruin a finish. And don’t reach for those cheap rubber caps at the big-box store. There is a specific reason why we prefer felt pads over rubber for luxury vinyl—rubber can actually react with the wear layer and leave permanent yellow stains. For the deep-cleaning days, I use the vacuum seal trick for cleaning dust out of floor grooves. It involves using a wet-vac with a narrow crevice tool to pull out the fine grit that acts like sandpaper in your floor joints. If you do find a minor mishap, remember the iron and towel fix for dents in solid wood floors; it has saved many of my projects from a full board replacement. 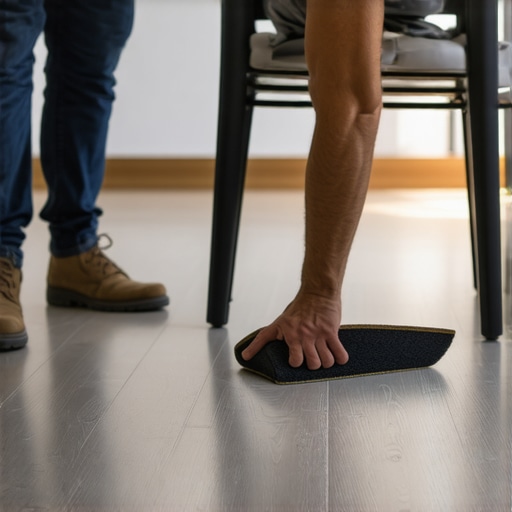
The Future of Flooring is Smarter Than You Think
Looking ahead, the industry is moving toward ‘intelligent’ surfaces and ultra-resilient materials. We are already seeing the beginning of this in transform your flooring top trends in installation for 2025, where moisture-sensing underlayments are becoming the new baseline for high-end homes. Imagine a floor that sends an alert to your phone if it detects a leak under the dishwasher before the wood starts to cup. According to the Tile Council of North America (TCNA) Handbook, the standard for waterproofing is becoming stricter every year, particularly regarding the ‘bonded waterproof membrane’ (Method B422). This focus on a completely sealed system is why I am betting that integrated sensors will soon be as standard as a vapor barrier. If you want to elevate your game right now, try my ‘double-check’ method: use a moisture meter on your subfloor even if you think it is dry, and then recalibrate your laser level before every single shower wall. It is that extra five minutes of obsession that guarantees a thirty-year result rather than a three-year failure.
Mistakes That Taught Me More Than Any Manual
If there is one thing a decade in the trades has taught me, it is that the best lessons usually come from the most expensive mistakes. Early in my career, I thought I could muscle my way through a carpet job with just a knee kicker. I learned the hard way that the knee kicker mistake that ruins luxury carpets isn’t just a myth; it is the reason why your carpet is buckling only three years later. I also realized that while a bubble level is a classic, it has no place in a modern shower. Precision requires more than just a steady hand; it requires the right technology to ensure that every row of tile is perfectly aligned from the drain to the ceiling.
The Gear I Never Leave in the Truck
When people ask me what the secret to a high-end look is, I don’t point to the most expensive planks or tiles. I point to the prep tools. I never start a bathroom project without my 360-degree laser because the laser level move for perfectly horizontal shower tiles saves me hours of layout frustration. For trim work, a high-quality scribe is my secret weapon. Using the scribe tool trick for baseboards against stone walls allows for a fit so tight that even the most meticulous homeowner will be impressed. I also swear by a digital moisture meter—it is the only way to truly know if your concrete is ready to receive a new floor without failing in six months.
Turning Your Vision into a Permanent Reality
At the end of the day, flooring installation is about creating a space where you feel comfortable and proud. It is about the peace of mind that comes from knowing you didn’t cut corners on the vapor barrier or the subfloor prep. Whether you are following expert flooring installation tips for 2025 or sticking to time-tested traditional methods, the goal is always longevity. Take your time, trust your data over your eyes, and don’t be afraid to invest in the specialized tools that make the job easier. With your guide to durable flooring installation in hand, you are more than ready to transform your home into a masterpiece. What’s the one part of your flooring project that keeps you up at night? Is it the moisture levels or getting those corner cuts just right? Let me know in the comments below!