

I’ll never forget the time I stood at the bottom of a client’s mahogany spiral staircase, feeling like I’d completely forgotten how to do basic math. I had my high-tech laser measure, a notebook full of scribbles, and a mounting sense of dread that I was about to ruin a very expensive roll of wool. Measuring for carpet install secrets on a straight flight of stairs is one thing, but those winding, wedge-shaped treads? They are a different beast entirely. I spent forty minutes trying to calculate the perfect arc, only to realize I was overcomplicating the whole process. That was the day an old-timer showed me what he called the ‘Pencil-Roll,’ and it changed my entire approach to step-by-step flooring installation projects forever. It’s a low-tech solution to a high-stress problem, and honestly, it’s saved me more money in wasted material than any other trick in my bag.
How a Simple Pencil Beats a $50 Laser Measure
The beauty of the Pencil-Roll trick lies in its tactile simplicity. You aren’t just measuring a flat distance; you’re measuring the actual physical journey the carpet takes as it hugs the tread and rolls over the nose. In my early days, I made the amateur move of measuring the tread depth and the riser height separately, then adding them together. I ended up with gaps that looked like a toddler had done the cutting because I didn’t account for the ‘give’ of the carpet pile. By using a pencil to ‘roll’ the measurement, you account for every curve and slight variation in the wood. It’s absolutely essential, especially when you’re working with the best carpet types for high-traffic areas where the backing can be stiff and completely unforgiving. You want that carpet to sit flush, not bridge across the nose like a tightrope.
Is this manual method actually worth the extra effort?
It’s a fair question to ask. In a world where we have smartphone apps that can map a room in seconds, why are we crawling around on our hands and knees with a pencil? The answer comes down to ‘tension.’ A digital measure doesn’t feel how the carpet backing resists a tight corner. When I first started out, I thought I could skip the manual templates and just ‘add an inch for safety’ to my numbers. That’s a one-way ticket to a sloppy finish. The Pencil-Roll allows you to visualize the carpet install secrets that pros use to get that seamless, tucked look. According to the Carpet and Rug Institute, measuring errors account for a massive portion of the 25% of installation waste seen in complex residential projects. If you’ve ever had to stare at a gap in the riser because your measurement didn’t account for the thickness of the pad, you know exactly why I’m so obsessed with this. It’s about more than just numbers; it’s about the physical reality of the material. Have you ever been halfway through a cut and realized your math was based on a straight line instead of a curve? It’s a heart-stopping mistake you only want to make once. To make sure the carpet actually stays where you put it after you’ve cut it to size, you’ll definitely want to look into the stay put glue strategy for carpet on stairs to ensure those tight curves don’t budge over time. Now, let’s get into the nitty-gritty of how to actually execute the roll.
Grab Some Cardboard and Map the Tread
Before you even touch your carpet roll, you need a physical template. On winding stairs, every tread is a unique snowflake. I learned this the hard way on a job in a Victorian remodel where I assumed the top three winders were identical. They weren’t. I ended up with a gap on the third step that looked like a missing tooth, and I had to eat the cost of a whole new section of wool. To avoid my mistake, use the cardboard template hack to create a perfect 1:1 replica of the stair surface. Lay the cardboard flat against the tread, making sure it butts up perfectly against the wall or the stringer. Don’t rush this part; the template is the only thing standing between you and a very expensive mistake.
How to Roll Your Way to Perfect Accuracy
This is where the magic happens. Instead of using a tape measure that wants to stay straight, take a standard carpenter’s pencil. Start at the back of the tread where it meets the riser and mark that point. Now, literally roll the pencil along the wood, following the exact path the carpet will take. If the stair nose has a deep undercut, the pencil follows it. This ensures you’re measuring the ‘surface distance’ rather than the ‘linear distance.’ It’s a similar logic to why carpet install secrets emphasize accounting for pile thickness. On a winder, one side of the template will be much narrower than the other. This ‘fan’ shape is why traditional measuring fails. By rolling the pencil on both the wide and narrow ends of the tread, you capture the exact geometry of the curve. 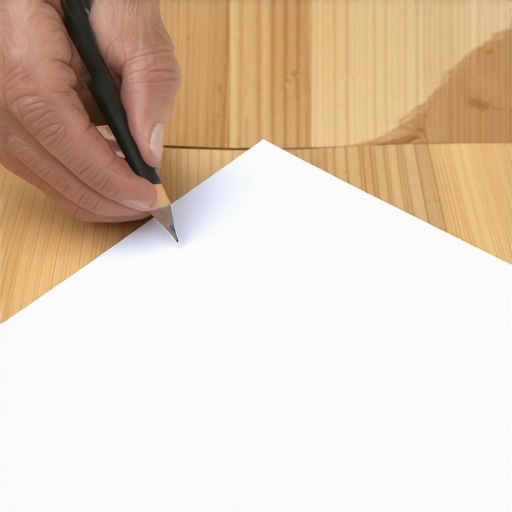
Don’t Let the Nap Ruin Your Day
Once your template is ready, lay it on the back of your carpet. But here is the catch: you have to pay attention to the pile direction, often called the ‘nap.’ If the nap is facing the wrong way on one step, it will reflect light differently and look like a completely different color. I’ve seen pros make the knee-kicker mistake that ruins carpet tension because they were fighting against the natural grain of the fabric. Always make sure the nap runs down the stairs for maximum durability and visual consistency. When you cut, leave about an extra quarter-inch on the sides as a safety margin. You can always trim more off, but you can’t put it back once it’s gone.
Secure the Fit with the Power Tuck
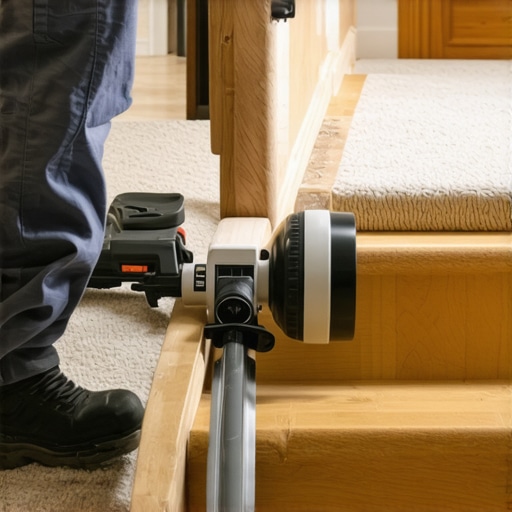
With your perfectly measured piece in hand, it’s time to install. This isn’t just about laying it down; it’s about forcing the material to obey the shape of the wood. You’ll want to employ stop carpet stair treads from slipping with the power tuck move to ensure the carpet is wedged tight into the crotch of the stair where the riser meets the tread. If you don’t get this tight, the carpet will eventually ‘bridge’ and create a trip hazard. Use a stair tool and a mallet to drive the carpet into the tack strips. If you find the corners are bunching up, use the kicker move for tucking carpet into tight corners to shift the material slightly and relieve the pressure. It’s the same level of detail required when you’re figuring out the stair nose secret for safe vinyl plank steps—tension and transition are everything.
The Mirage of the Perfect Template
Here’s the hard truth: you can have a template so precise it looks like a CAD drawing, and your installation can still fail miserably. Most people think the goal is a perfect 1:1 cut. In my experience, if you cut a stair tread piece exactly to the size of the wood, you’ve already lost. Carpet is a living, breathing textile, not a piece of rigid vinyl. When you apply tension with a kicker, the fabric ‘draws’ toward the center. If you haven’t left a relief margin, you’ll end up with a ‘smile’—a gap at the edges that no amount of tucking can fix. This is one of those carpet install secrets that separates the weekend warriors from the lifers.
Why Tight Tension Might Actually Be Your Worst Enemy
We’re taught that ‘tighter is better,’ but on stairs, excessive force can be a disaster. I’ve seen rookies use a power stretcher on a stair tread and literally pull the tack strip right out of the riser. You need ‘calculated slack.’ According to the Carpet and Rug Institute (CRI), improper stretching is the leading cause of premature wear in residential installs. If the tension isn’t uniform across the nose, the yarns will separate, leading to what we call ‘delamination of the secondary backing.’ It’s the same reason why your carpet is wrinkling two years after install; the tension was either too high or too localized. Have you ever fallen into this trap where you thought more force solved a bad fit? Let me know in the comments.
How Do You Manage the Memory of Stiff Carpet Backing?
Advanced installers know that the backing’s ‘memory’ is more important than the pile. If you’re working with a heavy Berber or a stiff action-back, it wants to return to its flat state. To beat this, I use a heat iron on the back of the fold before I even bring it to the stairs. This ‘breaks’ the memory and allows it to wrap the nose without fighting back. Before you even start the mechanical bond, you should be performing the moisture meter test every flooring pro uses on the wooden subfloor. If the wood is too dry, it’ll pull moisture from the carpet adhesive; if it’s too damp, your tack strips will eventually fail. I once ignored a damp riser on a basement winder and six months later, the whole piece was sliding like a banana peel. Don’t overlook the stair nose secret for safe vinyl plank steps logic here either—if the foundation isn’t stable, the finish will never be safe. Always double-check for the knee-kicker mistake that ruins carpet tension by ensuring your strokes are angled, not just straight on, to distribute the load across the entire tread width.
Once the tension is set and your carpet is tucked, you might think the job is over, but the real test of a pro is how that installation looks eighteen months later. This is where the intersection of carpet and woodwork becomes critical. If you have spent hours choosing baseboard styles that elevate your interior design, the last thing you want is for a shifting subfloor to pull the trim away from the wall. I always tell my clients that a floor is only as good as its stability. When I am finishing a room, I never skip the chance to stop baseboard hairline cracks with this flexible filler because every house breathes. If you use a rigid caulk, it will snap the first time the temperature drops. I have personally returned to jobs three years later where the corners were still as tight as the day I left, specifically because I used a high-flexibility acrylic polymer instead of the cheap builder-grade stuff.
How can I keep my flooring and showers looking brand new for a decade?
Maintenance is not just about a vacuum; it is about monitoring the physical environment. For showers, you need to be proactive about shower repairs when to fix vs replace for longevity before a small leak turns into a structural nightmare. I have seen beautiful tile installs ruined because the homeowner ignored a slightly loose handle. Once a year, get on your hands and knees and check the transitions. If you see a gap appearing between your vinyl and the wall, you might need to look into why your vinyl plank floor is buckling at the windows—it is usually a heat-related expansion issue that could have been avoided with a proper expansion gap. If you notice furniture has left marks, you can use the iron and towel trick for removing carpet dents to revive the pile.
Why a $200 Moisture Meter is Cheaper than a Lawsuit
If you are serious about this craft, you need to stop guessing. I do not care how many years you have been swinging a hammer; you cannot ‘feel’ the moisture content of a concrete slab. According to the National Wood Flooring Association (NWFA) Technical Manual, a subfloor must be within 2% to 4% moisture content of the flooring material to ensure a successful long-term bond. This is why I religiously perform the moisture meter test every flooring pro uses on every single job site. It is the difference between a floor that stays flat and one that cups like a Pringle three weeks after you leave. 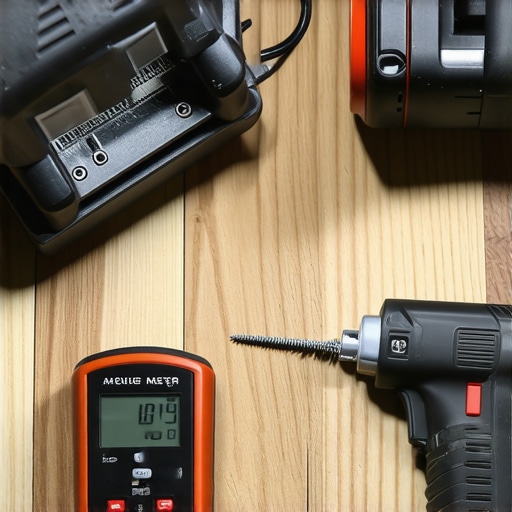 I also swear by the undercut saw secret for professional doorway transitions to ensure the new material slides perfectly under the jamb. Looking ahead, I predict we are moving toward a world where smart sensors will be embedded directly into the underlayment, alerting your phone if there is a leak under your ultimate shower renovation guide projects. Until then, we rely on high-quality physical tools. If you find yourself struggling with a particularly difficult corner, don’t just force it. Go back to the basics and use the kerf cut secret for wrapping baseboards around columns to make the material work for you. My challenge to you on your next project: spend an extra thirty minutes on the prep and use a moisture meter. It will save you hours of warranty work later.
Lessons I Learned While Fighting with Curved Treads
After years of wrestling with intricate layouts, I realized that the most expensive tool in your arsenal isn’t a laser—it’s your patience. Here are the lightbulb moments that turned me from a frustrated installer into a craftsman:
- The Tension Factor: Carpet is a textile, not a board. I learned to always leave a tiny bit of “relief” in my cuts to account for how the fabric draws toward the center during the carpet install secrets we use for high-end homes.
- Light is Your Best Friend and Worst Enemy: On winding stairs, the nap direction is everything. I once installed a beautiful wool winder only to realize the afternoon sun made one step look white and the next look grey because I didn’t check the grain consistency.
- Trust the Meter, Not Your Gut: Wood subfloors lie to you. The day I started performing the moisture meter test every flooring pro uses was the day I stopped worrying about warping and callbacks.
Tools That Make a Hard Job Look Easy
If you are planning your own step-by-step flooring installation, don’t skimp on the essentials. I personally swear by a heavy-duty stair bolster for that perfect tuck, a high-flexibility acrylic filler to prevent cracks in your baseboard styles that elevate your interior design, and a reliable moisture meter. #IMAGE_PLACEHOLDER_E# These three items have saved me more money in avoided repairs than I can count. A good scribe tool is also vital for getting that carpet to sit perfectly against a wavy wall.
Give Your Project the Finish It Deserves
It is easy to feel overwhelmed when you are staring at a pile of expensive carpet and a complex set of winding stairs. But remember, every professional was once a beginner who felt exactly like you do right now. Take the time to build your templates, check your moisture levels, and trust the carpet install secrets you have learned. Your home is a reflection of your effort, and a well-installed floor is a legacy that lasts for decades.
Have you ever had a staircase that felt like a math puzzle you couldn’t solve? Let me know how you handled it in the comments below!