

I’ll never forget the morning I stepped out of my ‘perfect’ DIY shower and felt a sickening crunch beneath the tile. I’d spent weeks on that renovation, obsessing over every detail, yet there I was staring at a hairline grout crack right on the threshold. It is a gut-punching feeling to realize your hard work is literally rotting from the inside out while you’re just trying to get clean. Most folks think a shower fails because of old tile or cheap materials, but in my years of getting my hands dirty, I’ve learned the curb is almost always the first domino to fall. It is the gatekeeper of your bathroom floor, and when it gives up, it takes the rest of the room down with it.
The Structural Weak Link You Probably Overlooked
If you are seeing peeling paint on your trim or a weird gap where the tile meets the floor, you are likely facing a curb failure. We are going to dive into the structural sins that lead to this mess and how you can achieve shower repairs for longevity instead of just slapping on a temporary patch. Years ago, I made the classic amateur mistake of thinking a few extra layers of thinset would compensate for a wobbly wood frame. I was dead wrong. Wood expands when it gets damp, tile absolutely does not, and that tension is a recipe for a total blowout. According to the Tile Council of North America, over 90% of tile failures are actually caused by improper substrate preparation rather than the tile itself. When that hidden wood swells, it cracks your grout and invites even more water in. It is a vicious cycle that usually ends with an expensive baseboard makeover you did not actually plan for. Have you ever noticed a soft spot or a strange discoloration right outside your shower door? That is your curb screaming for help.
Is a leaking shower curb actually worth the massive repair bill?
You might think a little moisture near the door is no big deal, but let us be real—water is the most patient enemy you will ever face in your home. Once it gets past that curb, it is heading straight for your subfloor and your structural joists. I have seen plenty of neighbors ignore a ‘minor’ leak only to find out their flooring installation mistakes have led to a full-blown structural failure. If you want a bathroom setup that actually stands the test of time, you have to master the liquid membrane move to create a continuous waterproof seal that does not rely on luck. Creating a durable barrier starts with the basics, like understanding the dry pack secret for a slope that actually moves water toward the drain instead of letting it pool against the curb. We are about to break down exactly how to build a threshold that stays dry for a decade, not just a week.
Ditch the Wood and Build for Life
To stop the rot, you have to start with a foundation that doesn’t breathe or expand. I remember a job in a tight master bath where I ignored a slight flex in the joists, thinking the tile would bridge the gap. Six months later, I was back on my hands and knees because the grout had turned to powder. Now, before I even think about the curb, I make sure I know how to reinforce a bouncy subfloor before tiling. If your base moves, your curb dies. Instead of using stacked 2x4s that warp the moment they get damp, I use high-density foam curbs or solid concrete bricks. This isn’t just about strength; it’s about stability. You want a substrate that stays exactly where you put it, even when the humidity hits 100% every morning.
Seal Every Inch with a Liquid Barrier
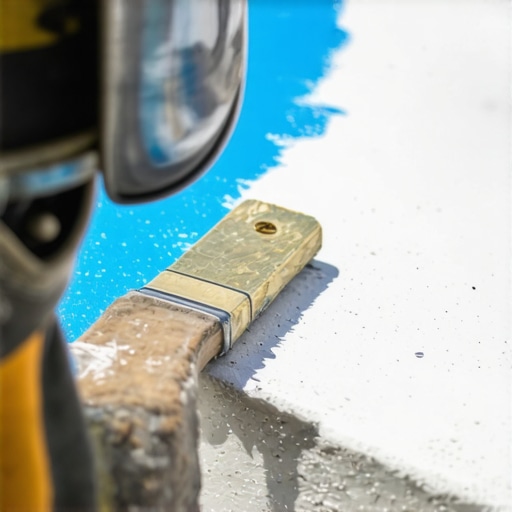
Once the structure is solid, you need to treat the waterproofing like a surgical procedure. I’ve seen plenty of DIYers rely on just a plastic liner tucked under the tile, but that’s a legacy move that leads to trouble. You need to apply the liquid membrane move for fail-proof shower pans, painting it on thick over the curb and at least six inches up the walls. This creates a seamless rubberized bucket. I once forgot to double-coat a single corner and found moisture creeping into the hallway carpet two weeks later. It was an expensive lesson. Now, I use the ‘flashlight test’ to ensure every pinhole in the membrane is filled. This layer is what actually keeps your house from rotting, not the decorative tile on top.
Master the Slope for Zero Standing Water
Next comes the mortar work, and this is where physics takes over. If your curb top is perfectly flat, water will sit there until it finds a way into your grout. You need a slight inward pitch—think of it as a slide for water. I use the dry pack secret for a perfectly sloped shower floor to ensure every drop is guided back toward the drain. This isn’t just for the floor; your curb top needs that same 1/8-inch slope toward the shower interior. If you miss this, you’ll be fighting to stop shower floor tiles from popping with the proper thinset coverage because standing water eventually breaks down even the best modified adhesives over time.
Keep Your Tile Aligned and Secure
The final hurdle is the aesthetics and the transition to the rest of the room. This is where most jobs start to look unfinished. You need to know how to align tile patterns across a shower floor and wall so the grout lines flow naturally over the curb. It makes the space feel like a high-end luxury suite rather than a puzzle gone wrong. I always use the level line rule for starting your first row of shower tile to keep everything square from the floor up. And don’t forget the outside edge where the curb meets the bathroom floor. If you find a gap where the trim meets the tile, don’t just pump it full of cheap caulk. Learn how to fix baseboard gaps without replacing the trim to ensure the exterior looks as professional as the interior. A crooked or leaky curb is a visible failure you’ll have to stare at every single day.
Common wisdom suggests that if you buy the most expensive tile or the thickest carpet, your renovation is bulletproof. But in my years of tearing out ‘luxury’ bathrooms that were only five years old, I’ve realized that the finish material is almost irrelevant if the physics of the installation are ignored. Most people believe grout is a waterproof barrier. It is not. Grout is essentially a hard sponge. If you aren’t obsessed with the triple point seal for leak-proof shower corners, water will eventually find its way behind the tile. I’ve seen homeowners spend thousands on marble only to have the studs rot because they trusted the sealer to do the job of a proper membrane.
Stop trusting your grout to do the heavy lifting
The biggest ‘oops’ factor I encounter is the over-reliance on topical sealers. I once met a guy who applied five coats of high-end sealer to his shower and couldn’t understand why his hallway baseboards were warping. The issue wasn’t the surface; it was the ‘wicking’ effect. According to the IICRC S520 Standard for Professional Mold Remediation, porous materials can act like a straw, pulling moisture deep into the wall assembly through capillary action. If your waterproofing isn’t a continuous ‘tank’ behind the tile, that water is going somewhere, and usually, it’s into your subfloor. This is why carpet install secrets often start with checking the adjacent bathroom for hidden leaks; a damp subfloor will ruin a new carpet’s backing long before you see a stain on the surface.
Why does my shower still smell like mildew even if the tile looks perfect?
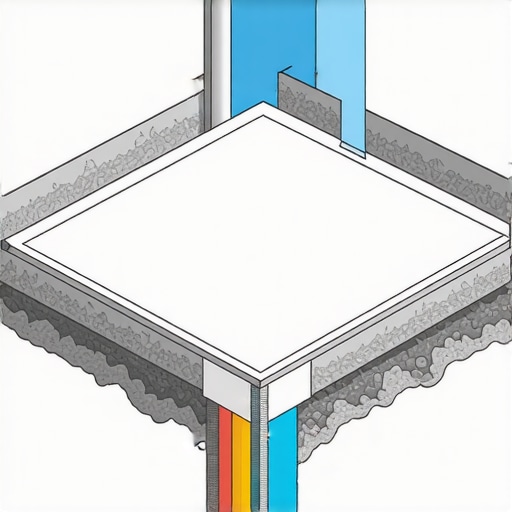
If you have a persistent musty odor, you likely have standing water trapped in the mortar bed. This happens when the ‘pre-slope’—the slope beneath the liner—is missing. Everyone talks about the slope of the tile, but the slope of the sub-base is what actually moves water toward the weep holes in the drain. Without it, you’re basically living on top of a stagnant pond. To fix this, you have to understand the dry pack secret for a perfectly sloped shower floor. It’s the difference between a shower that dries out in an hour and one that stays damp for days, inviting mold to grow in the thinset itself.
The baseboard trap that ruins your paint line
When it comes to the finishing touches, people often fail at the transition points. A classic mistake is nailing trim only into the bottom plate of the wall. I always tell my clients why you should never nail baseboards into the bottom plate only: as the house settles and the floor expands, that trim will pull away, leaving a massive gap. Furthermore, if you’re working in a bathroom, you need to understand why your baseboard caulk is cracking and the flex fill fix. Using a standard painter’s caulk in a high-moisture zone is a recipe for failure. You need something that handles the expansion of the wood versus the rigidity of the tile. In the living room, a similar lack of foresight leads to the knee-kicker mistake that ruins carpet tension. If you don’t use a power stretcher, your carpet will eventually look like a series of waves. These nuances aren’t just about looks; they are about preventing the structural decay that turns a ‘dream home’ into a money pit. Have you ever fallen into this trap? Let me know in the comments.
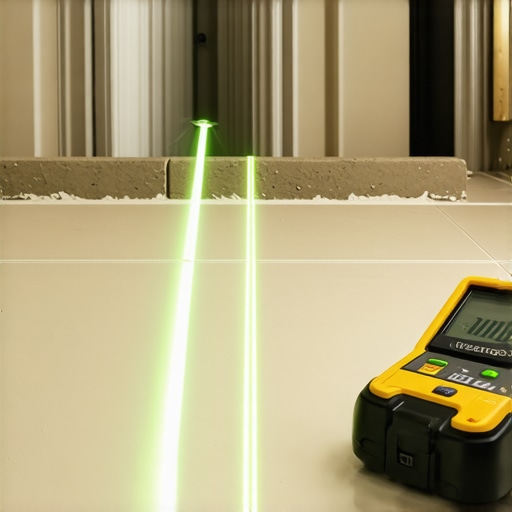
After years of fixing DIY disasters, I’ve realized that the difference between a project that lasts twenty years and one that fails in two often comes down to the gear you use and how you treat the surfaces afterward. In my kit, there is one tool I value more than my truck: the cross-line laser level. Relying on a bubble level for your shower is a gamble you’ll lose. If you want a professional finish, you have to follow the level line rule for starting your first row of shower tile. This ensures that every subsequent row stays perfectly horizontal, preventing that tilted look that drives me crazy. I also never step onto a job site without a high-quality moisture meter. The National Wood Flooring Association (NWFA) Technical Manual emphasizes that moisture content in a wood subfloor must be within 2-4% of the finish flooring’s moisture content before you even think about opening a box of planks. Ignore this, and you are inviting your floor to buckle or gap within the first seasonal change.
Invest in Gear That Actually Protects Your Work
When it comes to the finer details, like those tricky transitions between the floor and the wall, I’ve stopped trying to ‘eyeball’ the cuts. I’ve started using the scribing tool every diyer needs for tight baseboards to match the wonky contours of old plaster walls. It’s a ten-dollar tool that saves hours of frustration and gallons of caulk. Similarly, for those high-stakes moments in the bathroom, I rely on the blue tape secret for professional shower silicone lines every time. It creates a razor-sharp edge that prevents water from catching on a messy bead. These tools aren’t just about speed; they are about creating a mechanical bond and a finish that keeps moisture from finding a way in. I predict that by 2025, we’ll see more DIY-friendly smart moisture sensors embedded directly into shower pans that alert your phone the second a leak is detected behind the wall.
How do I keep my shower and floors looking new for a decade?
Maintenance is where most homeowners drop the ball. If you’ve just finished a step-by-step flooring installation, don’t assume the job is over. For hardwood, I recommend the iron and towel fix for dents in solid wood floors to handle the inevitable dropped remote or heavy toy before the wood fibers snap. In the bathroom, proactive shower repairs for longevity mean re-caulking corners every 2-3 years, regardless of how they look. For laminate or vinyl, keep the grit out of the joints by using the vacuum seal trick for cleaning dust out of floor grooves. Sand and dirt act like sandpaper in your floor’s expansion joints, grinding down the locking mechanism every time you walk across the room. If you really want to level up your game, try the ‘Blue Tape’ method for your next caulking project; it’s the easiest way to make a DIY job look like a five-thousand-dollar pro install.
Hard-Won Secrets From the Trenches of Tile Failure
Over the years, I’ve realized that the most expensive tile in the world won’t save a project if you ignore the basics of physics. First, always perform the finger test for checking thinset moisture in a shower before you think about grouting; if the mortar is still wet, you’re trapping moisture in a tomb. Second, never assume your subfloor is ‘good enough.’ If there is even a hint of a bounce, you must learn how to reinforce a bouncy subfloor before tiling to prevent the curb from separating from the floor. Finally, remember that silicone is your best friend—standard caulk will fail in a shower environment, leading to the very rot we are trying to avoid.
The Reliable Gear in My Jobsite Bag
I don’t go into a renovation without a few specific items that make the difference between a DIY look and a pro finish. I swear by the scribing tool every diyer needs for tight baseboards because walls are never actually straight, and a tight fit keeps moisture from slipping behind the trim. For those perfect waterproof beads, I always use the blue tape secret for professional shower silicone lines every time. I also recommend a high-quality cross-line laser level. It’s much more accurate than a spirit level for ensuring your first row of tile is dead-on, which is essential for a balanced look across the entire room. If you are dealing with tricky angles outside the bathroom, don’t forget the 45 degree trick for perfect baseboard outside corners to keep your transitions looking seamless.
#IMAGE_PLACEHOLDER_E#
Build a Bathroom That Lasts a Lifetime
At the end of the day, a successful renovation isn’t just about the reveal on Sunday night; it’s about how the room feels five years later when the steam is rolling and the water is hitting the floor. By focusing on the structural foundation and choosing the right shower repairs for longevity, you aren’t just decorating—you’re protecting your home’s value. Take the time to master the small details in this ultimate shower renovation guide, and you’ll sleep much better knowing your curb is dry and your floors are solid. Have you ever discovered a hidden leak that started at your shower curb? Let me know your story in the comments below.