

It started with a single, flickering candle and a moment of pure clumsiness. I was reaching for my coffee when I nudged the glass jar, and a tiny, glowing ember decided to make its permanent home right in the middle of my cream-colored pile. The smell of burning plastic hit me before the visual did. I stood there, heart sinking, staring at a black, crunchy crater that looked like a tiny meteor had struck my living room. My first instinct? Drag the heavy oak coffee table three feet to the left to hide the evidence. But we both know that’s not a solution; it’s a tripping hazard waiting to happen. Most people think you need a high-end repair kit or a professional installer to deal with this, but after years of DIY trials (and plenty of errors), I realized the “secret” tools are likely sitting in your bathroom drawer or junk bin right now.
Stop Hiding the Damage and Start Fixing the Fiber
When I first started dabbling in home maintenance, I made a massive mistake: I tried to “scrub” the burn out with a wire brush. All I did was fray the surrounding fibers until they looked like a frizzled mess, making the spot five times larger. It was a classic carpet install nightmare of my own making. Today, we aren’t going to do that. We are going to surgically remove the damage. Whether you are dealing with a cigarette singe or a hot iron mark, the goal is to replace the dead, melted plastic with fresh fibers harvested from hidden corners of your home. You don’t need a specialized kit because your carpet is its own donor. [image_placeholder]
Is a DIY repair actually going to hold up over time?
I get it. You’re worried that the moment you vacuum, your hard work is going to get sucked into the canister. But if you follow the right steps, that patch becomes part of the floor. According to the Carpet and Rug Institute, most modern residential carpets are made of synthetic fibers like nylon or polyester, which melt rather than burn through, meaning the damage is often superficial and confined to the tips of the yarn. This is great news for us! It means we can often use tweezers and a bit of glue to weave a miracle. I’ve used this method to save my security deposit more than once, and honestly, even I forget where the original burn was after a few weeks of foot traffic. Have you ever tried to cover up a floor disaster with a rug, only to realize the rug just highlights the problem? Drop a comment and tell me your funniest “hide the damage” fail. Before we dive into the scissors and adhesive, you need to understand that carpet looks different from different angles. If you don’t match the “grain” or the nap of the carpet, your patch will stick out like a sore thumb in the afternoon sun. We’re going to ensure your fix is invisible, even if you’re standing right over it.
Clear the Charred Remains First
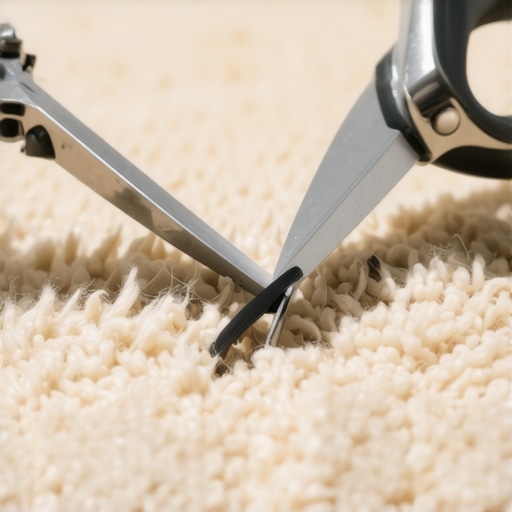
You can’t build on a foundation of ash. Take a pair of small, sharp embroidery scissors and carefully snip away the blackened tips of the carpet. Think of this like pruning a bonsai tree; you want to remove the dead material without hacking into the healthy growth below. If the burn is deep, you’ll see the backing of the carpet. Don’t panic. We just need a clean surface for the new fibers to grip. Once, while rushing a carpet install for a friend, I accidentally dropped a hot seam iron. I spent twenty minutes just slowly dabbing and snipping until the black spot was gone, leaving a small bald patch that was ready for the transplant.
Where to Find Your Donor Fibers
Your carpet has a secret reservoir of matching material that no one will ever miss. I usually head straight for the back of a walk-in closet or the very edge of the room where the carpet tucks under the baseboards. Use your scissors to snip small tufts of fiber as close to the backing as possible. You aren’t looking to cut a hole in the closet carpet; you’re just shearing the top layer. Collect these fibers in a small pile. You’ll need more than you think because the goal is to pack them in tightly to match the surrounding density. I once tried to use fibers from a different room, thinking they were the same color, but the lighting proved me wrong—always pull from the same room to ensure a perfect dye-lot match.
The Precision Glue Method
Now comes the part where you play surgeon. Using a toothpick or a small screwdriver, apply a tiny amount of clear-drying waterproof adhesive to the base of the burnt spot. If you use too much, it will soak up into the fibers and create a hard, crunchy lump that feels like a rock under your socks—a common reason why your carpet pad feels crunchy under your feet isn’t always the pad’s fault, but rather a DIY gone wrong. Use tweezers to place your harvested fibers into the glue, standing them upright to match the direction of the surrounding nap. This is the core of how to fix a burnt carpet spot using a pair of tweezers and some glue. I remember fixing a cigarette burn in my first apartment; I was so nervous my hands were shaking, but by placing the fibers one by one, the bald spot vanished within ten minutes.
Blend It Until It Disappears
Once the fibers are in place, take a wide-tooth comb or even your fingers and gently tease the area. You want the new fibers to mingle with the old ones so the edges of the repair blur into the rest of the floor. If the patch looks a bit tall, give it a very light haircut with your scissors to level it out. Just like when you are learning how to fix a bubbling carpet without calling a professional, the trick is in the tension and the finish. Place a heavy book over the spot for 24 hours to let the glue set. When you pull the book away, the patch should be locked in. If you find the area is still slightly visible, it’s likely because of how light hits it. Remember, carpet looks different from different angles, so check your work from across the room to ensure the grain matches the natural flow of the floor.
Most people assume that if their carpet is sagging or has a ripple near the burn, they can just ‘kick’ it back into place. But here is the contrarian truth: the knee kicker is probably the most misused tool in the flooring world. While it is great for positioning, relying on it for the heavy lifting is a knee kicker mistake that ruins luxury carpets by creating uneven tension across the room. To get that factory-tight finish that stays put for decades, you actually need a power stretcher, even for a relatively small room. This isn’t just my opinion; the Carpet and Rug Institute (CRI) specifically mandates power stretching for all wall-to-wall residential installs to prevent premature delamination of the backing. Have you ever fallen into the trap of thinking a few good kicks would fix a buckle? Let me know in the comments. Another nuance that often gets ignored is what is happening underneath the fibers. You might fix the surface, but if you don’t address the foundation, the repair won’t last. I have seen homeowners spend hours on a precision patch only for it to fail because they didn’t realize why we never skip the subfloor moisture test on concrete. If there is high vapor emission coming through the slab, no amount of surgical-grade glue will keep those donor fibers bonded for long. It is the same reason you should always learn how to patch a hole in the subfloor before carpeting; any dip or divot under the pad will eventually telegraph through to the surface, making your beautiful patch look like a pothole after a few months of foot traffic. 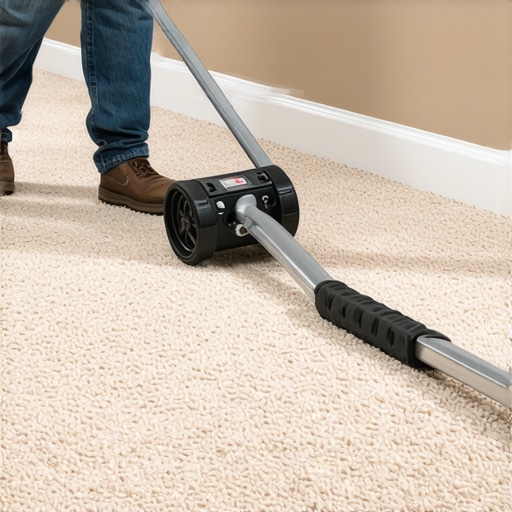
Why does my carpet seam look like a scar in the morning light?
Even if you follow every step of a fiber transplant perfectly, you might notice a persistent shadow along the edge of your repair. This is usually due to ‘peak’ or ‘valley’ seaming, where the edges aren’t perfectly butt-jointed. It is one of the most common carpet seaming errors that show up in bright daylight. Professionals use a seam roller not just to press the carpet into the adhesive, but to ‘marry’ the fibers together at a microscopic level. If you skip this step, or if your blade was slightly dull during the initial cut, the light will catch the raw edge of the carpet backing rather than the soft tips of the yarn. Mastering these carpet install secrets is what separates a visible ‘fix’ from an invisible restoration that adds value back to your home.
The Pro Gear That Saves My Sanity and Your Subfloor
I’ve learned the hard way that a $10 tool often results in a $1,000 mistake. When I’m moving from a carpet patch to a more permanent flooring installation, I’ve stopped relying on my ‘eye’ for level surfaces. If you want your baseboards to sit flush without those annoying gaps, you need a high-quality pry bar. I personally swear by the pry bar secret for removing baseboards without damaging the drywall, which involves using a wide-blade trim puller rather than a standard claw hammer. It distributes the pressure, saving you from a weekend of patching plaster. For the floor itself, I never start a project without my self-leveling compound. Using the self-leveler move for perfectly-flat vinyl installs is the only way to ensure you don’t end up with that soul-crushing ‘clicking’ sound every time you walk across the room. 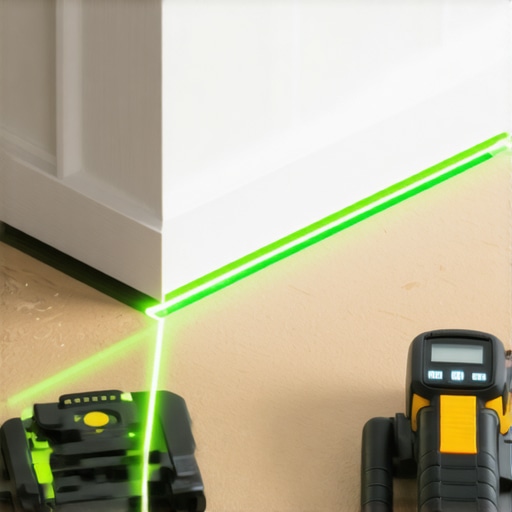
How do I keep my flooring and shower repairs looking new for years?
Maintenance isn’t just about cleaning; it’s about monitoring the environment. For your bathroom, this means checking the integrity of your waterproofing. I’ve seen gorgeous projects ruined because someone skipped the liquid membrane move for fail-proof shower pans. According to the Tile Council of North America (TCNA) Handbook, specifically the EJ171 standard, movement joints are non-negotiable for large-scale tile installations to prevent cracking caused by thermal expansion. If you’ve just finished a shower renovation, keep a small bottle of matching grout sealant on hand. Dab it into the corners every six months to prevent the dreaded shower niche leaks that can rot your studs from the inside out. For carpets, the best thing you can do for your new patch is to avoid high-heat steam cleaning directly on the bond for at least a month; give that adhesive time to fully cure into the backing.
The Future of Home Maintenance is Smart and Moisture-Proof
Looking ahead, I see the industry moving toward ‘active’ monitoring. We are already seeing smart sensors that can be tucked under baseboards to alert your phone the second a pipe sweat turns into a drip. But until those are standard, your best defense is a solid foundation. Whether you are learning the dry pack secret for a perfectly sloped shower floor or finally tackling that carpet install, precision at the start saves you from a total tear-out later. My challenge to you? Don’t just fix the surface. Go grab a moisture meter from the hardware store and check your concrete slab today; knowing why we never skip the subfloor moisture test is the difference between a floor that lasts five years and one that lasts fifty.
The Hard Truth About Those Invisible Repairs
After years of fixing singed spots, I’ve realized that perfection is a myth—blending is the reality. The biggest lightbulb moment for me was realizing that carpet isn’t just fabric; it’s a living landscape of shadows. If you don’t account for the ‘crush’ of the surrounding pile, even a perfect color match will stand out. I always advise people to over-harvest their fibers because once that glue sets, you want a dense, proud patch that you can trim back, rather than a sunken valley that collects dust. It is also worth noting that some best carpet types for high traffic areas in 2025 are actually easier to repair because their twisted piles hide seams naturally. My final insider tip? Always vacuum the area before and after the repair to see how the fibers react to mechanical agitation; if it stays put after a heavy-duty cleaning, you’ve officially won.
Tools That Saved My Floor and My Sanity
You don’t need a massive workshop, but you do need precision. I never touch a carpet repair without my micro-point embroidery scissors—regular craft scissors are too bulky and will crush the neighboring fibers. For the adhesive, I stick with clear-drying, flexible fabric glues that won’t turn brittle over time. If you find yourself moving from minor repairs to a full flooring installation, I highly recommend investing in a professional-grade seam roller; it is the only way to get those fibers to truly marry together. And for those finishing touches around the room, knowing how to choose the perfect baseboards for your homes style can help frame your newly repaired floor and make the whole space feel intentional and polished again.
Stop Looking at the Burn and Start Fixing
It’s easy to let a small floor disaster dampen your mood every time you walk into the room, but you have the power to reverse it. Whether you are prepping for a complete shower renovation or just trying to save your security deposit, the confidence comes from the act of doing. These carpet install secrets aren’t just for the pros—they are for anyone who values a home that looks as good as it feels. Don’t be afraid of the glue or the scissors; your floor is much more resilient than you think. Have you ever tried a miracle fix that actually worked, or did you end up hiding it with furniture like I did? Let me know your best or worst DIY stories in the comments below!