

I remember sitting on my bathroom floor three years ago, scrubbing a black-spotted corner with an old toothbrush, wondering where I went wrong. I had applied what I thought was the best sealant on the market, but there it was—peeling away like a bad sunburn. I realized then that I wasn’t just using the wrong product; I was using the wrong technique. Today, I’m going to show you how to stop the cycle of constant repairs and finally get a finish that lasts for years, not months.
Stop Chasing the Never-Ending Cycle of Moldy Grout
Many homeowners think that a leaking corner is just a fact of life, but it’s usually a sign that the installation didn’t account for ‘house settle.’ In my early days, I made the mistake of thinking I could just fix the grout crack in the shower corner by shoving more grout into the gap. It lasted about three weeks before it crumbled again. The ‘Bead-and-Smooth’ strategy replaces that brittle grout with a high-performance flexible sealant applied with precision. This is crucial because your walls are constantly expanding and contracting based on the temperature. If you’ve been debating shower repairs to extend the life of your bathroom, starting with the corners is your best bet for a quick, impactful win.
Will this really hold up better than the standard way?
You might be skeptical because you’ve seen silicone fail or turn yellow before. But the truth is, most failures happen because of poor prep and ‘finger-smearing’ rather than the material itself. The Tile Council of North America (TCNA) explicitly states in their handbook that all change-of-plane joints—where walls meet floors or other walls—require a flexible sealant to prevent water intrusion. By using the blue tape secret, you ensure a perfect bond that doesn’t just look good—it functions as a structural component. This method is the only way I’ve found to stop shower mold where the tile meets the tub for good. Have you ever spent a whole Saturday scraping out old caulk only to have it fail six months later? It’s soul-crushing, but I promise we can fix that today. [image_placeholder_1]
Strip the Joint to Its Bare Essentials
Cleaning is the most tedious part of the process, but skipping it is why most DIY jobs look like a kindergartner’s art project. You have to remove every speck of the old sealant. If you’re working on a renovation, treat it with the same precision as a step-by-step flooring installation where the substrate must be flawless. I once spent four hours scraping a single shower because the previous owner had layered three different types of caulk on top of each other. It was a gummy mess that wouldn’t let go. When I finally hit the original tile, I realized why your shower grout is crumbling just months after install—they had tried to hide a mold problem rather than fixing the seal. Once the bulk is gone, use a vacuum to pull dust out of the gap and finish with a wipe of denatured alcohol. It acts like a chemical eraser, removing oils that would prevent the silicone from sticking.
Build a Border That Guarantees Straight Lines
The biggest fear people have with silicone is the ‘smear’ that ruins the tile face. To avoid this, apply blue painter’s tape exactly 1/8th of an inch away from the corner on both sides. This creates a dedicated channel for the sealant. This is the masking tape trick for clean silicone joints that pros use to get that factory-fresh look. When you’re taping, press the edges down firmly with a plastic tool. If there’s even a tiny gap, the silicone will bleed under the tape like water through a leaky dam, and you’ll be right back to square one, scrubbing the tile with your fingernails. 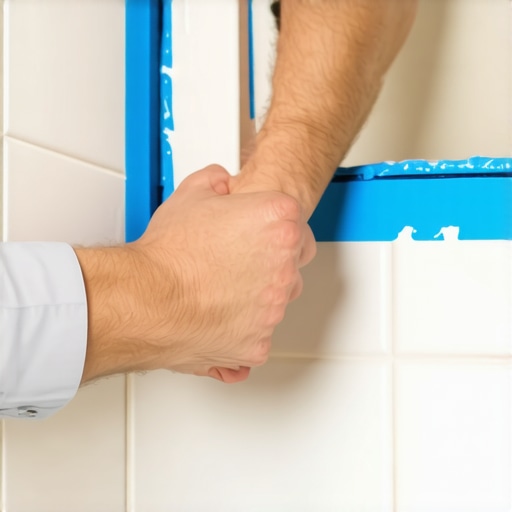
Master the Bead and the Tooling Glide
Cut the tip of your silicone tube at a 45-degree angle, keeping the hole small—about the size of a matchstick head. As you pull the trigger, move at a steady, rhythmic pace. It’s a lot like learning flooring installation mistakes to avoid for a seamless look; consistency is your best friend. After the bead is down, mist it lightly with a mixture of water and a single drop of dish soap. This prevents the silicone from sticking to your finger like glue. Slide your finger down the joint in one smooth, continuous motion. Don’t stop and start, or you’ll create ‘waves’ in the finish. Much like the finger test for checking thinset moisture in a shower, you’re looking for a smooth, tactile confirmation that the material has seated properly into the gap.
Why Moisture Control Matters Before You Seal
Before you even think about opening that tube of silicone, the joint must be bone-dry. If you trap moisture behind the silicone, you are essentially building a tiny greenhouse for mold to thrive. This is a common culprit for why your shower niche keeps leaking through the bathroom wall—water gets trapped, finds a pinhole in the waterproofing, and starts rotting the studs. I always suggest using a hairdryer on a low setting to blast the corners for a few minutes. It might seem like overkill, but that five minutes of drying can save you five years of structural damage. If the tile feels even slightly damp, wait. Patience here is the difference between a job that lasts and one that peels by next season.
Grout isn’t the waterproof shield you think it is
Many homeowners believe that once the grout is in, the shower is watertight. In my experience, this is the most dangerous assumption you can make. Grout is inherently porous; it’s designed to be a decorative filler and a structural spacer, not a primary water barrier. The National Tile Contractors Association (NTCA) emphasizes that the integrity of a wet area relies entirely on the waterproofing membrane hidden behind the tile. If you’re seeing moisture issues, it’s rarely just a surface problem. This is why the trowel size mistake that ruins your shower tile bond is so critical—without 95% mortar coverage in wet areas (as required by ANSI A108.5 standards), water can sit in the voids behind your tile and rot the wall from the inside out. Don’t just trust the sealer; trust the system underneath.
Are you using the right tools to stretch your carpet investment?
If you’re moving from the bathroom to the living room, a common ‘oops’ factor involves carpet tension. I see so many DIYers—and even some ‘pros’—relying solely on a knee-kicker. While it’s great for small adjustments, it’s not enough for a full-room install. This is the knee-kicker mistake that ruins luxury carpets by causing ripples and delamination within just a few years. For any space larger than a walk-in closet, you must follow the power stretcher rule for large living room carpets to ensure the backing is under the proper amount of tension. Without that mechanical stretch, your carpet will eventually look like a series of ocean waves.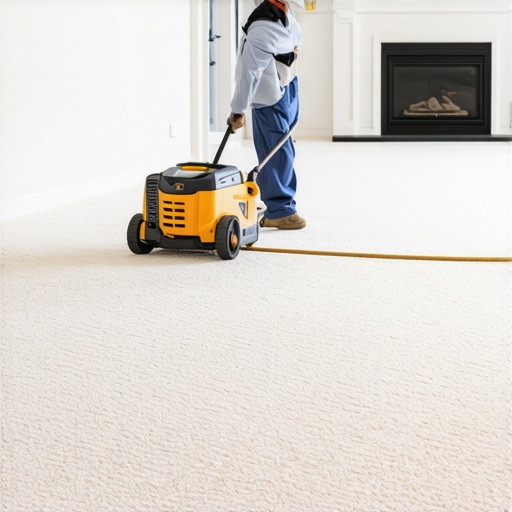
The hidden danger of pinning down your floating floors
The biggest trap in modern flooring is the ‘heavy object’ paradox. We love floating floors because they are easy to install, but then we go and pin them to the subfloor with heavy kitchen islands or massive built-in shelving. This is a recipe for disaster. I’ve seen beautiful laminate floors buckle and snap because someone ignored the expansion gap rule for heavy kitchen islands on laminate. If the floor can’t move, it will find a way to relieve that pressure, usually by popping a joint or peaking at the seams. This is a nuance often missed in basic tutorials: a floating floor must actually be able to float. If you’re working on a slab, why we never skip the subfloor moisture test on concrete becomes the most important question you can ask, as trapped vapor will expand the boards even further. Have you ever fallen into this trap where your ‘floating’ floor felt stuck? Let me know in the comments.
Stop ignoring the subfloor bounce
Finally, let’s talk about the ‘hollow’ sound. If your floor sounds like a drum when you walk on it, it’s not the flooring material—it’s the air gap beneath it. To get a high-end feel, you need to master the self-leveler move for perfectly flat vinyl installs. Even 1/8th of an inch of dip can cause a click-lock joint to fail over time. Whether you are aiming for carpet install secrets or a rigid tile finish, your results are only as good as the flat surface you start with. Stop shower floor tiles from popping with the proper thinset coverage by ensuring that subfloor doesn’t flex every time you step into the tray. It’s these hidden details that separate a weekend project from a lifetime renovation.I’ve spent a small fortune on tools over the years, but if you asked me which one saved my reputation the most, it’s not the flashy miter saw—it’s a humble $15 coping saw. When you’re dealing with inside corners, the wood will always shrink or the wall will always be slightly off-angle. By mastering the coping saw technique for flawless inside baseboard corners, you create a joint that stays tight even when the house shifts. And for those tricky areas where wood meets a fireplace, the scribe tool trick for baseboards against stone walls is the difference between a gap filled with caulk and a finish that looks like it grew out of the rock.
How do I keep my new floors looking fresh for years?
The secret isn’t just cleaning; it’s preventative protection. Most people ignore the bottom of their furniture, but why we prefer felt pads over rubber for luxury vinyl comes down to chemical migration. Rubber can actually stain your finish permanently. For carpets, the maintenance starts the day you install them. According to the Carpet and Rug Institute (CRI) Standard 105, failing to use a power stretcher—referring back to the power stretcher rule for large living room carpets—invalidates most manufacturer warranties. If the carpet isn’t tight, the fibers rub against the backing and wear out twice as fast. You should also watch for moisture creep at the edges; why your baseboard paint is peeling off at the bottom is often a sign that your mopping routine is leaving too much water near the trim. 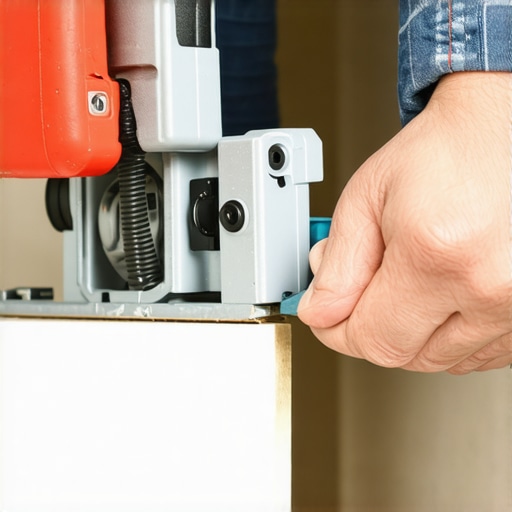 Looking ahead, baseboard trends in 2025 are shifting toward waterproof, high-density polymers that mimic the look of wood but handle bathroom humidity like a champ. We’re also seeing a massive push toward best carpet types for high-traffic areas in 2025 that integrate recycled marine plastics, making them nearly impossible to stain. I predict that ‘smart’ moisture sensors embedded in subfloors will soon be standard for high-end step-by-step flooring installation, alerting you to a leak before you ever see a spot on the ceiling. For your next project, I challenge you to ditch the knee-kicker and rent a power stretcher; it’s a small investment of time that ensures your living room remains ripple-free for a decade.
The Hardest Lessons I Learned on My Knees
Looking back at my first few years in the trade, I realized that most failures aren’t about the products themselves, but the invisible shortcuts we take when we’re tired or in a rush. One of the biggest shifts in my workflow happened when I stopped treating grout as a waterproof shield and started focusing on the system underneath. If you aren’t sure where to start your aesthetic journey, looking at baseboard trends in 2025 can give you a clear target while you handle the critical work of waterproofing. I’ve learned the hard way that a perfectly flat floor isn’t just a luxury—it’s a requirement for the best carpet types for high-traffic areas in 2025 to actually perform as promised. Always remember: the subfloor speaks the truth, and if you listen to it early, you won’t be listening to it creak for the next ten years.
The Gear That Keeps My Professional Reputation Intact
When it comes to building your toolkit, don’t skimp on the essentials that ensure longevity. I swear by my power stretcher for every living room job because skipping it is the fastest way to ruin a high-end install with ripples. For those tight bathroom corners, a high-quality 100% silicone and the right taping technique are non-negotiable for a mold-free life. If you’re currently trying to figure out how to choose the perfect baseboards for your home’s style, make sure to match the material to the specific environment; moisture-prone areas need more than just a pretty wood profile. My trust goes to tools that offer precision over speed, especially when implementing carpet install secrets that general contractors often overlook.
Your Future Home is Only One Straight Line Away
You now have the blueprints to move past common DIY frustrations and create a space that feels truly professional. Whether you are sealing a shower for the first time or the tenth, your attention to the smallest details is what transforms a house into a sanctuary. Don’t be afraid to take that extra hour for prep work or to double-check your subfloor moisture; your future self will thank you for the decades of durability you’ve just built into your floors and walls. Consistency is the hallmark of a master, and with these techniques, you are well on your way to that standard. Have you ever had a ‘perfect’ project get derailed by a single missed step or a hidden subfloor issue? Let me know your biggest renovation hurdle in the comments below!