

I’ll never forget the sound of that first ‘drip-plop’ hitting the floorboards in my dining room. I had just spent three weekends meticulously tiling my master shower. It looked like a masterpiece, something straight out of an ultimate shower renovation guide. I was proud. Then, my wife took the first shower, and ten minutes later, my ceiling was crying. I had skipped the 24-hour flood test because I was ‘sure’ my liner was perfect. I was wrong. It’s a gut-wrenching feeling to realize you might have to tear out hundreds of dollars in materials because of a pinhole leak you could have caught with a few gallons of water and a little patience. If you are in the middle of a build, please, learn from my arrogance.
Stop Guessing and Start Testing Your Shower Pan
We spend so much time worrying about baseboard trends or picking the best carpet types for high-traffic areas, but the bones of the house matter more. If your shower pan fails, it doesn’t just ruin the bathroom; it rots your subfloor and invites mold into your walls. The flood test is the industry standard—and for a good reason. It’s the only way to prove your liquid membrane move or liner is actually doing its job before you hide it under thinset and stone. I used to think a quick visual check was enough to spot a bad seal, but water is a relentless detective. It will find the one fold in the corner or the one screw hole that wasn’t properly sealed, even if your eyes can’t see it.
Is a 24-Hour Wait Really Necessary?
You might think a quick splash of water is enough to tell you if the pan holds. It isn’t. According to the Tile Council of North America (TCNA), a flood test must involve plugging the drain and filling the base to the top of the curb (or at least 2 inches deep) for a full 24 hours to ensure there are no slow-weeping leaks. These tiny leaks only manifest under sustained hydrostatic pressure. I learned this the hard way when a tiny puncture near the curb didn’t show up for nearly four hours during my second attempt. If I had just waited, I would have seen the water level drop and saved myself a massive headache later. Most DIYers and even some ‘pros’ skip this because they’re in a rush to reach that spa-like shower experience. But trust me, taking that extra day to plug the drain is the cheapest insurance policy you’ll ever buy. Have you ever noticed a mysterious damp spot on your ceiling after a bathroom remodel? I’d love to hear how you handled your own shower repairs—tell me your story in the comments below. [image_placeholder]
Plug the Drain Like a Professional
The first mistake I ever made was trying to ‘MacGyver’ a drain plug. I stuffed a rag into a plastic bag and jammed it down the pipe. It looked solid, but water is a slippery thief. It slowly seeped through the rags, and I spent all night thinking I had a major liner failure. Don’t do that. Go to the hardware store and buy a pneumatic test plug. It looks like a heavy-duty rubber balloon with a tire valve on top. You slide it into the drain, pump it up, and it creates a perfect, airtight seal. This is the only way to be 100% certain that if the water level drops, it is because of a leak in your pan, not a leak in your plug.
Mechanical Plugs Provide a Solid Alternative
If you are not a fan of the inflatable version, mechanical wing-nut plugs are your next best bet. They expand a rubber gasket as you tighten the nut. I once tried to use one of these on an old, brittle cast iron drain and overtightened it until I heard a sickening ‘crack.’ It turned a simple test into a nightmare of replacing rusted pipe in a cramped crawlspace. If you are working with PVC or ABS, they are great, but be gentle. You want it tight enough to hold water, not tight enough to split the plumbing.
Fill the Pan and Mark Your Territory
Once the drain is sealed, it is time to fill the base. You want the water level to reach the very top of your curb. This tests the most vulnerable parts of the installation: the corners where the liner or liquid membrane move meets the framing. I like to fill it until it is about half an inch from spilling over onto the bathroom floor. Mark the water line clearly so you can spot even the slightest drop in volume over the next day.
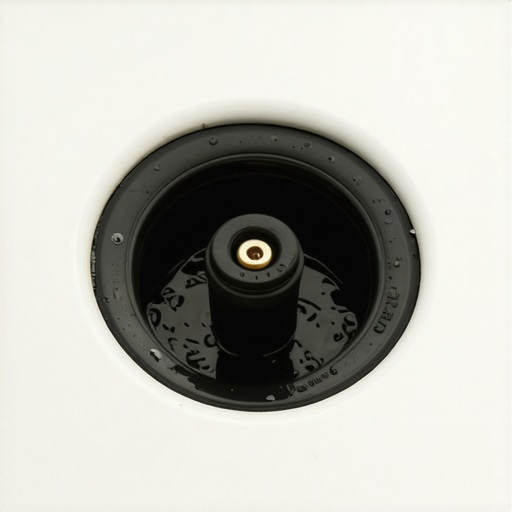
When it is full, take a permanent marker or a piece of tape and mark the exact water level on the wall or the curb. This is not just for you; it is for the building inspector, too. If you are going for modern designs for a luxury feel, you cannot afford to have water wicking up into your drywall. If the water level drops even an eighth of an inch, you have a problem that needs immediate attention before the tile goes down.
Watch for Wicking in the Corners
Check the outside of the curb and the surrounding subfloor frequently. If you see damp spots on the plywood, your liner is not high enough or your corner patches are failing. I remember a job where we used the dry pack secret for a perfectly sloped shower floor, but we got lazy with the waterproofing behind the niche. The water actually wicked up through the mortar bed and started leaking through the wall. Now, I always make sure the foam wall secret for waterproof shower niches is integrated before the water hits the pan. It is much easier to fix a pinhole in a membrane now than it is to deal with why your shower niche keeps leaking through the bathroom wall after the expensive stone is set.
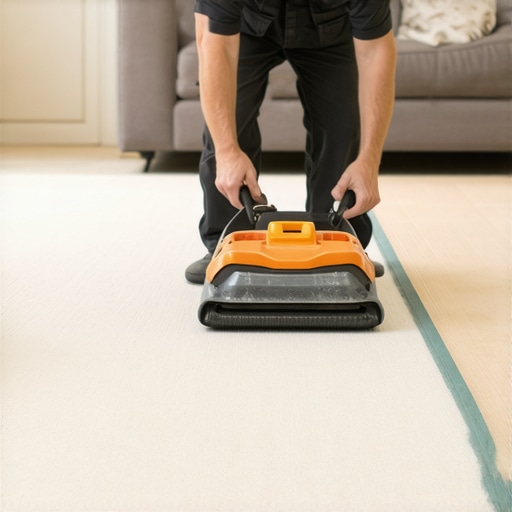
I see it every single weekend on social media: a proud homeowner showing off a DIY carpet install using nothing but a rented knee kicker. While it looks great for the first six months, that’s where the trap lies. In my experience, relying on a knee kicker is the fastest way to ensure your flooring fails. According to the Carpet and Rug Institute (CRI) 105 standard, power stretching is mandatory for all residential carpet installations to prevent wrinkles and delamination. If you aren’t using the power stretcher rule for large living room carpets, you are essentially setting a countdown for when your floor will start to ripple. I’ve seen homeowners try to fix this later with a DIY spill fix, only to wonder why your carpet feels crunchy after a diy spill fix—it’s usually because the backing has already started to break down from that lack of initial tension.
Why Is ‘Flat’ More Important Than ‘Level’ for New Floors?
Many beginners obsess over getting their subfloor perfectly level using a 4-foot bubble level. Here is the contrarian truth: your floor doesn’t actually need to be level to look perfect, but it absolutely must be flat. You can have a floor that slopes half an inch across a room that looks flawless, but a tiny 1/8-inch hump will cause why your vinyl plank floors are making a clicking sound every time you walk over it. I learned this when I ignored a small dip near a doorway and ended up with why your vinyl plank floor is gapping at the short ends. Water-leveling the whole room is overkill, but using the self-leveler move for perfectly flat vinyl installs is the only way to avoid that annoying ‘hollow’ feel underfoot.
Ditch the Miter for Your Inside Corners
Most people think a 45-degree miter cut is the gold standard for baseboards. They are wrong. Houses breathe and wood shrinks, which means those pretty mitered corners will open up like a shark’s mouth by next winter. Professionals use the coping saw technique for flawless inside baseboard corners because it allows one board to tuck behind the other. This way, when the walls move, the gap stays hidden. If you’ve already made the mistake of mitering and now see daylight in your corners, you might need the double butt method for fixing wide baseboard gaps to save the look without tearing it all out. And whatever you do, please stop baseboard splitting with this simple pre-drilling tactic before you hammer in that final nail near an end joint.
The Invisible Danger in Your Shower Corners
The biggest ‘oops’ factor in shower builds happens where the wall meets the floor. Everyone focuses on the flat surfaces, but the corners are where the pressure is highest. I’ve seen countless projects where the homeowner used too much thinset, thinking ‘more is better,’ but ended up with air pockets. Use the full bed mortar rule for large format shower tiles to ensure there is no space for water to sit and stagnant. If you don’t, you’ll eventually be asking why your shower grout is crumbling just months after install. It isn’t just about the tile; it’s about the support underneath it. Have you ever fallen into this trap of over-engineering one part while skipping the basics on another? Let me know in the comments below.
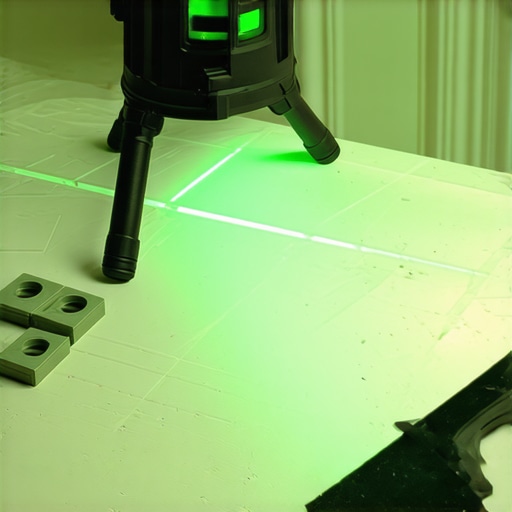
If there is one thing I have learned from a decade of DIY disasters and triumphs, it is that your work is only as good as the tools you refuse to compromise on. I used to rely on a cheap spirit level for my tile work until I realized my ‘level’ lines were actually sloping half an inch over a six-foot span. Now, I never set a single stone without the Bosch GLL3-330CG. Using the laser level move for perfectly horizontal shower tiles is the only way to ensure your grout lines don’t look like a mountain range. The green beam is far more visible in bright bathrooms than the old red ones, and it saves me hours of frustration. Similarly, when I am working with LVP, I follow the stay-sharp blade-rule for cutting luxury vinyl religiously. A dull blade doesn’t just make the work harder; it creates micro-fractures in the wear layer that lead to premature peeling.
How do I maintain my new flooring and shower over time?
Maintenance is where most people drop the ball. You’ve spent thousands on materials, so why would you clean them with harsh chemicals? For natural stone, I have found that less is more. Learning how to seal a marble shower without changing the color is step one. Step two is using a pH-neutral cleaner every single week. When it comes to carpet, the IICRC S100 Standard for Professional Cleaning of Textile Floor Coverings is the gold standard; it explicitly states that hot water extraction (steam cleaning) by a certified professional every 12 to 18 months is necessary to maintain the structural integrity of the fibers. If you skip this, those high-traffic lanes will become permanent. For your baseboards, don’t just slap on some caulk and walk away. Follow the caulk and paint sequence to create a flexible, washable seal that won’t attract dust like a magnet.
The Next Wave of Flooring Tech is Smarter Than You Think
As we look toward top trends in installation for 2025, I predict we are going to see a massive shift toward ‘smart’ subfloors. We are already seeing moisture-sensing underlayments that can send an alert to your phone if a leak starts under your dishwasher or behind your shower wall. It sounds like sci-fi, but preventing a $10,000 mold remediation with a $50 sensor is the future of home ownership. Until then, we have to rely on good old-fashioned technique, like the bead and smooth strategy for shower corners, to keep the water where it belongs. I challenge you to go out this weekend and upgrade one tool in your kit—specifically, get yourself a high-quality coping saw and practice one joint. It will change the way you look at your home’s finish work forever.
Hard Lessons from My Most Expensive Remodels
If you take away nothing else from this guide, remember that the smallest shortcut often leads to the largest repair bill. I’ve learned that a visual inspection is practically worthless when it comes to waterproofing. Water doesn’t care how pretty your tile is; it only cares about gravity and the path of least resistance. To avoid a disaster, you have to embrace the slow parts of the process. For instance, never assume your subfloor is ready for action without a thorough check; avoiding flooring installation mistakes to avoid for a seamless look starts with the preparation you can’t see once the job is done.
- The 24-Hour Rule is Non-Negotiable: I once saw a leak manifest at the 22nd hour of a flood test. If I had stopped at 20, I would have been tearing out a five-thousand-dollar marble floor three months later.
- Texture Trumps Beauty: When you are choosing materials, especially for wet areas, consider how they feel underfoot when wet. It’s easy to get distracted by aesthetics and forget about the practical safety of your family.
- Precision Over Speed: Every time I tried to ‘eyeball’ a baseboard cut or a tile alignment, I regretted it. Using a scribe tool or a laser level isn’t just for pros; it’s for anyone who wants to do the job exactly once.
The Gear That Actually Makes a Difference
You don’t need a warehouse full of tools, but you do need the right ones for the ‘invisible’ parts of the job. I personally swear by the Pneumatic Test Plug for shower drains—it’s the only way to get a true seal that won’t give you a false positive for a leak. For those moving into the living room, mastering carpet install secrets achieving flawless results every time often comes down to the quality of your power stretcher. If you are still using a knee kicker for anything larger than a closet, you are leaving your floor’s longevity to chance. Finally, when it comes to the finishing touches, take the time to how to choose the perfect baseboards for your homes style to ensure the scale matches your room’s height. A tool as simple as a high-quality coping saw will pay for itself in the first three corners you cut.
Step Into Your New Space with Confidence
There is a unique kind of peace that comes from knowing the bones of your home are solid. When you walk into your shower or step onto your new carpet, you shouldn’t have to wonder if there’s a slow leak or a hidden ripple forming. By following these industry standards and taking the extra day to test your work, you are doing more than just ‘remodeling’—you are building a legacy of quality. As you look toward transform your flooring top trends in installation for 2025, remember that the best trend is a floor that doesn’t fail. You’ve got the knowledge, the tool list, and the techniques to make your next project a masterclass in DIY success. Have you ever had a ‘perfect’ installation fail a flood test at the very last minute? Let me know your story in the comments below!