

I stood in the doorway of my client’s sunroom, staring at a floor that looked more like a mountain range than a living space. It was a hot July afternoon, and the gorgeous luxury vinyl planks I had painstakingly installed in April were buckling at the joints. I felt that sinking feeling in my gut. I had left the recommended expansion gaps, but the sheer thermal load from those floor-to-ceiling windows had turned the floor into a moving target. That day, I learned the hard way that sunrooms aren’t normal rooms. They are thermal battlegrounds. If you’ve ever heard a mysterious popping sound or noticed why your vinyl plank floor is clicking when you walk, you likely have expansion issues too. Today, I’m going to show you the ‘Perimeter-Glue’ move—the hybrid strategy that finally stopped my sunroom floors from wandering off.
The Sunroom Expansion Crisis and How to Fix It
Most DIY guides tell you LVP is ‘set it and forget it.’ That’s a half-truth. In a standard bedroom, sure. But in a sunroom, the temperature swings are brutal. According to industry data, surface temperatures on dark vinyl planks in direct sunlight can exceed 140°F, which is well above the stable operating range for many floating products. My biggest mistake early on was trusting a standard floating install in a room with three glass walls. I didn’t account for the ‘drift.’ When the floor expands and contracts daily, it eventually crawls toward one wall, gets stuck under the baseboard, and then has nowhere to go but up. The ‘Perimeter-Glue’ move solves this by anchoring the edges while allowing the center to flex. It’s the sweet spot between a full glue-down and a floating floor. Before you start, make sure you’ve handled the vapor seal requirement for luxury vinyl on concrete, especially if your sunroom is on a slab.
Is gluing just the edges actually worth the extra mess?
You might be thinking, ‘Why not just glue the whole thing?’ Well, a full spread is expensive and a nightmare to replace later. Perimeter gluing is the compromise that works. It prevents the field from shifting toward the patio door where vinyl floors often fade and warp first. I usually use a high-quality pressure-sensitive glue for this. It gives you the grip you need without making the floor permanent. Have you ever walked into your sunroom and noticed a gap opening up near the baseboards that wasn’t there last winter? If you’ve faced this kind of frustration, you aren’t alone. This guide will walk you through the step-by-step flooring installation process tailored specifically for these high-heat zones.
Flatten the Subfloor Before the Heat Hits
The foundation of a sunroom floor is even more critical than a standard bedroom because heat amplifies every minor imperfection. If your slab has a dip, the vinyl plank will bridge it. Under the 140-degree sun, that bridge becomes soft, and every time you step on it, the locking mechanism flexes until it snaps. I always start by checking for flatness with a six-foot level. If there is a variation of more than 3/16 of an inch, I use the self-leveler move for perfectly flat vinyl installs. Think of the subfloor like the chassis of a race car; if the frame is bent, it doesn’t matter how good the tires are—you’re going to have a blowout when things get fast and hot.
Applying the Perimeter-Glue Anchor
The secret to the ‘Perimeter-Glue’ move is creating a ‘frame’ of adhesive that holds the outer edges of the floor in place while allowing the ‘field’ or middle section to expand and contract. You aren’t gluing the whole floor; you are only applying adhesive to the area where the first two rows and the last two rows will sit, as well as a thin strip along the side walls. This prevents the entire floor ‘raft’ from drifting toward the sunniest corner. I highly recommend following the pressure-sensitive glue rule for vinyl tile. You apply the glue and wait for it to turn from white to translucent. It should be tacky to the touch but not transfer to your finger. I remember a job in a Victorian sunroom where I got overconfident and laid the planks while the glue was still wet. The planks slid around like they were on ice, and I ended up with gaps that I had to fix later using the floating joint fix for vinyl plank repairs. Don’t rush the tack time.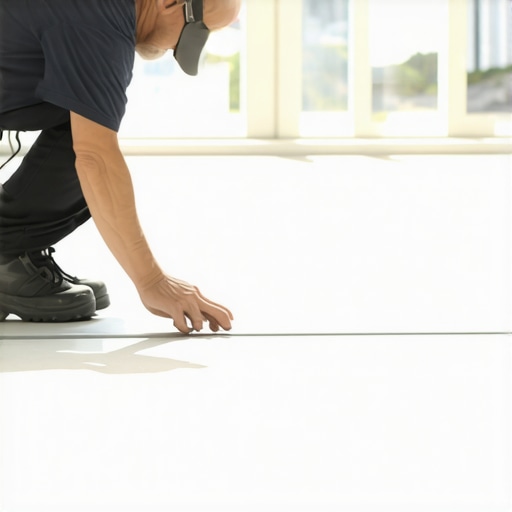
Cutting Your Planks for Long-Term Success
When you are working in a sunroom, your cuts need to be cleaner than usual because you are likely using a larger expansion gap (usually 1/2 inch instead of 1/4 inch). Dull blades create micro-fractures in the wear layer of the vinyl, which can peel back when the floor expands. I stick to the stay-sharp blade rule for cutting luxury vinyl to ensure every edge is crisp. If you are struggling with a complex cut around a door jamb or a stone fireplace, remember that flooring installation mistakes to avoid for a seamless look often start with poor measuring. Use a scrap piece of flooring to trace your cuts before you commit to the actual plank.
Leave the Gap but Hide the Evidence
One of the most common complaints I hear is that a 1/2-inch expansion gap looks like a canyon. This is where your trim work saves the day. You cannot nail your baseboards into the flooring; you must nail them strictly into the wall studs so the floor can breathe underneath. If your sunroom walls are slightly bowed—which they almost always are—you might find that standard trim doesn’t cover the gap. In these cases, I employ the razor scribe method for baseboards on wavy drywall to get a tight fit against the wall while maintaining that hidden gap for the floor. Following expert flooring installation tips for 2025 means planning for this movement from the very first row.Many pros will tell you that a floating floor is the only way to go because it allows for movement. But here is the contrarian truth: in a high-heat sunroom, a purely floating floor is often a recipe for disaster. While DIYers obsess over horizontal expansion gaps, they often ignore vertical deflection and the ‘pinch point’ effect created by heavy furniture. If you place a heavy couch on one end of a floating floor and the sun hits the other side, the floor can’t ‘float’ anymore—it’s pinned. This leads to why your vinyl plank floor is clicking when you walk as the joints struggle against that weight. According to the Floor Covering Institute, surface temperatures in sun-drenched rooms can cause localized expansion that exceeds the locking mechanism’s shear strength. This is why I advocate for the perimeter-glue method; it distributes that stress more evenly across the entire ‘raft’ rather than letting it accumulate at a single joint.
How do you handle transitions when the floor won’t stay still?
The most advanced installers know that the transition strip is the first point of failure. If you are moving from a sunroom to a carpeted area, don’t just slap down a generic T-molding. You need to use the transition strip move for carpet to bathroom tile logic, ensuring the track is screwed into the subfloor but the cap allows for the vinyl to slide. If you’re transitioning to carpet, knowing carpet install secrets like proper power stretching is vital to prevent the carpet from bunching against your shifting vinyl floor. 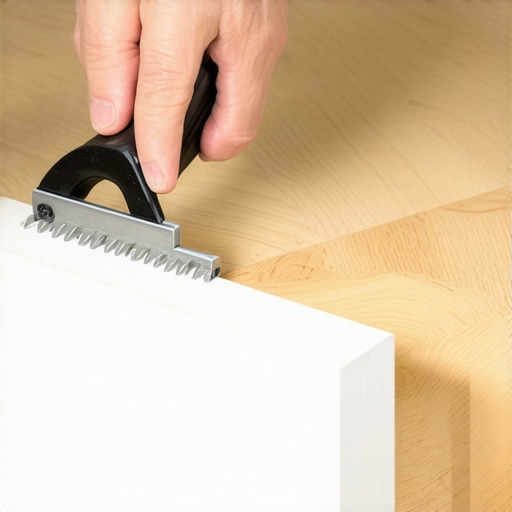
Don’t let your baseboards choke the floor
Another common ‘trap’ is the baseboard installation itself. People think that as long as they leave a gap, they are safe. But if you nail your trim too low, you are essentially ‘clamping’ the floor. This is a classic flooring installation mistake to avoid. I always use the wood shim secret for baseboards on uneven slabs to ensure there is a microscopic air gap between the bottom of the trim and the top of the vinyl. For corners, forget the miter saw for a second; the coping saw technique for flawless inside baseboard corners is the only way to ensure those joints don’t pull apart when the house settles or the humidity drops. If you’ve ever seen your baseboard miters opening at the top, you know exactly what I’m talking about. We often see similar issues in wet areas, which is why shower repairs often focus on where the wall meets the floor—movement is the enemy of a rigid seal. Have you ever fallen into this trap where a ‘floating’ floor felt more like it was locked in a vice? Let me know in the comments. By mastering these nuances, from baseboard styles that elevate your interior design to the physics of thermal expansion, you move from being a ‘handyman’ to a true flooring specialist.To get that perimeter-glue move just right, I never touch a standard DIY pull bar. They are usually too thin and flex when you are trying to set a plank into the tacky adhesive. I personally use a 3/16-inch thick professional-grade pull bar with a wide striking face. This ensures that even with the added resistance of the glue, you aren’t accidentally causing joint failure or making it so why your vinyl plank floor is telegraphing subfloor bumps by forcing a tight fit where it shouldn’t be. When I am finishing the edges near the glass, I keep a moisture meter handy. Even though we think of vinyl as waterproof, the subfloor isn’t. According to the NWFA Technical Manual, the relationship between subfloor moisture and ambient humidity is the primary driver of ‘unexpected’ movement, even for synthetic products. If you are following a step-by-step flooring installation, checking the slab’s humidity before applying the perimeter glue is non-negotiable.
How do I maintain my sunroom floor for the next decade?
Maintenance in a high-UV zone is different from a standard hallway. First, ditch the steam mop; the localized heat can actually reactivate the pressure-sensitive glue we just applied and cause the planks to shift. I recommend a PH-neutral cleaner and a microfiber pad. Also, keep an eye on the transition areas. If you’ve used your guide to durable flooring installation for a stylish home, you know that UV-rated rugs are your best friend. They prevent the direct thermal load from hitting the floor in the peak of the afternoon, which helps mitigate why your vinyl floor is fading in front of the patio door. Every six months, I do a ‘tap test’ on the perimeter. If I hear a hollow sound, it means the glue has lost its grip, and I might need to inject a tiny amount of adhesive to keep the ‘raft’ from drifting. 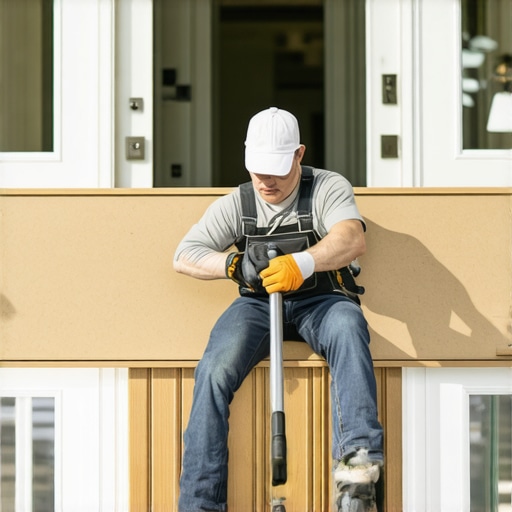
The Next Phase of Thermal Stability
Looking ahead, the industry is moving toward higher limestone content in SPC (Stone Plastic Composite) cores. I predict that by 2026, we will see ‘smart’ vinyl with integrated thermal-reflective backing that negates the need for specialized gluing methods. For now, staying ahead of transform-your-flooring-top-trends-in-installation-for-2025 means sticking to these mechanical and adhesive hybrids. If you want to elevate your home, look into expert flooring installation tips for 2025 and always prioritize the subfloor prep. I challenge you to try the ‘Perimeter-Glue’ move on your next sunroom project—it turns a frustrating floor into a rock-solid feature.
Sunroom Battle Scars and the Lessons They Taught Me
After years of wrestling with thermal expansion, I’ve realized that the sun is either your best friend or your worst enemy in flooring. One major ‘aha’ moment was realizing that standard expansion gaps are just the beginning; you also have to think about how your trim interacts with the floor’s movement. For instance, when I’m finishing the baseboards, I often use the back-bevel move for tight baseboard miters to ensure the joints stay crisp even if the walls aren’t perfectly square. Another big takeaway? Never underestimate the power of a good cope. Using the inside-corner cope for perfect baseboard installs prevents the trim from popping loose when the flooring raft expands and pushes against the wall. Finally, remember that sunrooms often share a wall with bathrooms; if you’re tackling a larger project, check out this ultimate shower renovation guide to see how we handle moisture and movement in other high-stress zones.
The Essential Kit for Taming Wild Floors
You don’t need a truck full of tools, but you do need the right ones. My personal toolkit for sunroom vinyl always includes a professional-grade tapping block and a heavy pull bar—the cheap plastic ones will just crack under the pressure of the perimeter glue. I also rely heavily on a high-quality leveling system; if you want to stop tile lippage with this leveling system move, you’ll find those same principles of flatness apply perfectly to vinyl. For long-term peace of mind, I trust the technical bulletins from the Resilient Floor Covering Institute (RFCI). They provide the data that confirms why these hybrid methods work. If you’re also considering carpet for adjacent high-traffic areas, it’s worth looking at the best carpet types for high-traffic areas in 2025 to ensure your whole home transitions seamlessly.
Take the Leap and Secure Your Space
Installing a floor in a glass-walled room can feel like a gamble, but with the perimeter-glue method, you’re taking control of the physics. You’ve put in the work to prep the subfloor and plan your cuts; now it’s time to execute with confidence. Using these expert flooring installation tips for 2025 will set you apart from the average DIYer and give you a result that lasts through every season. Your sunroom should be a place of relaxation, not a source of clicking noises and buckling planks. Go ahead, start that first row—you’ve got the strategy to make it perfect. Have you ever noticed your vinyl floor gaps opening up more in the winter than the summer? I’d love to hear about your experience in the comments below!