

I’ll never forget the feeling of finishing what I thought was a masterclass in trim work, only to step back and see a gap between my baseboard and the wall that looked like it could swallow a stack of quarters. I’d spent all morning perfecting the inside corner cope for perfect baseboard installs, but the drywall had other plans. It was wavy, uneven, and frankly, a nightmare. That was the moment I realized that even the most expensive molding looks like a DIY disaster if it doesn’t hug the wall. I’ve been there, and I know exactly how frustrating it is when your house just won’t play fair.
The Day I Realized Straight Walls Are a Myth
In my early days, I used to think a big tube of caulk could fix anything. I made the classic mistake of trying to bridge a massive gap with a thick bead of white goo, thinking I could just paint over it. Spoiler alert: it shrank, cracked, and looked hideous within a month. If you want a professional look, you have to stop fighting the wall and start working with it. That’s where the ‘Razor-Scribe’ method comes in. It’s a technique I’ve refined over years of flooring installation, and it’s the only way to get those crisp, tight lines when your drywall looks more like a rolling ocean than a flat surface. We’re going to dive into how to shave away just enough material to make that wood look like it grew right out of the wall.
Is this extra work actually worth the headache?
You might be wondering if you should just ignore the gaps or stick to the back-cut secret for tight baseboard outside corners and hope for the best. I get it; time is money. But let’s be real: a gap is a magnet for dust and a glaring sign of a ‘good enough’ job. Interestingly, the Gypsum Association notes that standard drywall installation permits slight surface variations, which means this isn’t just your house—it’s almost every house. By learning to scribe properly, you’re elevating your home’s value and your own skill set. Have you ever spent hours on a project only to have a single wavy wall ruin the whole vibe? Tell me about your most frustrating curvy wall moment—I’ve likely been there too. We’re going to solve this today so you never have to reach for an extra tube of caulk in desperation again.
Map Out the Wall’s Hidden Curves
Before you ever touch a saw, you need to see exactly where the drywall is lying to you. Think of your baseboard like a tailored suit; it won’t look right if the measurements are based on a mannequin that doesn’t share your shape. Start by pushing your piece of molding tight against the wall and the floor. This is where you’ll see the ‘unfiltered’ truth—those annoying gaps where the wall bows inward or the floor drops out. If you’re dealing with an older home where the floors are particularly chaotic, you might want to check why your baseboards look crooked on perfectly level floors to understand how gravity and settling play into this.
Nail Your Dry Fit Before You Cut
I remember working on a renovation in an old farmhouse where the walls looked like they were made of melted wax. I tried to just push the baseboard tight and nail it, thinking the wood would bend to my will. Bad idea. The tension caused the board to split, and I ended up with a projectile nail that barely missed my ear. Now, I always use a few temporary blocks to hold the board perfectly plumb. If the gap is massive, you might even need the double butt method for fixing wide baseboard gaps just to get a solid starting point. Don’t rush this stage; if the board isn’t sitting correctly now, your scribe line will be useless.
Let Your Scribe Tool Do the Heavy Lifting
This is where the magic happens. You don’t need fancy laser scanners; a simple compass or the scribe tool trick for baseboards against stone walls works perfectly for standard drywall too. Set the point of the compass to the widest gap you see between the wall and the wood. As you drag the point along the wall, the pencil end mimics every single lump and bump onto the face of your baseboard. It’s like tracing a map of a mountain range onto a flat piece of paper.
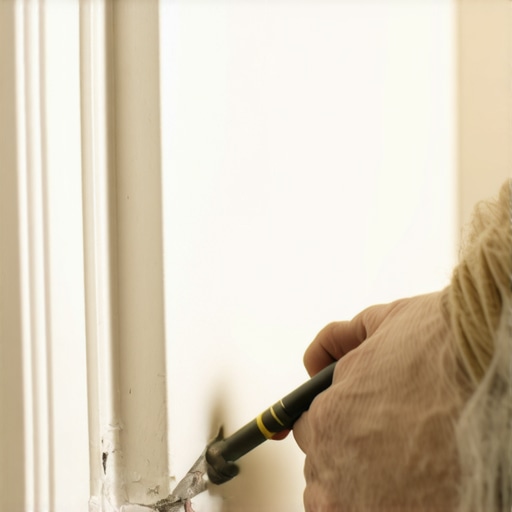
Turn Your Jigsaw Into a Precision Scalpel
Once you have your line, it’s time to remove the ‘offending’ wood. This isn’t a standard 90-degree cut. If you cut straight through, the back edge of the wood might still hit a bump on the drywall you didn’t see, preventing the front from sitting flush. You need to employ the back bevel move for tight baseboard miters, but apply it to the entire length of the board. Angle your jigsaw or power plane so you’re removing more material from the back of the board than the front. This creates a sharp ‘razor’ edge that can tuck into the smallest imperfections in the plaster.
Secure the Board Without Splitting the Grain
After you’ve shaved it down and the board fits like a glove, the fastening is the final hurdle. Using heavy-duty framing nails will just blow out the delicate work you just did. I’ve learned the hard way that the pin nail secret for delicate baseboard moldings is the only way to go for those final, visible runs. It leaves a hole so small you can barely see it, let alone have to fill it with massive amounts of putty. If you find the floor is still dropping away beneath your perfectly scribed wall-fit, remember the wood shim secret for baseboards on uneven slabs to keep the bottom edge crisp. You’re not just installing trim; you’re performing a custom fit that most ‘pro’ crews skip because they’re in a hurry.
Everyone says your floor needs to be perfectly level before you start, but in my experience, that’s a half-truth that leads to expensive, unnecessary work. The real secret to a high-end finish isn’t level; it’s flatness. You can have a floor that slopes two inches across a room, and your baseboards will still look incredible as long as the surface is flat. When you obsess over ‘level,’ you often end up fighting the house rather than working with its character. This is one of the most common flooring installation mistakes to avoid for a seamless look because it distracts you from the real culprit: the localized bumps and dips that make trim go wonky.
Stop Chasing a Level Floor and Start Finding a Flat One
The National Wood Flooring Association (NWFA) actually specifies that a subfloor should be flat to within 3/16 of an inch over a 10-foot radius. They don’t demand it be perfectly level. If you spend all your time trying to level a subfloor in an 1890s Victorian, you’ll be there for a month. Instead, I focus on the self-leveler move for perfectly flat vinyl installs to fill the dips, and then I let the scribe handle the rest. Scribing allows the baseboard to follow the floor’s natural slope while maintaining a tight, gap-free connection that looks intentional rather than accidental.
Why do your joints keep separating after only one season?
This is the question that haunts many DIYers. You spend days scribing and fitting, and then winter hits and the gaps return. The ‘Oops’ factor here is usually a failure to account for seasonal movement. If you scribe your baseboards too tightly against a floating floor without respecting the expansion gap rule for heavy kitchen islands on laminate, the floor will eventually push back. I’ve seen baseboards literally bowed off the wall because the flooring had nowhere to go. You want the trim to touch the floor, but not pin it down like a wrestler. Have you ever finished a room only to have the floor start ‘clicking’ or buckling a few months later? Let me know in the comments; I’ve found it’s almost always a moisture or expansion issue that wasn’t caught early.
The Hidden Danger Behind Your Baseboard
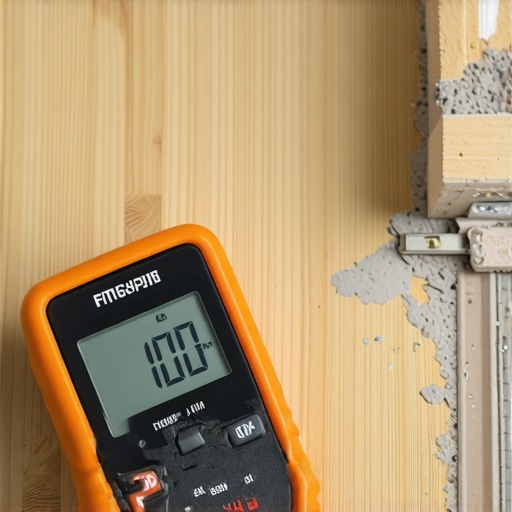
Before you start firing nails into your freshly scribed masterpiece, there is one critical trap you must avoid. In many modern homes, plumbers run supply lines through the wall studs exactly where you’re likely to nail your baseboards. If you aren’t careful, you’ll learn how to fix a baseboard nail that hit a water pipe immediately the hard way. Always check for protective strike plates, but better yet, use a stud finder with a metal-sensing mode. This is why I often advocate for the moisture meter requirement for basement flooring jobs; it’s not just about the wood, it’s about knowing the environment you are nailing into. If the wall is damp, your scribed edge will swell and ruin that razor-thin line you worked so hard to create. Mastering the scribe is about 20% tools and 80% understanding how your house breathes and shifts. Don’t just install wood; fit it to the soul of the room.
The Gear That Actually Makes Scribing Easy
People often ask me if they need a specialized kit to get these results. Honestly, my most-used tool isn’t a laser or a high-end computer; it is a simple brass compass with a locking nut. I’ve tried the plastic versions, and they flex too much when you hit a knot in the wood, ruining your line. I always pair this with a high-quality mechanical pencil—0.7mm lead is the sweet spot for a visible but precise mark. Before you even think about cutting your scribe line, you need to ensure your material is prepped. I follow the stay-sharp blade rule for cutting luxury vinyl and wood alike; a dull blade will tear the fibers on that delicate razor edge you’re trying to create, making the joint look fuzzy rather than crisp.
When it comes to the actual removal of the material, I swear by my barrel-grip jigsaw. It gives me much better control for those undulating cuts than a top-handle model. I also keep a set of fine-grit sanding sponges handy. Once the jigsaw does the heavy lifting, I use the sponge to slightly round over the back side of the cut, ensuring the very front edge is the only thing touching the wall. This is a level of detail you’ll rarely see in a standard carpet install secrets guide, but for baseboards, it is the difference between a DIY look and a custom finish.
How do I maintain these tight-scribed joints over time?
The biggest threat to your hard work isn’t wear and tear—it’s humidity. Wood is a living material that breathes. According to the National Wood Flooring Association (NWFA), professional installers should recommend that homeowners maintain a consistent indoor relative humidity between 30% and 50% to prevent excessive expansion and contraction. If your house swings from 20% in the winter to 70% in the summer, even the best scribe will eventually show a hairline gap. To combat this, I always use the caulk and paint sequence. By applying a tiny, flexible bead of high-quality acrylic caulk and painting over it while it’s still fresh, you create a flexible bridge that can handle minor seasonal shifts without cracking.
If you are working in a bathroom, the stakes are even higher. I’ve seen beautiful trim work rot from the inside out because someone ignored shower repairs when to fix vs replace for longevity. Moisture from a leaky pan or a poorly sealed niche will migrate behind your baseboards. Always ensure your wet areas are 100% sealed before you install your decorative trim. I’ve found that even the most perfect scribe can’t hide the damage caused by a hidden water leak.
Why 3D Scanning is the Next Big Leap for Home Reno
Looking ahead, I’m seeing a massive shift in how we handle these ‘wavy wall’ problems. We are quickly moving toward affordable 3D room scanning apps that can map a wall’s imperfections to within a millimeter. In the next few years, I predict we’ll be sending these digital files directly to CNC machines that will pre-cut our baseboards with the scribe already built-in. It’s an exciting time to be in the industry, and you can stay ahead of the curve by following transform your flooring top trends in installation for 2025. For now, though, your hands and a good compass are still your best friends. I challenge you to try the ‘back-bevel-and-glue’ combo on your next transition; it’s a small extra step that ensures your joints stay tight for a decade, not just a season.
What the Pros Keep Quiet About Scribing
After years of wrestling with uneven drywall, I’ve realized that the ‘Razor-Scribe’ is as much about psychology as it is about carpentry. First, you have to accept that no wall is ever actually flat; once you stop being surprised by the curves, you stop being frustrated by them. I’ve learned that the secret to a truly invisible joint isn’t just the cut, but the shadow—if you back-bevel deep enough, the front edge creates a crisp line that the eye perceives as perfect, even if there’s a gap behind it. Another ‘lightbulb moment’ for me was realizing that if a bump in the drywall is too aggressive, a gentle tap with a hammer to compress the gypsum behind the trim is often cleaner than trying to shave the wood down to a sliver. Finally, always trust your scribe line over your spirit level; in an old house, a ‘level’ board often looks crooked to the naked eye if the ceiling and floor are both sloping.
My Go-To Kit for Seamless Transitions
You don’t need a truck full of tools to pull this off, but you do need the right ones. My essential kit starts with a solid brass locking compass—avoid the plastic ones that flex and skip over the wood grain. I pair this with a high-quality 0.7mm mechanical pencil for a line that never varies in thickness. Before I even start the layout, I always review how to choose the perfect baseboards for your homes style to make sure the profile I’m using has enough ‘meat’ on it to handle a deep scribe. For the actual finish, I lean on the advice in this baseboards makeover elevate your interior with simple updates guide to ensure my paint and caulk work doesn’t hide the craftsmanship I just worked so hard to achieve. These are the sources I return to whenever a project feels particularly daunting.
Your House Deserves Better Than Caulk
It’s time to put down the oversized tube of sealant and pick up the compass. Taking the extra twenty minutes to scribe your trim transforms a standard room into a high-end space. It shows that you respect the character of your home, even its imperfections. As you move forward with your next flooring installation, remember that the details you sweat over now are the ones you’ll appreciate every time you walk through the room for years to come. Don’t be afraid to make a few ‘practice’ cuts on scrap wood first; once you see that first gap disappear, you’ll never go back to the old way. For more comprehensive tips on the foundation of your project, check out your guide to durable flooring installation for a stylish home. Have you ever struggled with a wall that was so bowed it seemed physically impossible to fit a board against it? Let me know your story in the comments below!