

I was kneeling on a drafty subfloor, sweat dripping onto a piece of pre-primed MDF, staring at a miter joint that looked more like a canyon than a corner. I’d measured twice. I’d set my miter saw to exactly 45 degrees. But when I pushed those two boards together, the front edge refused to touch, leaving a wedge-shaped gap that mocked my amateur skills. Back then, I thought I could just follow the caulk and paint sequence to hide my shame, but as any pro will tell you, caulk is for waterproofing and minor shifts, not for fixing bad carpentry. That was my lightbulb moment. I realized that walls are almost never square, and standard miters are a recipe for frustration.
The Math That Lies to Your Face
In a perfect world, every corner in your house would be a crisp 90 degrees. In the real world, especially after a flooring installation from planning to perfect finish, you’re lucky if they’re within two degrees of square. I spent years fighting this reality. I once ruined three lengths of expensive crown molding because I refused to admit my walls were wonky. It was embarrassing. Today, I’m going to show you the Back-Bevel move—a simple saw adjustment that forces the front of your miter to lock together like they were fused at the factory. We’re moving past simple updates and getting into the real craft. Have you ever stood back from a finished room only to have your eyes go straight to the one corner that didn’t quite close? It’s soul-crushing, isn’t it?
Is the back-bevel actually worth the extra effort?
You might be thinking this sounds like a lot of finicky saw work for something no one will notice once the furniture is in. But here’s the truth: tight miters are the hallmark of a professional job. According to data from the National Association of Home Builders, framing tolerances in modern homes often allow for walls to be out of plumb by up to 3/8 of an inch, meaning a standard 45-degree cut is almost guaranteed to fail. The back-bevel isn’t just a trick; it’s a fundamental shift in how you approach perfect baseboard installs. It works by removing material from the meat of the board’s back, allowing the visible faces to touch even if the corner is slightly closed. It’s the back-cut secret that distinguishes a weekend warrior from a seasoned installer.
Why Most DIY Miters Fail Before They Start
Early in my career, I made the mistake of assuming my tools were always the problem. I’d buy a new blade, thinking that was the magic bullet. But even the stay-sharp blade rule won’t save you if your geometry is fundamentally flawed. When you cut a standard 45-degree angle, you’re creating two flat surfaces. If those surfaces hit a bump in the drywall or a stray bit of joint compound—which happens in 99% of flooring installation mistakes—the backs of the boards will touch first, pushing the front faces apart. By back-beveling, you ensure the only point of contact is that razor-thin front edge. Let’s look at how to set your saw to make this happen every single time without losing your mind.
Ditch the Perfect 45 and Embrace the Bevel
To get that professional look, you have to stop treating your miter saw like a precision instrument and start treating it like a strategic tool. The goal isn’t a perfect 45-degree cut; the goal is a perfect visible joint. When you cut two pieces of baseboard at a flat 45, they are fighting for space. If the wall is even slightly more than 90 degrees, the backs of those boards hit each other first. It’s like two people trying to walk through a doorway shoulder-to-shoulder; someone’s getting pushed out. By back-beveling, you’re essentially thinning out the person on the inside so the person on the outside—the visible face—can stand exactly where they need to.
Lean the Blade to Save the Joint
This is where the magic happens. On your miter saw, you have two adjustments: the miter (the swing left to right) and the bevel (the tilt of the blade). Leave your miter at 45 degrees, but tilt the actual head of the saw about 1 to 2 degrees away from the workpiece. This ensures the blade eats more wood from the back of the trim than the front. When you join the two pieces, that slight hollow on the inside gives the wood room to breathe. I used this technique during a particularly frustrating baseboards makeover in a house where the drywall was so thick with paint it had rounded off the corners. Without that extra degree of tilt, I would have been fighting gaps for days. 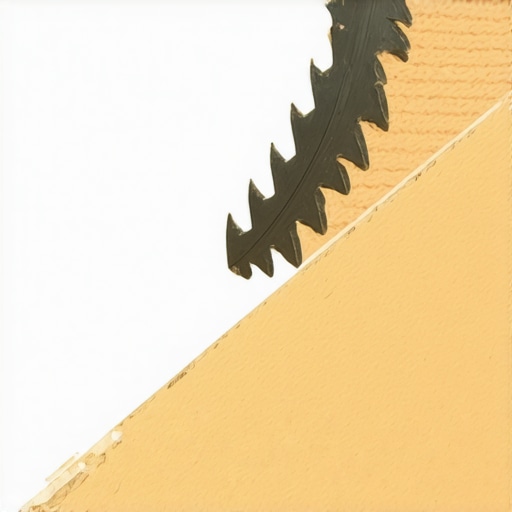
Look for the Mud Bump Behind the Board
Even with a perfect cut, your walls are plotting against you. At the bottom of almost every wall, there is a build-up of joint compound from when the tapers finished the drywall. This mud bump pushes the bottom of your baseboard out, causing the top of your miter to spring open. This is a common reason why your baseboards look crooked on perfectly level floors. Before you even fire up the saw, take a 5-in-1 tool or a chisel and scrape away any excess mud in the corner. If the bump is too big to scrape, that is when you lean into the back-cut secret to compensate.
Real Life is Never Square
I once spent six hours trying to trim out a small powder room. I was young, arrogant, and convinced my tape measure was the only truth. The walls were so warped they looked like a funhouse mirror. Every time I cut a 45, the joint looked like a shark’s mouth. I finally realized that the floor wasn’t flat either—something that happens often when people skip the moisture barrier move on old concrete. I ended up using the wood shim secret behind the bottom of the board to force the top together. It was messy, but that back-bevel gave me the clearance to make it work.
Master the Spring Miter for Long Runs
On longer walls, you might find that even the back-bevel needs a little help. This is where the spring miter secret comes into play. By slightly over-cutting your angles—say to 45.5 degrees instead of 45—you create spring tension. When you nail the boards in, the tension forces the outside tips to stay locked together. It is the difference between a joint that stays tight for twenty years and one that opens up the first time your HVAC kicks on in the winter. If you hit a stud and accidentally pop a pipe, stop immediately and check how to fix a baseboard nail that hit a water pipe before the water ruins your hard work.
Stop Chasing the Thickest Carpet Pad
Common wisdom suggests that if you want a luxury feel, you should spring for the thickest, softest carpet pad available. In my experience, this is a major trap. While it feels like walking on a cloud for the first week, an overly plush pad allows the carpet’s primary and secondary backings to flex excessively under foot traffic. This mechanical stress eventually leads to delamination, which is the primary reason why your carpet is buckling only three years later. I’ve seen expensive installations ruined because the homeowner insisted on an 11mm foam pad that didn’t meet the manufacturer’s density requirements. If you want longevity, go for a high-density, thinner pad that provides support rather than just squish. Have you ever fallen into this trap? Let me know in the comments.
Why the Knee-Kicker is the Silent Enemy of Your Flooring
If you see your installer doing the entire room with nothing but a small tool they hit with their knee, stop them. I used to think I was a hero for finishing a room in record time using just a kicker, but I was actually committing the knee-kicker mistake that ruins luxury carpets. A knee-kicker is designed for positioning and small closets, not for stretching the carpet across a 15-foot living room. Without the mechanical leverage of a power stretcher, the carpet never gets tight enough to handle the expansion and contraction caused by seasonal humidity. This lack of tension eventually manifests as unsightly wrinkles that are nearly impossible to fix without a full restretch.
Does your installer actually need a power stretcher for every room?
The short answer is yes. According to the Carpet and Rug Institute (CRI) Standard 104, power stretching is mandatory for all residential wall-to-wall carpet installations to ensure the product performs as intended. Many contractors skip this because the tool is heavy and setup is time-consuming, but failing to follow the power stretcher rule for large living room carpets is the #1 reason for premature replacement. 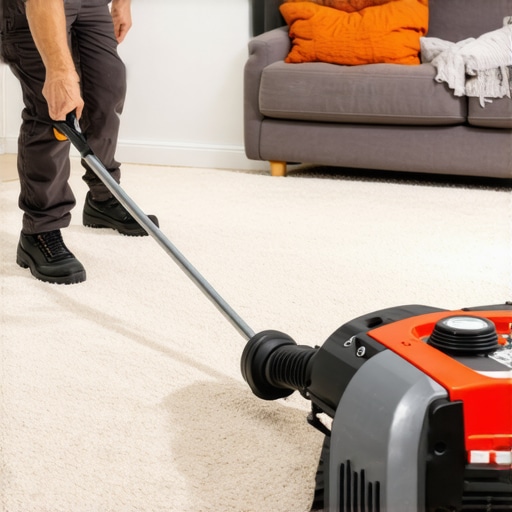 When the carpet isn’t properly tensioned, it develops ripples that act like speed bumps for your vacuum, accelerating wear on the fibers. This is one of those carpet install secrets that separates true craftsmen from the guys just looking for a quick paycheck.
The Vapor Trap You Can’t See
Whether you are researching expert flooring installation tips for 2025 or sticking to traditional materials, never ignore what is happening underneath the surface. Most DIYers and even some pros think a dry-looking concrete slab is safe. However, concrete is porous and acts like a sponge, pulling moisture from the soil through capillary action. If you don’t use the vapor seal requirement for luxury vinyl on concrete, that moisture gets trapped under your flooring, leading to mold, odor, and adhesive failure. It’s a hidden nuance that costs thousands to fix but only pennies to prevent during the initial flooring installation from planning to perfect finish. Always test your subfloor moisture levels before the first plank or pad hits the ground.
Keep Your Shower From Crumbling After the First Year
I’ve seen too many beautiful bathrooms turn into expensive nightmares because the owner thought the job was finished the moment the grout dried. Maintenance isn’t just about scrubbing; it’s about chemistry. If you’ve invested in high-end stone, you must seal a marble shower without changing the color to prevent the stone from absorbing oils and soaps. More importantly, you should stop shower grout from staining with the pre-seal move before you even use it for the first time. It is much easier to apply a barrier to fresh grout than it is to scrub deep-seated mold out of it three years later. According to the Tile Council of North America (TCNA) Handbook, the longevity of a tile installation is directly proportional to the integrity of the waterproofing system and the subsequent maintenance of the sealant joints. If you notice a crack in the corner, don’t wait. Use the bead and smooth strategy for shower corners to refresh the silicone and keep water out of your wall cavities.
The Laser Level Beats a Bubble Level Every Time
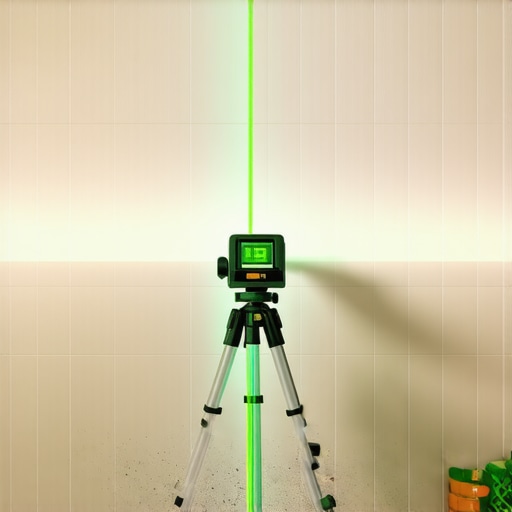
When I’m working on a shower renovation, I throw my old bubble levels in the truck and break out the 360-degree green beam laser. Why? Because walls are never perfectly straight, and gravity doesn’t care about your feelings. Using the laser level move for perfectly horizontal shower tiles ensures that when you wrap your tile around a corner, the lines meet perfectly on the other side. If you are off by even an eighth of an inch on your first row, that error will grow exponentially by the time you reach the ceiling. It’s the same precision required for aligning tile patterns across a shower floor and wall. A laser gives you a constant, unchangeable reference point that doesn’t rely on you squinting at a bubble between two lines.
How do I keep my flooring results looking fresh for a decade?
The secret to a floor that stays young is managing the tiny particles you can’t always see. For hardwood or luxury vinyl, the finish is your only defense. I always recommend the felt pad routine for every piece of furniture, but the cleaning method matters just as much. Stop using soaking wet mops. Instead, use the vacuum seal trick for cleaning dust out of floor grooves to remove abrasive grit before it can scratch the surface. If you’ve already seen some wear, you might be able to use the no-sanding fix for scuffed hardwood floor finishes to restore the luster without a full professional sand-and-refinish job. For carpets, knowing when to fix vs replace for longevity is key; sometimes a simple restretch using the power stretcher rule can add five years to an aging installation.
The Smart Future of Custom Installations
Looking ahead, I predict that top trends in installation for 2025 will move toward integrated smart technology. We are already seeing moisture sensors that can be installed behind shower walls or under kitchen islands that alert your phone the second a leak is detected. It takes the guesswork out of maintenance. Until that becomes standard, stick to the fundamentals of durable flooring installation. My challenge to you: on your next project, don’t just trust your eye. Buy a decent laser level and use it to set your first row of baseboard or tile. You will be shocked at how much easier the rest of the job becomes when your foundation is actually level. If you need help with a complex layout, feel free to contact us for expert advice.
Hard Lessons I Learned the Expensive Way
Over two decades in the trades, I have learned that the difference between a ‘good’ job and a ‘perfect’ one is usually about twenty minutes of extra patience. Here are the lightbulb moments that changed my career:
- Moisture is the silent killer. I used to think a dry-looking subfloor was ready for planks, but I quickly learned that the acclimation test for avoiding hardwood floor gaps is the only way to be sure. Wood is a living material; treat it like one.
- Waterproofing is a system, not a single step. You cannot just rely on tile and grout to keep your house dry. I now swear by the liquid membrane move for fail-proof shower pans to sleep soundly at night knowing my work won’t leak.
- Precision is a habit. Whether it is a shower floor or a baseboard, if you are off by a fraction at the start, you will be off by an inch at the end.
The Kit I Always Keep in My Truck
You do not need every tool in the warehouse, but you do need these three to achieve the results we have talked about today:
- A 360-degree Green Beam Laser: This is my holy grail. I use the laser level move for perfectly horizontal shower tiles to ensure my layout is flawless from floor to ceiling.
- A High-Quality Pinless Moisture Meter: Never trust your eyes on concrete or wood subfloors. Following the moisture meter requirement for basement flooring jobs has saved me from thousands of dollars in warranty repairs.
- A Traditional Coping Saw: While we talked about back-beveling miters, sometimes a custom fit requires the coping saw technique for flawless inside baseboard corners. It is a classic skill that separates the pros from the amateurs.
Go Create a Home You Love
Installing your own flooring or trim can feel overwhelming, but remember that every master was once a beginner staring at a crooked corner. Take your time, measure three times if you have to, and do not be afraid to pull a board up if it does not look right. This is about more than just square footage; it is about the pride of craftsmanship. Use your guide to durable flooring installation as your roadmap and trust the process. You have the tools, the math, and the insider secrets—now it is time to get to work. Have you ever encountered a corner in your house that seemed impossible to get right? Let me know in the comments below, or contact us if you need a professional hand to finish your vision.