

I remember standing in the middle of my guest bath, covered in fine white dust, staring at a stack of porcelain slabs that cost more than my first car. I wanted that sleek, high-end ‘zero-grout’ look you see in those ten-million-dollar Malibu mansions. But looking at my first two installed panels, I felt like a total fraud. The edges did not line up, the grout lines were uneven, and the whole thing looked like a DIY disaster. It is a visceral kind of pain when your vision for a beautiful shower renovation starts to look like a series of expensive mistakes. I almost packed it in right then. If you have ever looked at a flooring installation and thought there must be a better way to make this look seamless, you are in the right place. Today, I am sharing the hard-won secrets that turned my project around. We are going to solve the mystery of the ‘invisible’ joint and talk about why your prep work is currently your biggest enemy.
The day I realized my walls were not actually flat
My first mistake was the most common one: I assumed my drywall was flat. It looked flat to the naked eye. I even put a small level on it and thought it was close enough. But large format porcelain is utterly unforgiving. If there is even a slight hump in the wall, the tile will not sit flush, and you will end up with lippage that catches every ray of light and ruins the monolithic effect. I initially ignored the thinset comb secret for preventing tile lippage and tried to ‘back-fill’ the gaps as I went. It was a nightmare. You simply cannot wing it with these massive tiles.
Is that seamless look actually worth the headache?
I get this question all the time from neighbors. Is it really worth the extra hours of sanding and shimming? In my opinion, absolutely. A seamless wall makes a small bathroom feel twice as large and ten times more expensive. However, you have to be realistic about the standards. The Tile Council of North America (TCNA) specifies that for tiles with any edge longer than 15 inches, the substrate must not vary more than one-eighth of an inch in ten feet. That is a professional-level requirement that most houses simply do not meet without some serious intervention.
Why microscopic joints are the real secret
People call it ‘zero-grout,’ but if you actually butt tiles together with no gap at all, you are asking for a structural failure. Houses move, and tiles expand. Without a tiny joint, your beautiful walls will eventually crack or pop off. The trick I learned is using a one-sixteenth-inch spacer and a grout color that is a perfect match to the tile base color. When you combine this precision with the back-buttering rule for large format wall tiles, the transition becomes nearly impossible to see. Have you ever started a project and realized your walls were way more crooked than you thought? Let me know, because I have definitely been there.To get that slab look, you need a wall that is flatter than a billiard table. I spent a whole Saturday with a 6-foot level and a pack of cedar shims before I even touched a trowel. Think of your wall like the foundation of a house; if it is off by even a hair, the final surface will look wavy. Just like you would avoid the self-leveler mistake that creates new high spots on a floor, you have to be surgical with your wall patches. I once spent four hours on a single 3×5 area because one stud was bowed outward like a belly. I tried to ignore it and just use more thinset—a classic flooring installation mistake—but the tile just would not sit flat. I ended up having to rip the drywall off that section, sister a new straight stud to the old one, and start over. It felt like a waste of a day until I saw the final result: a perfectly flat surface where the light did not cast a single shadow. 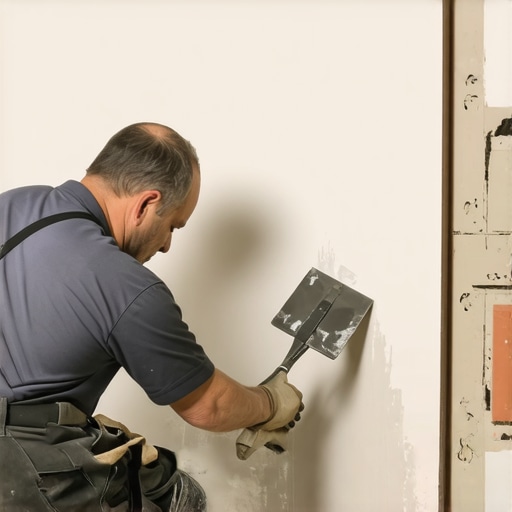
Why you should treat your wall like a precision instrument
Your straightedge is essentially a lie detector. When you hold it against the wall, any gap larger than the thickness of a credit card needs to be addressed. You can use thin-set to fill minor dips, but for the big ones, you need to shim the framing. This level of obsession is what separates a standard shower renovation from a high-end architectural feature. Even if you are transitioning from this high-end tile to a carpet install or fitting new baseboard styles in the bedroom, the principle of a flat substrate remains the same.
Master the double-buttering method
For large format porcelain, the bond is everything. You cannot just trowel the wall and slap the tile on. You must apply a thin, flat layer of mortar to the back of the tile itself. This is the back-buttering rule for large format wall tiles that ensures 100% coverage. Think of the thinset ridges on the wall and the tile like a zipper; when they meet, they should collapse into each other to create a solid, airless bond. If you skip this, the tile might sound hollow when tapped, or worse, it could crack under the weight of a heavy glass door.
How to fight lippage with a mechanical advantage
Even with a flat wall, heavy tiles want to sag. This is where a leveling clip system becomes your best friend. These clips act as a bridge between tiles, forcing the edges to stay on the exact same plane while the mortar cures. Without them, you are fighting gravity and the natural ‘bow’ that many large tiles have from the kiln. This is the modern evolution of the thinset comb secret for preventing tile lippage.
Don’t skip the soft joint in the corners
The biggest mistake DIYers make when chasing a seamless look is tiling tight into the corners. You must leave a small gap at every change of plane—where the wall meets the floor or another wall. This gap should be filled with color-matched 100% silicone, not hard grout. Following the soft joint rule for shower wall corners allows the house to breathe without cracking your beautiful new installation.Many professionals will tell you that grout hides the sins of the installer. I disagree. In my experience, grout acts as a spotlight rather than a mask. If your lines are even a millimeter off, a contrasting grout will highlight that error to anyone walking into the room. This is why I advocate for the matching tone approach, but even that will not save a poor layout. The real nuance that most DIYers—and even some experienced pros—miss is the math of the layout before the first bucket of mortar is even opened. Most people assume they should start with a full tile in the most visible corner, but this often leads to awkward, tiny slivers at the other end. Avoiding these flooring installation mistakes to avoid for a seamless look requires a dry-run layout that accounts for the entire span of the wall or floor.
Stop blaming the tile for your wavy walls
I have heard so many homeowners complain that their tile was defective or bowed. While manufacturing defects happen, the culprit is usually the substrate. The National Tile Contractors Association (NTCA) actually specifies that for large format tiles, the maximum allowable variation in the substrate is one-eighth of an inch over ten feet. If you are outside that window, your project is doomed before you begin. The ‘Oops’ factor here is the porcelain bow; almost every large tile has a slight natural curve from the kiln. If you overlap them by 50%, you are putting the highest point of one tile next to the lowest point of the next, creating massive lippage. This is why following the thinset comb secret for preventing tile lippage is so vital; you need that consistent bed of ridges to collapse evenly and accommodate the tile’s natural shape. 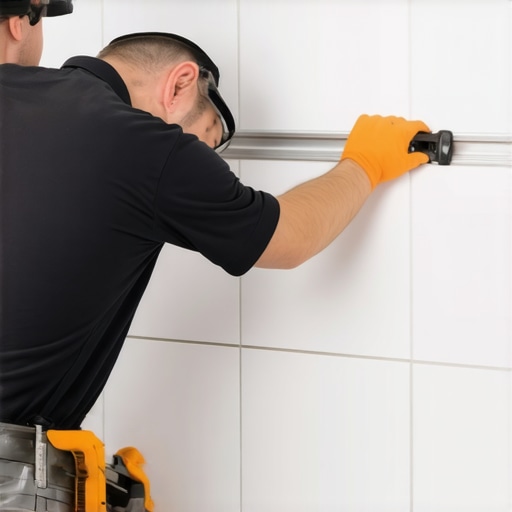
How can you tell if your subfloor is truly ready for large format tile?
It is not just about the bubble in the level; you must check for deflection. If your floor joists are too thin or spaced too far apart, the floor will slightly bounce. While this flexibility is perfectly fine for a carpet install, it is a death sentence for rigid porcelain. You might need to add structural blocking or an extra layer of plywood. Understanding why your floor joists need blocking before tile installation is the difference between a floor that lasts decades and one that cracks within six months.
The hidden secret of the perimeter transition
Finally, let’s talk about where the wall meets the floor. Most people simply slap their baseboard styles against the floor and call it a day. However, if your floor has any slight wave, you will see unsightly gaps. I have found that using the razor scribe method for baseboards on wavy drywall is the only way to achieve that high-end, custom-built look that matches the quality of your shower renovation. It is a tedious extra step, but skipping it makes even the most expensive flooring installation look like a rush job. Have you ever fallen into the trap where you thought the grout or the trim would save you, only to realize it made the mistakes more obvious? Let me know in the comments.
The tools that saved my sanity and my back
After years of trial and error, I have learned that your results are only as good as the precision of your equipment. For years, I struggled with standard spirit levels, only to find my rows drifting. Now, I never start a project without a 3-plane green beam laser. Using the laser level hack for straight tile rows is what finally allowed me to get those perfectly parallel lines that make guests ask which professional I hired. If you are doing a step-by-step flooring installation from planning to perfect finish, do yourself a favor and get a high-quality oscillating tool with a carbide blade for those tricky door jamb undercuts. It’s the difference between a gap-ridden mess and a floor that looks like it grew out of the wall.
How do I keep my new installation looking fresh for years?
Maintenance is where most people drop the ball. You’ve spent thousands of dollars and dozens of hours, but if you clean your matte porcelain with oily soaps, you’ll ruin the finish in months. I always stick to the microfiber mist rule for cleaning matte floors to prevent haze buildup. For the shower, the real secret is the initial cleanup. If you leave grout haze behind, it becomes a magnet for soap scum and mold. I swear by the silicone wash trick for easy grout cleanup to ensure that the transition between your tile and the glass enclosure remains crystal clear. If you ever notice a hairline crack in your grout, don’t ignore it; understanding shower repairs: when to fix vs replace for longevity can save you from a complete tear-out later. 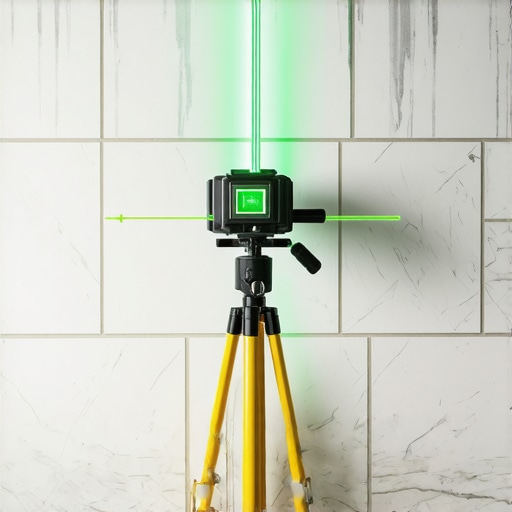
Why the industry is moving toward digital mapping
Looking ahead, the days of relying on cedar shims and a prayer are numbered. We are seeing a massive shift toward LIDAR-based room scanning apps that can map the ‘waves’ in your subfloor or walls before you even buy your materials. This allows for a level of planning that was previously impossible. Imagine knowing exactly where your the razor scribe method for baseboards on wavy drywall will be most difficult before you even cut your first piece of wood. This technology will eventually make the ANSI A108.02 standard—which requires substrates to be within 1/8 inch over 10 feet for large format tile—much easier for the average DIYer to achieve.
My advice for your next big project
If you are about to tackle a major renovation, my biggest piece of advice is to slow down during the prep phase. It is tempting to rush into the pretty parts of the job, but the ‘invisible’ work is what dictates the final 5%. I challenge you to try the razor scribe method on your next baseboards makeover. It is a steep learning curve, but once you see that zero-gap fit against a crooked wall, you will never go back to just caulking the gaps and hoping for the best. Precision isn’t just about aesthetics; it’s about building something that lasts a lifetime.
Lessons from the Dust and Cracked Tiles
After years of working with these oversized slabs, I have realized that the most expensive tile in the world won’t save you if your subfloor is bouncing. I used to think I could compensate for a weak joist with extra mortar, but that is a recipe for heartbreak; always check for deflection before the first tile goes down. Another lightbulb moment came when I stopped trying to ‘eyeball’ the plumb of a wall and started trusting a 3-plane laser; it completely changed how I approach a spa-like shower experience. Lastly, remember that the ‘perfect’ layout usually starts with a center-line calculation, not at the first wall you see. This simple shift avoids those awkward two-inch slivers that scream ‘amateur hour’ at the edges of your room.
The Gear That Actually Lives in My Truck
If you are serious about getting that high-end look, do not skimp on a few key items. I never go into a project without a high-quality oscillating multi-tool; it is the only way to get those clean, professional undercuts on door jambs that make a step-by-step flooring installation look truly integrated. I also highly recommend investing in a professional-grade suction cup handle for large slabs; it will save your fingers and your budget from accidental drops. For your layout, I swear by the laser level hack for straight tile rows to ensure everything stays square over long distances. Finally, a simple block plane is essential if you want to master a baseboards makeover where the walls are not perfectly straight.
It is Time to Build Something That Lasts
Taking on a high-stakes renovation can be intimidating, but the reward of a flawlessly executed space is worth every hour of sanding and measuring. Whether you are tackling a complex master bath or a full flooring installation, the key is to respect the preparation process above all else. Do not be afraid to pull a tile up if the bond does not feel right. It is much easier to fix a mistake in wet mortar than to live with a lippage shadow for the next twenty years. You have the knowledge and the strategy; now it is time to pick up the trowel and turn your vision into a reality. What is the biggest hidden problem you have uncovered while prepping a wall or floor? Drop your stories in the comments below!