

I stood in the center of my kitchen, clutching a traditional cotton string mop like a medieval weapon, and I honestly felt like crying. I had just spent a week on a step-by-step flooring installation that was supposed to be the crown jewel of my home. The matte finish was gorgeous—until someone actually walked on it. Within forty-eight hours, my ‘modern’ look was a crime scene of oily footprints and hazy smudges. Every time I tried to clean it with a traditional bucket and soap, it looked worse. I was drowning my investment, and I didn’t even know it. I failed hard at first because I treated matte like it was glossy tile, and that is one of those flooring installation mistakes to avoid if you want to keep your sanity. Today, I’m going to show you why your current cleaning routine is failing and how the ‘Microfiber-Mist’ rule will finally give you that flawless, velvety finish you paid for.
Stop Drowning Your Floors in Standing Water
The biggest lightbulb moment for me came when I realized that matte surfaces are microscopic sponges for residue. When you use a soaking wet mop, you aren’t lifting dirt; you’re just moving dirty water into the tiny textures of the floor. I used to dump a capful of generic cleaner into a gallon of water, thinking more was better. I was wrong. That excess soap creates a sticky film that attracts every speck of dust in the room. This is often why your hardwood floor finish is clouding over or why your tiles feel tacky underfoot. According to the World Floor Covering Association (WFCA), excessive moisture is the primary cause of topical residue buildup on low-sheen surfaces. The ‘Microfiber-Mist’ rule flips the script by using the absolute minimum amount of moisture necessary to break surface tension.
Is this ‘minimalist’ cleaning actually enough to get rid of germs?
You might be skeptical. We’ve been conditioned to think that if there aren’t suds and a soaking wet floor, it isn’t clean. But with matte finishes, the goal is mechanical agitation, not chemical flooding. A high-quality microfiber pad has millions of tiny hooks that grab bacteria and dirt, while a fine mist of pH-neutral cleaner breaks down oils without leaving a puddle behind. Have you ever spent an hour mopping only to have the afternoon sun hit the floor and reveal a thousand streaks? If so, you’re exactly where I was two years ago. It’s time to put the bucket away for good and embrace a method that actually works for top trends in installation like matte and satin finishes.
Ditch the Heavy Bucket and Grab a Spray Bottle
To execute the Microfiber-Mist rule, you need to swap your traditional mop for a professional-grade flat microfiber mop with a high-density pad. Think of a traditional mop like an old-school paint roller—it holds too much material and leaves a messy texture. A microfiber pad, conversely, acts like a precision detailer’s brush. It’s designed to grab, not push. When you start your cleaning session, you shouldn’t even see a puddle. If you’ve just invested in a step-by-step flooring installation, the last thing you want is to jeopardize the integrity of your new surface with excess water. I remember my first time trying this; I was so nervous that I wouldn’t get the floor ‘sanitized’ that I soaked the pad anyway. The result was a cloudy disaster that took me hours to buff out. I quickly learned that the friction of the microfiber does more work than the volume of the water ever could. This method prevents the moisture from seeping into joints, which is exactly why your laminate floor is spongy in the corners or along the edges after a few years of over-mopping.
Work in Small Zones to Avoid Drying Streaks
The biggest tactical error most people make is spraying the entire room at once. I learned this the hard way during a summer cleaning spree where I misted my whole living room, only to realize the heat was drying the cleaner into a chalky film before I could even reach the middle of the floor. It looked like a hazy fog had settled on my tiles. Now, I work in 4×4 foot squares. Lightly mist the area—one or two squirts is plenty—and immediately work your mop in a ‘figure-eight’ motion. This motion ensures you are always pulling dirt toward you rather than pushing it back into the pores of the floor. This precision is one of those flooring installation mistakes to avoid even after the floor is already in. If you are dealing with a transitions area, such as moving from tile to a carpet install, keep your spray bottle angled away from the fibers to prevent moisture buildup where different materials meet. 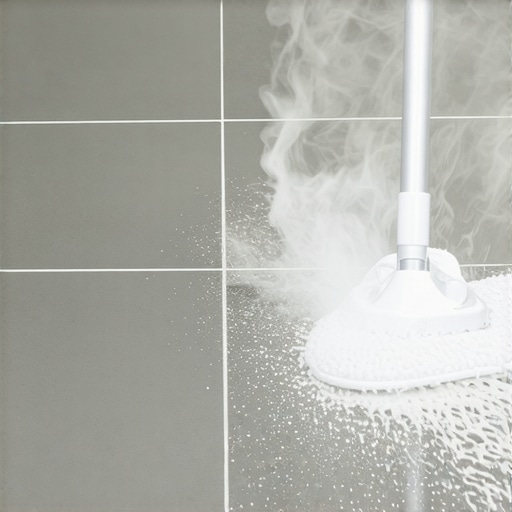
The Safe Way to Clean Near Your Baseboards
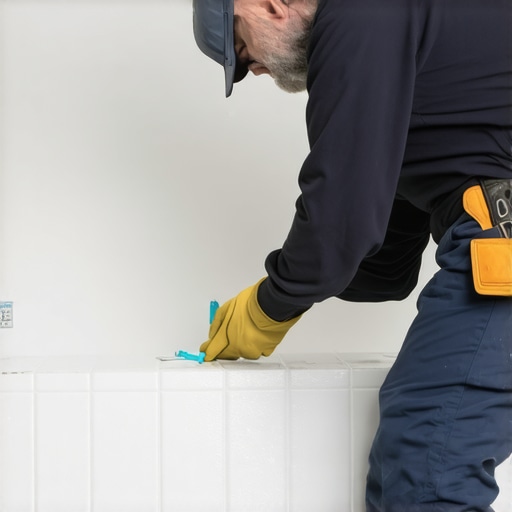
When you reach the perimeter of the room, you have to be extra careful. Too much moisture near the wall can cause your trim to swell or peel. If you spent time researching how to choose the perfect baseboards for your homes style, you don’t want to ruin that aesthetic with water damage. I always spray my cleaner directly onto the mop pad rather than the floor when I am within six inches of the wall. This prevents the liquid from splashing up onto baseboard styles that elevate your interior design. In wet areas like bathrooms, hopefully you have already applied the silicon bead secret for waterproofing baseboards in bathrooms to provide that extra layer of defense against the occasional mist. By keeping the moisture localized and the pressure consistent, you ensure the matte finish remains velvety and clear, showing off the true depth of the material you worked so hard to install.
Let’s dig deeper into why so many people—even some ‘pros’—still end up with floors that fail after two years. Everyone tells you that as long as the subfloor looks flat, you’re good to go. I used to believe that too. But ‘flat’ and ‘structurally sound’ are two different beasts. In my experience, the biggest trap isn’t the surface finish; it’s the moisture trapped beneath it. According to the National Wood Flooring Association (NWFA), subfloor moisture levels should be within a specific range of the flooring material itself before installation even begins. If you skip the acclimation test for avoiding hardwood floor gaps, you’re basically playing Russian roulette with your wallet. This is one of those flooring installation mistakes to avoid that rarely gets mentioned in basic DIY videos, but it accounts for nearly half of all post-install floor failures.
The Expensive Mistake of Ignoring Wall Waves
Then there’s the baseboard dilemma. People often think that if their miters are gapping, they just didn’t cut the angle right. The truth? Your walls are almost certainly not square. If you try to force a perfect 45-degree cut onto a bowed wall, you’ll be staring at a crack by Christmas. Instead of fighting the wall with a pile of caulk, you need to master the razor scribe method for baseboards on wavy drywall. It feels like extra work, but it’s the difference between a ‘DIY look’ and a custom finish that justifies your step-by-step flooring installation efforts.
Can you really trust a shower pan without a 24-hour flood test?
The most dangerous myth in home renovation is that tile and grout are waterproof. They aren’t. They are merely ‘water-resistant.’ The real waterproofing happens behind the scenes. I’ve seen gorgeous shower renovation ideas turn into moldy nightmares because the installer didn’t think a flood test was necessary for a ‘pre-sloped’ system. Always demand the flood test secret for guaranteed leak-proof showers. If your contractor rolls their eyes at this, find a new contractor. It is the only way to ensure your durable flooring installation extends into the wet zones without causing structural rot.
Why Extra Soft Carpet Padding Is Actually a Disaster
Finally, let’s talk about the ‘softest’ mistake you can make: over-padding your carpet. Everyone thinks a thicker, cloud-like pad feels more luxurious, but in reality, if the pad is too tall, the carpet can’t properly engage with the pins on the tack strip. This is exactly why your carpet pad is too thick for the tack strip and why you’ll see ripples in your living room within eighteen months. When you are looking at carpet install secrets, you’ll learn that density is far more important than height. Have you ever fallen into this ‘more is better’ trap? Let me know in the comments—I’d love to hear how you fixed it.
Why I Never Start a Shower Without a Green Laser Level
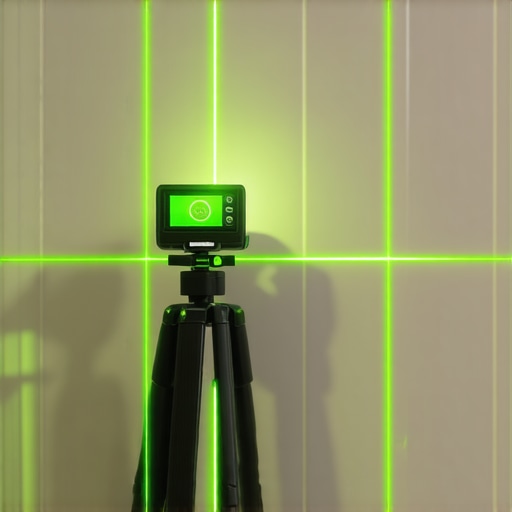
If you are still using a spirit level and a pencil to mark your first row of tile, you are leaving your success to chance. I switched to a self-leveling green cross-line laser three years ago, and it changed everything. Unlike red lasers that wash out under bright construction lights, the green beam stays crisp on every wall simultaneously. This is the only way to execute the laser level move for perfectly horizontal shower tiles without having to constantly re-check your bubble. When I am planning a step-by-step flooring installation that leads into a bathroom, I use the laser to project a continuous line from the bedroom floor up the shower curb. It ensures that the grout lines in the bathroom align perfectly with the transitions in the hallway, creating that high-end ‘infinite’ look.
How do I maintain my shower’s integrity for decades?
Maintenance starts with the technical details of the build, specifically mortar coverage. The Tile Council of North America (TCNA) Handbook (specifically Method K111) requires 95% mortar contact in wet areas to prevent water from pooling behind tiles. I achieve this by following the full bed mortar rule for large format shower tiles. If you leave voids, you’re creating microscopic caves for mold to grow. Long-term, you should also be performing a ‘seal-check’ every twelve months. Drop a few beads of water on your grout; if they soak in rather than bead up, it’s time to re-apply a high-quality penetrative sealer. This is the most effective way to stop shower grout from staining with the pre-seal move before deep-set discoloration occurs.
Your Carpet Will Ripple Without a Power Stretcher
Many DIYers and ‘budget’ installers rely solely on a knee-kicker. I used to be one of them until I saw a living room I had finished three years prior looking like the rolling waves of the Atlantic. A knee-kicker is for positioning; a power stretcher is for tension. To avoid flooring installation mistakes to avoid, you must use the poles to brace against one wall and physically stretch the carpet backing to its limit. If you don’t, the backing will relax over time, leading to those unsightly bubbles. If you’re already seeing them, you might need the power stretcher move to fix loose carpet bubbles before the latex backing delaminates and ruins the piece entirely.
The Future of Home Surface Technology
I predict we are moving toward ‘active’ flooring systems. We are already seeing luxury vinyl with integrated sound-dampening cores, but the next step is built-in moisture sensors that sync with your phone. Imagine getting a notification that a slow leak has started under your dishwasher before you even see a spot on the floor. Until then, you need to be your own sensor. I recommend every homeowner keep a pinless moisture meter in their toolkit. Use it once a month near your durable flooring installation in the kitchen to catch issues early. My best advice? Take the leap and try the ‘razor scribe’ on your next baseboard project. It’s a steep learning curve, but once you see that gap-less fit against a wonky wall, you’ll never go back to basic miters.
The Hardest Truths About Living Through a Renovation
Looking back at that first day I stood in my kitchen with a string mop, I realized that my biggest hurdle wasn’t the material—it was my own impatience. Professional results require a mental shift. First, accept that your subfloor is the foundation of your happiness; if you rush the prep, you’ll spend years hearing every squeak and seeing every dip. Second, always buy 10-15% more material than you think you need. There is no stress quite like being two planks short on a Sunday evening when the store is closed. Finally, remember that even expert flooring installation tips for 2025 won’t save you if you don’t take the time to clean as you go. Dust is the enemy of adhesion and the primary cause of those mysterious bumps under your new vinyl or carpet.
Must-Have Tools for Your Masterpiece
I’ve wasted hundreds of dollars on ‘gimmick’ tools, but these three are non-negotiable for me. A high-quality moisture meter is your insurance policy against rot and warping. I also swear by the TCNA Handbook for tile standards—it’s the ‘bible’ that keeps me from making flooring installation mistakes to avoid when things get technical. And of course, that green laser level I mentioned earlier? It’s the difference between a shower that looks ‘okay’ and one that belongs in a luxury magazine. These tools give you the confidence to tackle complex layouts, from intricate tile work to knowing how to choose the perfect baseboards for your homes style that actually fits your architecture.
Your Path to a Flawless Home Starts Now
You have the method, the tools, and the insider secrets to move past the ‘DIY’ look and into the realm of professional craftsmanship. Whether you are tackling a full step-by-step flooring installation or just updating your trim, take it one square foot at a time. The frustration of a wavy wall or a rippled carpet is temporary, but the pride of a job done correctly will last as long as the home itself. Don’t be afraid to pull up a board and start over if it isn’t right; your future self will thank you for the extra twenty minutes of effort today. Have you ever had a flooring project that felt like a disaster halfway through? Let me know in the comments how you turned it around!