

I still have nightmares about the first master bathroom I tiled in my own home. I had picked out these gorgeous, hand-crafted crackle-glaze tiles that cost a small fortune, paired with a dark, moody charcoal grout for that high-contrast look. As I began washing away the excess grout, my heart absolutely sank. The dark pigment hadn’t just filled the joints; it had leached into the microscopic cracks of the tile glaze, staining my expensive ‘white’ tiles a permanent, muddy grey. It was a total disaster that cost me days of stripping and scrubbing. That failure was my lightbulb moment. I realized that in the world of luxury bathroom upgrades, we often treat sealing as the final, optional victory lap. In reality, the ‘Pre-Seal’ move—applying sealer to your tile before the grout ever touches the wall—is the only way to win the war against stains before it even starts. Today, I’m going to show you how this one simple shift in your workflow saves your grout, your tile, and your sanity.
Stop Fighting a Losing Battle with Dirty Grout
The reality of shower maintenance is that most homeowners are playing a permanent game of defense. We wait for the mildew and the orange soap scum to move in, and then we attack it with harsh chemicals that actually eat away at the grout’s integrity over time. It’s a vicious cycle. According to the Tile Council of North America (TCNA), cementitious grout is naturally porous, meaning it is essentially a hard, narrow sponge waiting to soak up everything from your lavender-scented body oil to the minerals in your hard water. If you’ve ever noticed why your shower grout looks patchy and uneven in color, you’re seeing the result of uneven absorption. By the time you finish a modern shower renovation, you’re usually too exhausted to think about protection. But ‘next weekend’ is exactly when the first permanent stains take root. By pre-sealing the tile, you create an invisible shield that prevents the grout from ‘grabbing’ onto the tile face, which makes the cleanup a breeze and ensures the grout only goes where it belongs.
Does Pre-Sealing Actually Save Time or Is It Just Extra Work?
I get the skepticism from my fellow DIYers and even some pros. You’re already knee-deep in thinset, spacers, and trying to figure out the level line rule for your first row of tile, so why add another step? Here is the honest truth: pre-sealing turns a grueling four-hour grout-haze scrub-a-thon into a twenty-minute wipe-down. I learned this the hard way on a slate project where I skipped the pre-seal and ended up with ‘picture framing’—dark stains around the edges of every stone that never came out. It looked terrible, and I had to live with my mistake every time I stepped into the shower. If you’ve ever spent a Saturday morning on your hands and knees with a toothbrush and a bottle of bleach, you know exactly the frustration I’m talking about. Have you ever felt like no matter how much you clean, your grout just looks ‘off’? That’s usually because the protection wasn’t there from day one. In the next section, we’ll dive into the specific products that won’t ruin your tile’s finish.
Seal the Face Before the Grout Touches the Wall
The mechanics of pre-sealing are straightforward, but the timing is everything. You aren’t just splashing liquid on the wall; you are creating a chemical barrier that tells the grout pigment it isn’t welcome inside the tile. Think of it like masking off a room before you paint. You wouldn’t just start swinging a brush near a white ceiling with navy blue paint, right? You’d tape it off. Pre-sealing is your ‘invisible tape.’ If you are working with natural stone, you must know how to seal a marble shower without changing the color, because the last thing you want is for your sealer to darken that expensive stone unexpectedly. Before you even open the sealer bottle, ensure your tiles are set firmly. If you followed the full bed mortar rule for large format shower tiles, your substrate should be rock solid and ready for the next phase.
Get the Dust Out of the Way First
I once spent three hours pre-sealing a mosaic floor, only to realize I’d trapped a layer of fine construction dust under the sealer. It looked like a hazy, foggy mess that I had to strip off with solvent. Don’t be me. Use a vacuum with a brush attachment or a damp (not soaking) microfiber cloth to wipe every single tile face. This is especially vital in a luxury bathroom upgrade where every detail is under a microscope. If the tiles aren’t clean, the sealer won’t bond, and the grout will find its way through the gaps in your protection. Just like the liquid membrane move for fail-proof shower pans, the success of your top layer depends entirely on the cleanliness of what’s underneath it.
Rub It In Like You’re Waxing a Car
Now for the actual application. Grab a lint-free rag or a dense foam sponge. Pour a small amount of sealer into a clean bucket—never dip your rag directly into the original container to avoid contamination. Wipe the sealer onto the tile faces in a circular motion. You want a thin, even coat. You aren’t trying to fill the grout joints; in fact, try to keep the sealer out of the joints as much as possible, as it can occasionally interfere with the grout’s ability to bond to the tile edges. 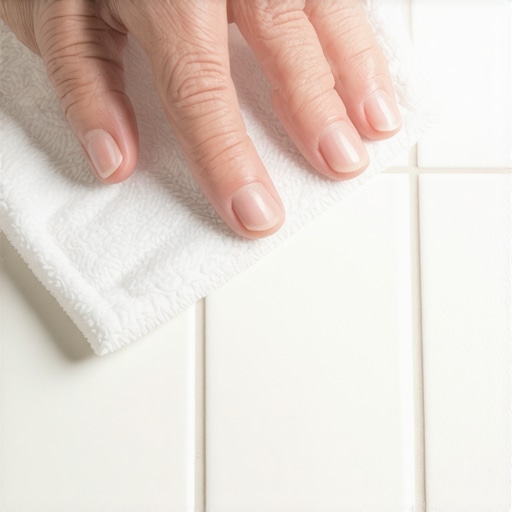 I remember a job in a tight powder room where I was using a deep emerald green grout on white crackle tile. I was nervous, so I applied two coats of sealer, buffing the excess off after ten minutes. When it came time to grout, the dark green paste wiped off the white tile like water off a duck’s back. It was a massive win. This level of care prevents common flooring installation mistakes that lead to permanent discoloration.
Let the Shield Harden Before You Grout
Patience is your best friend here. Most sealers need at least two to four hours to ‘dry’ and often 24 hours to fully cure. If you grout too early, the moisture in the grout can emulsify the sealer, turning it into a sticky, milky goo that is a nightmare to clean. While you wait, you can prep your other materials or ensure your corners are ready for the bead and smooth strategy for shower corners. Treat this waiting period as part of the step-by-step flooring installation process. If you rush the cure time, you’re essentially washing away your protection before it has a chance to fight for you. Once that sealer is dry to the touch and no longer tacky, you’re cleared for the grout phase.Most people assume that because a sealer beads water, the shower is now a submarine-tight vault. This is the biggest misconception in the industry, and frankly, it’s a myth that keeps repair contractors in business. In reality, professional-grade penetrating sealers are designed to be ‘breathable.’ This means they allow water vapor to escape from behind the tile while preventing liquid water from soaking into the surface. If you treat sealer like a topical plastic coating, you’re asking for trouble. According to the Ceramic Tile Institute of America (CTIOA), failing to allow for vapor transmission can lead to moisture becoming trapped in the substrate, which eventually causes the tile to delaminate or the grout to fail. This is exactly why your shower grout is crumbling just months after install in some cases; the moisture trapped behind the ‘shield’ has nowhere to go but out through your joints.
Can applying too much sealer actually ruin your grout bond?
The short answer is yes, and it’s a mistake I see seasoned DIYers make constantly. They get so enthusiastic about protection that they saturate the tile edges along with the face. If that sealer drips into the open joints and cures, it creates a non-porous, ‘slick’ surface that repels everything. When you go to apply your grout, it can’t physically bond to the edge of the tile. A few months of hot-and-cold cycles later, the grout cracks and literally falls out of the wall. This is a classic example of flooring installation mistakes to avoid for a seamless look. You want the sealer on the face, not the sides. This is why I always recommend the finger test for checking thinset moisture in a shower before you even think about sealing; if the wall is still damp from the thinset application, you’re just sealing that moisture in forever.
Watch out for the ‘wet look’ trap
Another hidden nuance is the ‘enhancer’ trap. Natural stone like marble or slate is incredibly thirsty. If you use a color-enhancing sealer without testing a scrap piece first, you might turn your elegant, muted grey stone into a dark, high-gloss finish that you can’t undo. It’s a vital part of any luxury bathroom upgrade to preserve the specific aesthetic you paid for. If you’re working with a complex layout, ensure you know how to align tile patterns across a shower floor and wall before you seal, because once that stone is darkened or enhanced, the visual weight of the tile shifts, and your pattern alignment becomes much more obvious to the naked eye.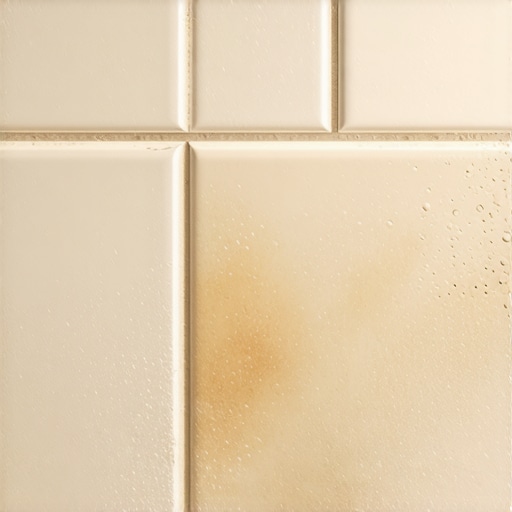 The truth is, sealer is your second line of defense, not your first. Your primary protection should always be the liquid membrane move for fail-proof shower pans and walls. Think of the sealer as the wax on a luxury car; it makes it look great and easy to clean, but it isn’t the metal bodywork keeping the rain out. Have you ever fallen into this trap? Let me know in the comments.Once you have mastered the art of pre-sealing, the focus shifts from survival to sustainability. I have seen too many homeowners invest thousands in modern shower designs only to see them degrade because they used the wrong cleaning agents or skipped a vital tool during installation. If you want your home to look like a showroom five years from now, you need to think like a maintenance pro. This means moving beyond the basic hammer and nails and embracing the equipment that actually prevents long-term failure.
Keep Your Carpet Flat with Professional Tension
If you are tackling a bedroom refresh, please do not rely solely on a knee kicker. I have seen countless DIY jobs result in ripples because of the knee kicker mistake that ruins luxury carpets. To get that drum-tight finish, you must follow the power stretcher rule for large living room carpets. A power stretcher uses leverage against the opposite wall to pull the backing to its limit, ensuring that as the carpet acclimates and relaxes, it stays perfectly flat. This is not just my opinion; the Carpet and Rug Institute (CRI) 104 standard specifically mandates power stretching for all residential installs to prevent premature wear. If your installer shows up with just a kicker, send them back for the real gear. This level of tension is the only way to uncover carpet install secrets that keep a room looking pristine for a decade.
How do I maintain my bathroom and flooring over time?
Maintenance isn’t about scrubbing harder; it is about scrubbing smarter. For your tile, stop using acidic cleaners that eat away at the sealer you just painstakingly applied. Use a pH-neutral cleaner and a soft microfiber mop. For your woodwork, you can stop baseboard gaps with the caulk and paint sequence, but you must also keep an eye on humidity levels. Hardwood and baseboards are living materials that breathe. I always keep a small digital hygrometer in the house to ensure my home stays between 35% and 55% humidity. If it drops too low, your flawless inside baseboard corners will begin to pull apart as the wood shrinks. Furthermore, don’t ignore minor issues; knowing when to fix vs replace your shower can save you from a full-blown subfloor rot situation. 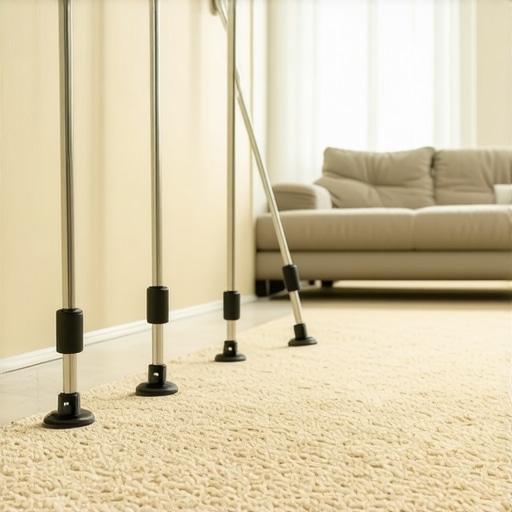
The Future of Home Surface Protection
Looking ahead, I predict a massive shift toward hyper-hydrophobic grout additives and carbon-neutral flooring materials. We are already seeing grouts that are chemically engineered to never require a sealer, which will eventually make my ‘Pre-Seal’ move obsolete. But until that technology becomes the standard for every budget, the methods I have shared are your best defense. We are also seeing a trend toward baseboard styles for 2025 that integrate LED channels for pathfinding, which adds a whole new layer of electrical complexity to a standard trim job. The key to staying ahead is investing in tools that provide precision, like a high-quality oscillating multi-tool for flush cuts and a reliable moisture meter. My challenge to you: Before you start your next flooring or tile project, buy a professional-grade moisture meter. It is the single most important tool for preventing the bubbles, warps, and mold that ruin a perfect flooring finish.
The High Cost of ‘Good Enough’ in Home Renovations
If there is one thing a decade of dust and mortar has taught me, it is that ‘good enough’ is the most expensive phrase in the English language. When I ignored the small details—like skipping the moisture meter requirement or rushing the sealer—I ended up paying for it twice. Here are the lightbulb moments that changed my career:
- The Hidden Enemy is Invisible: Whether it is subfloor moisture or microscopic tile cracks, the things you cannot see are what cause the most damage. Always test before you install.
- Tools are Cheaper than Repairs: Investing in a power stretcher is a bargain compared to the cost of replacing a buckled room. I have learned that carpet install secrets are not really secrets; they are just professional standards people try to bypass.
- Maintenance is a Conversation: Your home ‘talks’ to you. A slight gap in the trim or a hazy tile face are early warnings. If you listen, you can avoid a full luxury bathroom upgrade redo later.
What I Keep in My Tool Bag for Every Single Job
I do not leave the shop without a few essential items. First, a high-quality oscillating multi-tool; it is the only way to get those flush cuts on door jambs that make your step-by-step flooring installation look seamless. Second, the TCNA Handbook is my ‘cheat sheet’ to ensure I am meeting industry standards. Finally, always have a high-quality pH-neutral cleaner on hand to show clients how to preserve their new surfaces immediately. #IMAGE_PLACEHOLDER_E#
If you are curious about the aesthetic side, staying on top of baseboard trends in 2025 will help you choose materials that will not look dated by the time you finish the project. It is about merging the technical with the tactical for a result that lasts.
Bring Your Dream Space to Life
Renovating your home should not be a source of constant anxiety. By slowing down, sealing early, and using the right mechanical tension, you are building a legacy of quality in every room. Whether you are aiming for a modern shower design or a cozy living room, the power is in your hands to do it right the first time. Don’t be afraid to take that first step toward your next luxury bathroom upgrade. Have you ever had a grout disaster or a flooring ripple that drove you crazy? Let me know in the comments below!