

I spent three hours staring at my bottom riser, a staple gun in one hand and a frayed piece of Berber in the other, wondering where it all went wrong. I had followed a ‘quick’ tutorial that promised a finished staircase in an afternoon by simply draping a long runner. What I got instead was a series of dangerous air pockets and lumpy corners. That embarrassing failure forced me to seek out the pros, where I learned the magic of the ‘step-down’ method. If you have ever felt defeated by a piece of flooring that just won’t cooperate, you are in the right place. Today, I am going to show you how to tackle those tricky bullnoses so your home looks polished and feels safe.
The Day I Almost Ruined My Staircase
When I first started DIY-ing, I thought I could skip the technical stuff and just ‘eye it.’ I tried to wrap the carpet around the nose of the tread and staple it under the lip in one go. It looked okay for about ten minutes, but as soon as someone actually walked on it, the carpet pulled away. It was a classic rookie move. I realized then that achieving flawless results every time requires a bit more patience and a specific sequence of cuts and tucks. The step-down method—often referred to as the individual tread-and-riser technique—is the gold standard for a reason. It ensures the carpet is anchored at every single junction, preventing that sagging ‘bridge’ effect that ruins so many DIY projects. Have you ever walked down a set of stairs and felt the carpet slide slightly under your foot? That is exactly what we are going to fix today.
Does this technique really make a difference?
You might be thinking that cutting the carpet into separate pieces sounds like a lot of extra work. Why not just pull it tight and call it a day? The truth is, stairs are the highest-traffic area in your home, and they take a beating from every possible angle. According to the Carpet and Rug Institute (CRI), improper installation is the leading cause of premature wear and delamination on stairs. If the carpet isn’t locked into the ‘crotch’ of the step (where the tread meets the riser), it will move. Movement leads to friction, and friction leads to holes.
Why Individual Steps Beat the One-Piece Runner
Using the tuck and roll secret for your bullnose steps allows you to control the tension on every square inch of the fabric. When you use one long piece of carpet, you are fighting the weight of the entire roll. By focusing on one step at a time, you can ensure perfect stair nose alignment and a finish that looks like you paid a professional thousands of dollars. It even helps if you have a loose stair tread that needs securing before the padding goes down. In the next section, I am going to walk you through the tools you need and the precise measurements to get this right on the first try.
How to Get That Professional Fold Every Time
Before we even touch the carpet, we have to talk about the subfloor. I once rushed a job only to realize later that a single loose board made the whole staircase sound like a haunted house every time I went for a midnight snack. You absolutely must fix a loose stair tread before laying down your padding. Think of the tread as the bones of your project; if the bones are rattling, the ‘skin’ (your carpet) will eventually sag or tear. Once the wood is solid, you need to set your tack strips exactly one finger-width away from the riser. This gap—often called the ‘crotch’—is where the magic happens. Many beginners make the mistake of putting the strip flush against the riser, but you need that small channel to tuck the carpet into for a clean, professional crease. 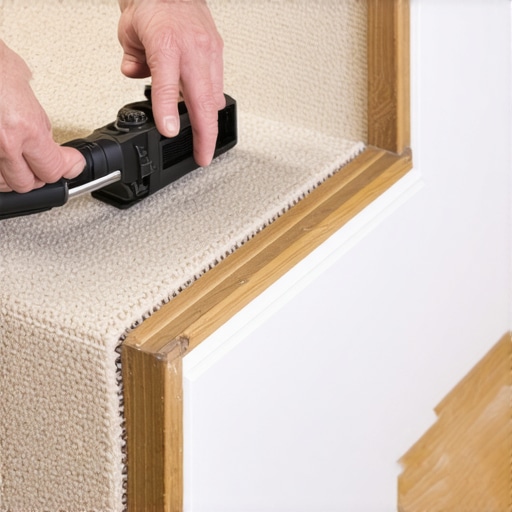
Tuck and Roll Your Way to Perfection
This is the part that usually scares people. The tuck and roll secret involves wrapping the carpet over the bullnose and pulling it back into the corner where the tread meets the next riser. Imagine wrapping a gift but the gift is a heavy, stubborn fabric that wants to fight back. When I first tried this on my sister’s house, I made the mistake of not using a specialized stair tool. I ended up with bruised knuckles and a carpet that looked like it was floating. Now, I use the tool to drive the carpet deep into the gully, ensuring it grips those tack strips like a climber on a cliff face. You want to feel the carpet ‘catch’ on the pins of the strip. If it doesn’t catch, the bullnose will eventually lose its shape and start to sag like a tired eyelid.
Aligning the Nose for a Symmetrical Look
Precision is everything here. If your carpet is even slightly off-center on the first step, it will look like a crooked tie by the time you reach the bottom. Using the stair nose alignment trick means marking the center of both the tread and the carpet piece. I like to use a small chalk mark on the underside of the carpet. By aligning these marks, you ensure the grain of the carpet stays vertical. This is especially vital if you’re aiming for flawless results every time. When you staple under the nose, do it in a ‘V’ pattern starting from the center and working out. I remember my first solo project where I went staple-crazy; the riser ended up looking like a pincushion, and the carpet actually started to pucker because I hadn’t smoothed it outward. Now, I use just enough to hold the tension, hiding them within the nap of the carpet so they are invisible to the naked eye. This pushes any air bubbles to the sides where they can be trimmed away, rather than trapping them in the middle of the step. This method prevents the carpet from ‘bridging’—that annoying gap that forms between the nose and the riser which eventually leads to trips and falls. Every staple should be an anchor, not an ornament.
The Thick Padding Myth That Ends in Disaster
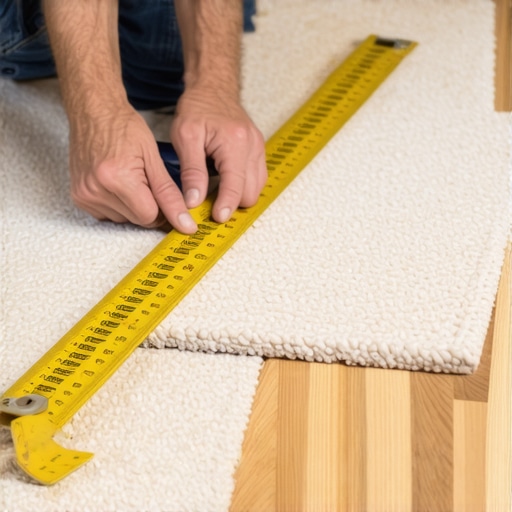
I see it in almost every DIY forum: the belief that the plusher the pad, the better the staircase. It sounds logical, right? But in my experience, choosing a thick, squishy pad is the fastest way to ruin a professional-grade install. When the padding is too tall, it creates a rounded, unstable edge on the bullnose. This makes it nearly impossible for the carpet to sit flat against the tread, often leading to a scenario why your carpet pad is too thick for the tack strip. The pins simply cannot reach the carpet backing through all that foam. According to guidelines from the Carpet and Rug Institute (CRI), stair padding should never exceed 7/16 of an inch in thickness. High-density, thinner padding provides the firm foundation needed to prevent the carpet from stretching and eventually sagging into those dangerous air pockets I mentioned earlier.
Beyond the padding, you have to watch out for the ‘grain trap.’ Carpet has a natural direction—the pile—and if you don’t pay attention to it, your stairs will look like a checkerboard of different colors. Always ensure the pile runs down the staircase. This not only looks better but also helps the carpet resist the crushing force of footsteps as you descend. Ignoring this is one of the most common flooring installation mistakes to avoid for a seamless look. If you install it ‘against the grain,’ you’ll find that dirt gets trapped much deeper in the fibers, and the bullnose will look worn out within a year.
Is Your Knee Kicker Doing More Harm Than Good?
Many beginners think the knee kicker is the only tool they need to get a tight fit. While it is great for the flat parts of the tread, relying on it for the bullnose can actually overstretch the primary backing of the carpet. This is a subtle nuance that pros know: you want tension, not trauma. Over-kicking on a stair nose can cause the yarns to separate, leading to bald spots over time. Instead, use a stair tool to ‘tuck’ the carpet into the crotch of the step with firm, consistent pressure. This ensures carpet install secrets like the ‘step-down’ method actually hold up under heavy foot traffic. If you notice a line forming across your steps, it might be why your carpet seams are visible in morning light—it’s often a result of tension pulling the fibers apart at the junction. Have you ever fallen into this trap? Let me know in the comments.
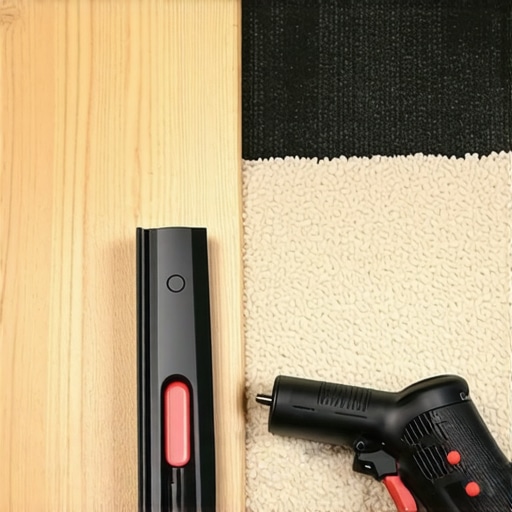
After years of wrestling with manual tackers, I finally invested in a 3/16-inch crown electric stapler. It was a game changer for stairs. If you’ve ever tried to swing a hammer in the tight corner of a riser, you know the frustration of denting your trim instead of hitting the staple. This is why I always suggest you learn how to choose the perfect baseboards for your homes style before you finish the flooring, as the two must work in harmony. For the actual ‘tuck,’ I swear by the wide-head bolster. It has a duller edge than a chisel, which means I won’t accidentally slice through the primary backing while I’m trying to seat it into the crotch of the step. Using the right tool is the only way to achieve carpet install secrets achieving flawless results every time without losing your mind.
The Specialized Gear That Saves My Back
Beyond the stapler, you need a high-quality duckbill shear. I used to use standard utility knives for trimming the excess carpet against the baseboards, but I constantly worried about scoring the wood. The duckbill shear has a protective ‘plate’ that slides along the floor, allowing you to cut the carpet perfectly level with the top of the tack strip. This level of precision is part of a step-by-step flooring installation from planning to perfect finish. If you are working on other areas of the home, like a bathroom, you might find that the dry pack method for a level shower base requires a similar dedication to specialized tooling to avoid long-term drainage issues.
How do I maintain my carpeted stairs over time?
Maintenance is where most homeowners fail. Because stairs are a focal point, they show wear much faster than a bedroom. According to the IICRC S100 Standard for Professional Cleaning of Textile Floor Coverings, the mechanical action of feet on stairs compresses fibers and grinds in dry soil more aggressively than on flat surfaces. I recommend vacuuming your stairs at least three times a week with a handheld power brush. If you have pets, knowing how to remove pet odors from deep carpet padding is vital because the vertical risers can trap dander that a standard vacuum won’t reach. For long-term durability, you should also consider best carpet types for high traffic areas in 2025, focusing on triexta or nylon fibers that have better ‘memory’ and spring back after being stepped on.
The Future of Stair Flooring and Modular Design
I predict we are moving toward a more ‘modular’ approach to staircases. We are already seeing high-end manufacturers develop pre-molded carpet ‘caps’ that fit specific bullnose profiles. While this might make DIY easier, it lacks the custom tension we get from the ‘step-down’ method. For now, staying ahead of transform your flooring top trends in installation for 2025 means mastering the manual techniques that machines can’t yet replicate. Whether you are focusing on your guide to durable flooring installation for a stylish home or a specific staircase project, the goal is always longevity. I challenge you to try the ‘staple-hider’ trick on your next step: use a carpet awl to gently pull the nap out from under each staple crown after you fire it. It takes an extra ten seconds per step, but it makes the fasteners completely invisible, elevating your work from ‘DIY’ to ‘Designer.’
What My Hands Taught Me About Persistent Bullnose
The single biggest lightbulb moment for me was realizing that if the wood underneath is chirping, the carpet will never feel solid. I now swear by the subfloor screw routine for stopping floor squeaks before any padding is even unrolled. It adds ten minutes to the job but years to the life of the install. I also learned to trust my ears more than my eyes; that specific ‘thud’ when a staple hits the subfloor tells me the carpet is locked, even if I can’t see the fastener. If you look at your work the next day and see weird shadows, don’t rip it out immediately; check why your carpet seams are visible in morning light to see if it is just a pile direction issue rather than a physical gap. Finally, never cut your next piece of carpet until the current step is completely tucked and trimmed—precision on a staircase is cumulative, and even a quarter-inch error at the top will leave you short by the time you reach the bottom.
My Toolkit for a Frustration-Free Weekend
I don’t believe in buying every gadget at the hardware store, but for stairs, a few specific items are non-negotiable. First, an electric stapler with a narrow nose is my best friend; it reaches into the ‘crotch’ of the step where a hammer-tacker just won’t fit. I also rely heavily on the tips found in carpet install secrets achieving flawless results every time to maintain my edge. For trimming, a sharp duckbill shear is the only way to get close to the trim without leaving a jagged mess. I trust these tools because they turn a grueling three-day ordeal into a manageable Saturday project, and they ensure that your carpet install looks intentional, not accidental.
Taking the Leap on Your Next Home Project
Stairs are often the most intimidating part of a renovation, but they are also the most rewarding. Once you conquer that first bullnose and see that tight, professional crease, you will realize that you have the skills to handle any room in the house. As you wrap up the flooring, don’t forget to look at the surrounding trim; knowing how to choose the perfect baseboards for your homes style can provide the finishing touch that frames your hard work beautifully. You have the methods, the tools, and the insider tricks—now it is time to get to work. Did you hit any unexpected snags with your bullnose tuck, or did the step-down method finally make it click for you? Let me know in the comments below!