

I remember the night I finally snapped. I was trying to sneak into the nursery to check on my sleeping newborn, and creak—the floorboards let out a groan so loud it sounded like a rusty door hinge in a horror movie. My daughter was awake in seconds, and I was left standing there in the dark, cursing the subfloor. I tried every hack the internet suggested. I tried stopping hardwood squeaks with the powder lubricant trick, but all that did was make my socks slippery and leave white dust everywhere. It didn’t solve the structural friction. That’s when I realized that most quick fixes are just band-aids on a broken leg. If you want a silent home, you have to get to the root of the movement. Today, I am going to show you how to master the subfloor-screw routine to kill those noises once and for all.
The Reason Your Floors Keep Screaming When You Walk
Most people think the wood itself is the problem. In reality, it’s usually the subfloor pulling away from the joists. As the wood dries out and shrinks over time, those original nails lose their bite. Every time you step, the plywood slides up and down on the nail shaft, creating that signature shriek. It’s a common issue seen in older homes or when someone makes flooring installation mistakes like using nails instead of screws for the base layers. I made the classic rookie mistake early on of trying to hammer in more finish nails to stop the noise. Big mistake. Finish nails have zero holding power against the leverage of a walking human. According to the National Wood Flooring Association (NWFA), proper fastener schedule and substrate stiffness are the only true ways to prevent long-term deflection and noise. To fix it, we need the mechanical grip of a screw to pull the subfloor tight.
Can You Really Fix This Without Tearing Everything Up?
The biggest fear I hear from my neighbors is that they will have to rip up their beautiful carpet or finish flooring just to find the source of the noise. I’m here to tell you that you don’t have to go through a full-scale demolition. Whether you are dealing with carpet or even baseboards that look crooked on perfectly level floors, there are ways to target the joists directly through the surface. Using specialized breakaway screws, we can pin that subfloor back to the joist where it belongs without leaving a trace. It works through carpet, and it even works near transitions where you might be hiding a transition strip between carpet and tile. Have you ever been driven crazy by a ghost squeak that seems to move every time you try to stomp on it? I promise, once you learn the routine, you’ll never fear a midnight snack again.
Find the Skeleton Before You Start Drilling
To fix a squeak, you have to be a bit of a structural detective. You aren’t just driving screws into random spots; you are looking for the joists—those heavy timber ribs that support your entire floor. Think of the subfloor like a loose skin that needs to be stitched back to the bone. If you miss the joist, you’re just adding a hole to your floor without solving the movement. I learned this the hard way during a remodel in my own hallway. I thought I knew where the joist ran based on the wall line, but I ended up drilling six holes into empty space before realizing the joists were spaced irregularly. It was a mess, and I had to use the feather-edge secret for smoothing subfloor transitions later just to hide my mistakes under the new padding. Start by using a high-quality stud finder on the ‘deep scan’ setting, or go old school: walk across the floor and find the exact spot where the pitch of the squeak is highest. That’s your target.
The Tape and Tap Method for Precision
Once you think you’ve found a joist, confirm it. Take a finish nail and tap it through the carpet or subfloor. If it drops through with no resistance after an inch, you missed. If it hits solid wood, you’ve found your anchor point. Mark these spots with small pieces of painter’s tape. This is a critical part of step-by-step flooring installation from planning to perfect finish because it prevents you from turning your subfloor into Swiss cheese. 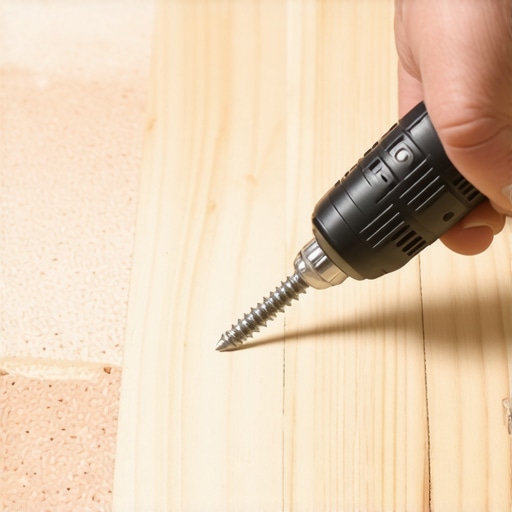
Sink the Screw and Snap the Head
Now for the actual execution. If you are working through carpet, you need specialized breakaway screws. These have a threaded section that grips the wood and a scored neck that allows the head to snap off below the floor’s surface. It’s like magic; the screw disappears into the pile, leaving the carpet intact while the threads pull the subfloor tight against the joist. When I first showed my brother how to fix a squeaky subfloor through the carpet using this method, he thought I was going to ruin his expensive shag. But as long as you use the provided alignment tripod, the carpet fibers just push aside. You want to drive the screw until the tripod bottoms out, then use the gripper tool to snap off the top. The subfloor is now clamped. This same attention to detail is what separates a DIY job from carpet install secrets achieving flawless results every time.
What to Do When the Screw Won’t Bite
Sometimes, you’ll hit a ‘ghost joist’ where the wood is so old and dry it just crumbles, or you hit a knot that deflects the screw. If the screw spins and never tightens, don’t keep pushing. Back it out and move two inches to the left or right along the same joist line. A screw that doesn’t ‘bite’ is useless; it won’t provide the clamping force needed to stop the friction. This often happens in homes where previous owners didn’t realize how to fix a carpet ripple without a power stretcher, leading to excess movement that weakened the subfloor over decades. If you feel that resistance and the drill suddenly pulls toward the floor, you know you’ve got a solid connection. Drive it home, snap it off, and enjoy the silence.
Stop Over-Fastening Before You Ruin Your Subfloor
Most DIY guides tell you that if one screw is good, twenty must be better. I’m here to tell you that’s a recipe for disaster. While securing the subfloor is essential, over-fastening can lead to localized stress fractures in older plywood or OSB. You aren’t just looking for quantity; you are looking for strategic placement. If you drive too many fasteners without checking the moisture content of the wood, you might find that the floor starts to buckle when the humidity shifts. This is one of the most common flooring installation mistakes to avoid for a seamless look because it ignores the natural expansion and contraction of timber. The National Wood Flooring Association (NWFA) emphasizes that structural integrity relies on the correct fastener schedule—usually every 6 to 8 inches along the joist—not a random spray of metal.
Why Do Your Baseboards Look Like a Rollercoaster?
Once you’ve silenced the floor, you might notice that your trim doesn’t sit flush anymore. Many people assume their walls are the problem, but the real culprit is often the minute height changes in the subfloor you just fixed. If you didn’t use the self-leveler move for perfectly flat vinyl installs during your prep work, your baseboards will highlight every dip and peak. A pro secret I always use is the back-bevel move for tight baseboard miters, which allows the front edge of the trim to stay tight even if the floor isn’t 100% true. 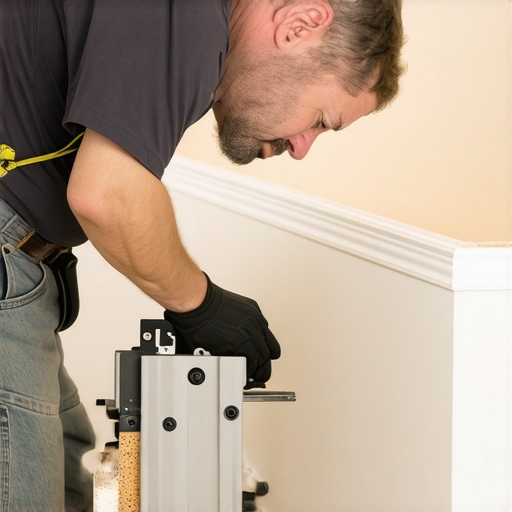
The Hidden Danger of Blind Drilling
The oops factor I see most often involves the guess and check method. I once saw a homeowner drive a three-inch screw straight into a PEX water line because they assumed the joists were deeper than they actually were. If you aren’t sure what’s under that subfloor, stop. Always use a depth-stop on your drill. This level of caution is part of the carpet install secrets achieving flawless results every time. You aren’t just fixing a noise; you are protecting the veins of your home. A baseboards makeover elevate your interior with simple updates is only successful if the foundation beneath is both quiet and safe. Have you ever fallen into the more is better trap and ended up with a bigger mess than you started with? Let me know in the comments.But once the noise is gone, the real work begins: keeping it that way. The gear that separates amateurs from pros isn’t just a bigger drill; it’s about precision measurement. If you’re serious about never hearing that subfloor groan again, you need to invest in more than just a box of screws. I never walk into a job site without my digital moisture meter. It’s the only way to be sure that the wood is actually ready to be pinned down. If you skip this, you’re just guessing. I’ve seen beautiful projects ruined because someone didn’t realize why we never skip the subfloor moisture test on concrete or wood. Moisture is the ultimate enemy of silence. When the wood expands and contracts, those screw holes you just worked so hard on can wallow out, and you’re back to square one. This is especially true if you are working on a shower repair where humidity levels are constantly fluctuating. You need tools that give you data, not just a gut feeling. I also swear by my Bosch laser level; when you are trying to align screws with joists across a twenty-foot room, a chalk line is okay, but a laser is infallible. It helps you maintain that fastener schedule with surgical precision, ensuring every joist is caught and every squeak is killed for good. 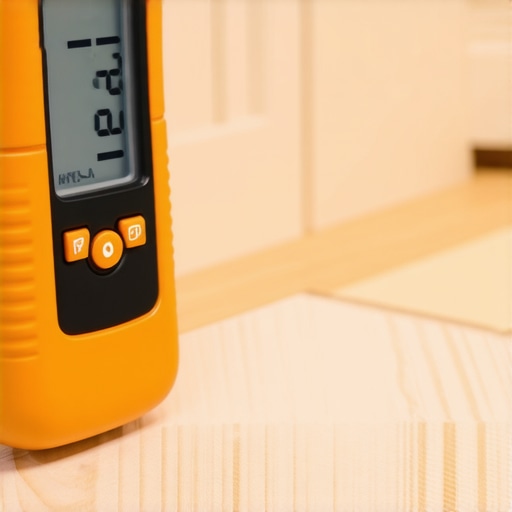
How can you keep your floors from failing in five years?
Maintenance isn’t just about cleaning; it’s about environmental control. According to the Forest Products Laboratory’s General Technical Report FPL–GTR–190, wood equilibrium moisture content (EMC) is the primary driver of structural movement in homes. If you don’t maintain a consistent 30-50% humidity level in your house, those floorboards will move regardless of how many screws you drive. I recommend setting up a hygrometer in the room where you did the most work. It’s a $15 tool that saves a $10,000 floor. This level of foresight is what I call expert flooring installation tips for 2025. You aren’t just a DIYer anymore; you’re a home curator. Don’t forget the impact of heavy furniture. Moving a piano or a heavy bookshelf can actually shift the subfloor enough to break a screw’s bond if the subfloor wasn’t thick enough to begin with. If you’re planning a baseboard makeover, do it only after you’ve ensured the floor is stable under load.
Predicting the End of the Noisy Floor
I believe we are heading toward a future where traditional nails are completely phased out in favor of structural adhesives paired with specialized screw patterns. We are already seeing this with high-performance durable vinyl staircases and advanced subfloor systems. The industry is moving toward ‘quiet-built’ standards that treat the floor as a single monolithic unit rather than a collection of parts. If you’re planning a big project, consider using a liquid membrane in wet areas to decouple the finish from the structure, ensuring that movement in the house doesn’t result in cracks or squeaks. My best advice? Buy a moisture meter today and test three different spots in your hallway. You’ll be surprised at what you find, and it might just save your next weekend project.
The Hardest Lessons I Learned Chasing Floor Ghosts
After years of wrestling with noisy floorboards, I’ve realized that the most common mistake is thinking you can fix everything from the surface without understanding the tension underneath. First, never assume joists are perfectly spaced; builders in the past were sometimes quite creative with their tape measures. Second, silence is a temporary state if you don’t control your home’s environment. I’ve seen homeowners achieve perfection only to have the noise return because they ignored the acclimation test for avoiding hardwood floor gaps. Finally, don’t be afraid to use more than one screw if the first one doesn’t fully seat; the goal is structural stability, not a minimalist hardware count. Precision and patience always beat speed when you are hunting for that perfect, quiet walk.
The Gear That Separates Silence from Just More Noise
To get professional results, you need professional feedback. I always carry a digital moisture meter because the moisture meter requirement for basement flooring jobs applies to every level of the house. If the wood is too wet or too dry, your screws might eventually lose their grip. I also swear by the ‘Squeeeeek No More’ kit for anyone wondering how to fix a squeaky subfloor through the carpet without tearing up their expensive flooring. Lastly, keep a high-quality stud finder and a laser level in your bag; precision is the difference between a fixed floor and a subfloor full of random holes. These tools aren’t just for pros; they are the baseline for anyone who wants their repairs to last a lifetime.
Take Back Your Home from the Squeaks
You don’t have to live with the constant groaning of your home every time you get up for a glass of water. Armed with the right screws and a little bit of structural detective work, you can achieve a level of silence that makes your home feel brand new again. Whether you are tackling this as part of a larger expert flooring installation tips for 2025 project or just fixing a single annoying spot, the satisfaction of a silent step is worth every minute of effort. Don’t let the fear of flooring installation mistakes stop you from starting; every pro was a beginner once. What’s the loudest spot in your house that you’re planning to fix first? Let me know in the comments!