

I’ll never forget the pride I felt finishing my first massive open-concept layout. It was 1,200 square feet of ‘waterproof’ luxury vinyl plank, flowing flawlessly from the kitchen into the sunroom. Or so I thought. Three months later, during a humid July, the homeowner called me with a shaky voice. ‘The floor is lifting like a mountain range,’ she said. When I arrived, the center of the room had a three-inch peak. The culprit? A single T-molding I had pinned down so tight it didn’t allow for a millimeter of movement. It was a heart-sinking moment that taught me more about physics than any manual ever could. Since then, I’ve realized that most DIYers—and even some pros—treat transitions as an afterthought rather than a critical structural component.
Why Your Open Floor Plan is Fighting Against Your Vinyl
We all want that infinite, seamless look where the floor runs from the front door to the back porch without a single break. It looks modern, clean, and high-end. But here’s the cold, hard truth: vinyl planks are basically living things. They grow when it’s hot and shrink when it’s cold. If you don’t respect that movement, the floor will eventually fight back. I used to think I could cheat the system by using extra-strong adhesive or hidden nails, but I was just making one of the most common flooring installation mistakes to avoid. Most people assume ‘click-lock’ means ‘locked in place forever,’ but it actually means ‘floating as one giant unit.’ If that unit hits a wall or a pinched transition, it has nowhere to go but up. I’ve spent years helping neighbors fix floors that were literally tearing themselves apart because of the T-molding mistake that ruins open-concept floors. The fix is simpler than you think, but it requires letting go of the ‘no-threshold’ dream in very large spaces.
Is a seamless floor actually worth the risk?
I get it. T-moldings can feel like a speed bump in the middle of your beautiful home. You might wonder if you can just ‘forget’ them in a large room to keep that sleek look. However, according to the Resilient Floor Covering Institute (RFCI), rigid core vinyl flooring can expand and contract significantly, and most manufacturers require an expansion break every 35 to 45 linear feet. When you ignore this, you aren’t just risking a cosmetic gap; you are risking the entire locking mechanism of your floor. This isn’t just about the middle of the room, either. The secret to a successful transition is understanding why you need a perimeter expansion gap for vinyl planks to work in tandem with your T-moldings. If you’ve ever walked across your floor and felt a strange ‘give’ or heard a click that wasn’t there before, you might already be a victim of a pinched floor. Have you noticed your planks shifting or gapping near the doorways lately? If so, you’re not alone, and it’s usually because the T-molding track was installed without enough ‘wiggle room’ for the planks to breathe.
Stop Nailing Your Transitions into the Floor
The biggest mistake I see when homeowners try to install their own T-moldings is treating the transition like a piece of trim that needs to be clamped down. You have to remember that a floating floor is a single, heavy sheet of material. If you secure that sheet in the middle of the room, you’ve effectively cut your expansion room in half. Before you even touch a saw, you need to ensure your subfloor is perfectly flat. If there is a dip right where the transition sits, the T-molding will eventually crack under the pressure of foot traffic. I always use the feather edge tactic for smoothing subfloor seams to create a dead-level surface for the track to sit on. This prevents that annoying ‘bounce’ you feel when stepping on a doorway transition.
Cut Your Door Jambs the Right Way
Precision at the door frame is where the pros are separated from the amateurs. If you cut your vinyl plank to fit around the door casing, you are leaving a visible gap that no amount of caulk can fix. Instead, you should use a scrap piece of flooring as a height guide and undercut the casing. This is where many people fall into the door jamb saw mistake that leaves huge gaps by cutting too high or at an angle. By undercutting correctly, the plank and the T-molding can slide underneath the wood, giving you a clean, factory-finished look. This also provides the floor with that crucial hidden space to expand without hitting a hard stop. 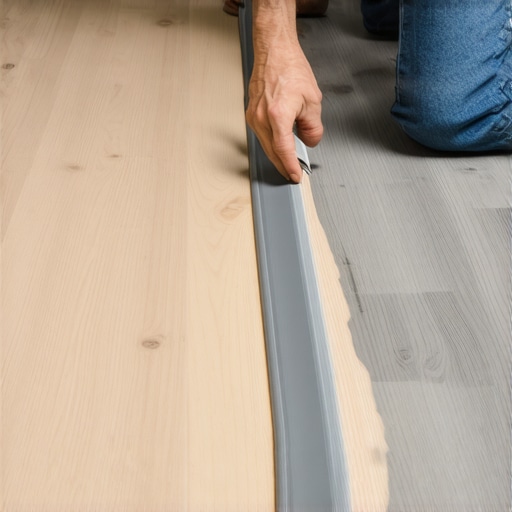
Install the Track Without Pinning the Planks
When you finally lay the metal track for your T-molding, it must be screwed directly into the subfloor in the gap between your two sections of vinyl. I’ve seen people try to glue the track to the edge of the vinyl, which is a recipe for disaster. The vinyl needs to move, and the track needs to stay still. I prefer the hidden screw method for metal transition strips because it provides a mechanical bond to the house itself. I once worked on a project in a high-traffic hallway where the previous installer had used only construction adhesive on the track. After one summer of humidity, the entire transition popped off like a champagne cork because the floor had expanded and pushed the track right out of its spot. Since then, I always pre-drill and screw every track, ensuring the screw heads are flush so they don’t interfere with the T-molding snap-in.
Lock Everything Together with Purpose
Once your planks are down and your track is secured, it’s time to seat the transition. Don’t just push it in with your hands. You need to use the rubber mallet rule for locking vinyl planks and transitions to ensure a uniform seat. I usually start at one end and tap gently, listening for the ‘click’ that signals the molding has engaged with the track. While you’re doing this, keep an eye on your plank layout. If you didn’t follow a step-by-step flooring installation from planning to perfect finish, you might find that your small ‘cut’ pieces near the transition are starting to slide. Ensure you stagger vinyl plank ends for maximum strength so that the pieces bordering the transition are long enough to remain stable. Finally, check that your perfect baseboards for your home’s style are installed so they cover the perimeter gaps without pinching the floor down, allowing the entire system to breathe as one.
Most homeowners think that buying ‘waterproof’ vinyl means they can skip the heavy-duty prep work. This is arguably the biggest lie in the modern flooring industry. ‘Waterproof’ only refers to the plank itself—the core material won’t swell if it gets wet—but it says nothing about the system as a whole. If you have moisture vapor migrating up through a concrete slab, that water has nowhere to go. It gets trapped between the slab and your vinyl, creating ‘the sweat effect.’ This is often why your vinyl floor is bubbling in one specific spot despite there being no spills on top. Even the best click-lock system cannot withstand hydrostatic pressure pushing mineral salts into your locking joints from below.
What happens when your subfloor fails a moisture test?
According to the ASTM International standards (specifically the ASTM F1869 calcium chloride test), you must measure the moisture vapor emission rate of your subfloor before you even open a box of flooring. If your levels are too high and you don’t use a vapor barrier, you are essentially building a giant petri dish. I have seen high-end renovations where the owners had to rip out 2,000 square feet of brand-new LVP because of a sour, musty smell emanating from the floorboards. To avoid this, you need to master the underlayment tape move for moisture barriers. It is a five-minute task that prevents a five-day demolition project later down the road. 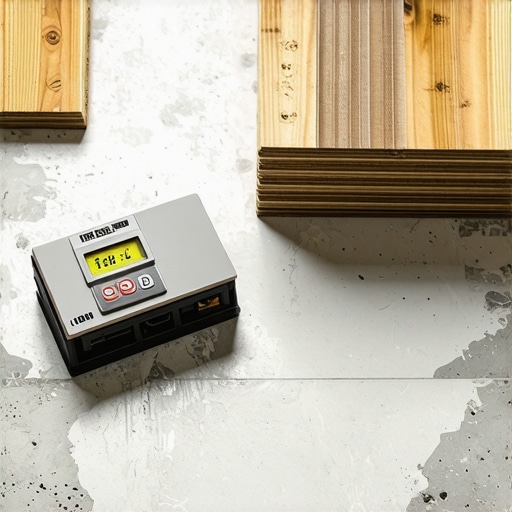
The another trap I see pros and DIYers alike fall into is thinking that baseboards and caulk will hide their installation sins. If your floor is uneven or you didn’t leave enough of a gap, you will be tempted to use a mountain of caulk to bridge the space between the floor and the wall. Please, don’t do this. This is the primary reason why your caulked baseboards are cracking within weeks. The floor is a floating unit that needs to move independently of the wall; when you ‘glue’ them together with heavy caulk, the bond will inevitably snap as the house settles. I prefer using the painter’s point hack for baseboard nail holes to keep things clean without sacrificing the floor’s ability to breathe.
Stop Caulking Your Way Out of Bad Baseboard Fits
Instead of relying on fillers, you should focus on the structural integrity of the subfloor. If you didn’t spend time on the self-leveler mistake that creates new high spots, your baseboards will never sit flush. I have spent countless hours helping neighbors fix ‘warped’ baseboards that were actually just following the contours of a poorly prepped floor. Have you ever fallen into this trap where your ‘perfect’ install looked like a disaster just six months later? Let me know in the comments.
The Tools That Actually Saved My Reputation
I realized early on that my hands were only as good as the steel I held. When I stopped buying the ‘all-in-one’ kits from big-box stores and invested in a dedicated oscillating multi-tool, my door jambs finally looked factory-set. If you are still using a handsaw to undercut casings, you are fighting a losing battle against precision. This tool allows you to glide through oak or pine with surgical accuracy, ensuring you never repeat the door jamb saw mistake that leaves huge gaps. For my shower projects, I moved away from ‘gut feeling’ and started living by the Tile Council of North America (TCNA) handbook, specifically Method B422 for cementitious bond coats. It’s a dry read, but it’s the difference between a shower that lasts five years and one that outlives the mortgage.
How do I keep my new floors looking fresh for a decade?
Maintenance isn’t just about mopping; it’s about chemistry and environment. For vinyl or hardwood, I always advocate for the microfiber mist rule for cleaning matte floors. Most people drench their floors, but water is the enemy of any joint. In the world of textiles, if you’ve opted for a plush feel, you need to watch for sagging. I’ve seen beautiful rooms ruined because owners didn’t know the power stretcher move to fix loose carpet bubbles could save a wrinkled rug. 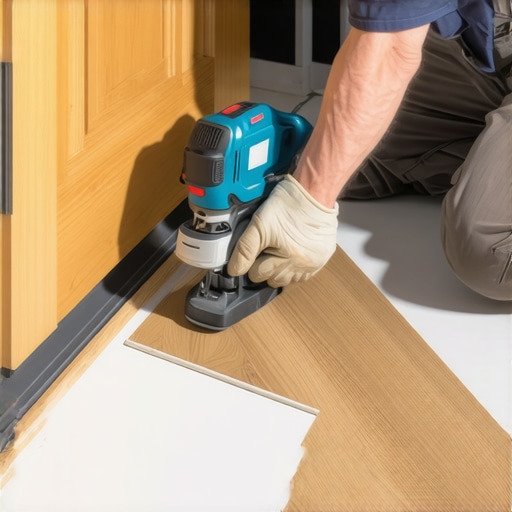
Future-Proofing Your Layout Against Humidity Swings
One thing I always tell my clients is that your home is a breathing organism. In the next few years, we’re going to see ‘smart’ underlayments with embedded humidity sensors that alert your phone before a floor starts to buckle. Until then, you have to be the sensor. I swear by the penny gap rule for hardwood expansion space for any natural material install. It’s a low-tech solution that hasn’t failed me in twenty years. If you’re working on a bathroom, never skip the flood test secret for guaranteed leak-proof showers before you lay a single tile. It’s the ultimate insurance policy. For those tackling a full bedroom refresh, remember that carpet install secrets achieving flawless results every time often come down to the tension you apply at the walls. I challenge you to go out and rent a professional-grade power stretcher for your next carpet project rather than relying on a knee kicker. Your lower back—and your floor’s longevity—will thank you.
What My Hardest Lessons Taught Me About LVP
Over the years, I’ve learned that the biggest threat to your floor isn’t a spilled glass of water; it’s the invisible physics of a home. First off, a ‘ghost click’—that faint sound you hear when walking—is almost always a sign you skipped the feather edge tactic for smoothing subfloor seams. It means your floor is bridging a gap, and eventually, that joint will snap. Another lightbulb moment was realizing that ‘waterproof’ marketing is a double-edged sword. While the planks won’t swell, they can trap humidity beneath them, making the underlayment tape move for moisture barriers the most important five minutes of your entire project. Lastly, stop viewing T-moldings as an eyesore. Think of them as the ‘expansion joints’ of your home, similar to the gaps in a bridge that keep it from buckling under heat. #IMAGE_PLACE_HOLDER_E#
The Pro Toolkit for Flawless Transitions
If you want to move beyond basic DIY results, you need to upgrade your arsenal. I never step onto a job site without a high-quality oscillating multi-tool; it’s the only way to avoid the door jamb saw mistake that leaves huge gaps. I also recommend keeping a dedicated tapping block and a heavy-duty pull bar—using a scrap piece of wood as a block often damages the delicate locking tongues of modern LVP. For cleanup and long-term care, I swear by a simple microfiber setup following the microfiber mist rule for cleaning matte floors. Finally, if you’re transitioning into a bathroom, always consult the ultimate shower renovation guide to ensure your wet areas are as durable as your living room.
Bringing Your Vision to Life One Plank at a Time
Starting a flooring project can feel like standing at the base of a mountain, especially when you’re staring at 50 boxes of planks and a bare subfloor. But remember, every pro you see started with one crooked cut and a lesson learned the hard way. By taking the time to follow a step-by-step flooring installation from planning to perfect finish, you are building more than just a surface to walk on—you’re creating the foundation of your home’s atmosphere. Don’t let the fear of a transition strip stop you from achieving a high-end look. With the right prep and a bit of patience, your durable flooring installation for a stylish home will stand the test of time and family life. Have you ever had a floor start to ‘peak’ or buckle in the summer months? I’d love to hear how you fixed it in the comments below!