

I remember the day I finally decided to rearrange my living room to catch the afternoon sun. I hauled my heavy oak dresser three feet to the left, expecting a fresh look, but what I found underneath made my heart sink. Four deep, ugly craters were staring back at me, looking more like a permanent topographical map than a floor. I tried to fluff them with my fingers, but the carpet fibers just stayed flat, lifeless, and stubbornly matted. It felt like I’d permanently scarred my home. Earlier in my DIY journey, I made the classic mistake of pouring boiling water directly onto a dent thinking it would ‘reset’ the fibers, but I just ended up with a soggy mess and a potential mold problem. We’ve all been there, and today, I’m going to show you why those dents happen and how you can actually bring your carpet back to life without ruining it.
The Day My Living Room Layout Backfired
Moving furniture should be exciting, but those crushed spots often feel like a penalty for being creative. When heavy weight sits on a single point for months, it doesn’t just flatten the yarn; it compresses the air out of the carpet pad beneath it. If you’ve ever wondered why some carpets bounce back while others fail, it usually comes down to the quality of the original carpet install and the specific fiber type you chose. In my experience, nylon has much better ‘memory’ than polyester, which is why choosing the best carpet types for high traffic areas is so critical before you even move the first box in. Have you ever moved a couch and felt like you just ruined your flooring forever? I’d love to hear about your furniture-moving mishaps in the comments!
Why Your Carpet Fibers Crush Under Pressure
It is a simple matter of physics. The Carpet and Rug Institute (CRI) notes that crushing is a common reaction to heavy static loads, as the weight forces the pile to bend and stay in a fixed position, eventually losing its natural resilience. This is why a heavy armoire leaves a deeper mark than a light chair. If the fibers stay bent long enough, the heat and humidity in your home can ‘set’ them in that crushed state. It’s a lot like how a crease stays in a pair of pants.
Are these craters really permanent or just stubborn?
You might be worried that the actual structure of the yarn is broken, but most of the time, the fibers are just ‘asleep.’ The real challenge is waking them up without damaging the backing. I once saw someone try to use a wire brush so aggressively they actually pulled the loops right out of the floor—don’t be that person! Most dents can be salvaged with the right mix of moisture, heat, and patience. We’re going to look at the tools you need to fix this, but first, you have to accept that some fibers, especially cheaper olefins, might never fully return to their original glory if they’ve been crushed for years.
How to Wake Up Your Sleeping Carpet Fibers
Fixing a dent is less about brute force and more about gentle persuasion. Think of your carpet fibers like a blade of grass that has been stepped on; it is not dead, just flattened. To get them standing tall again, you need to reintroduce the moisture that was squeezed out over months or years. While some people suggest specialized tools, you likely have everything you need in your kitchen. If you are dealing with deeper issues like wrinkles or waves while moving furniture, you might actually need the power stretcher move to fix loose carpet bubbles rather than just a simple steam treatment.
The Ice Cube Method for Lazy Fixes
This is the classic set-it-and-forget-it approach. I used this when I was prepping a rental for a walkthrough and had about twelve dents from a massive entertainment center. You simply place an ice cube in the center of the crater and let it melt completely. As the water slowly saturates the yarn, the fibers absorb the moisture and start to swell back to their original shape. Once the ice is gone, blot the area with a clean towel. Don’t rub it—rubbing can fray the tips and make the spot look fuzzy compared to the rest of the room. After blotting, use the edge of a spoon to gently lift the fibers upward. It’s like giving your floor a little pep talk. 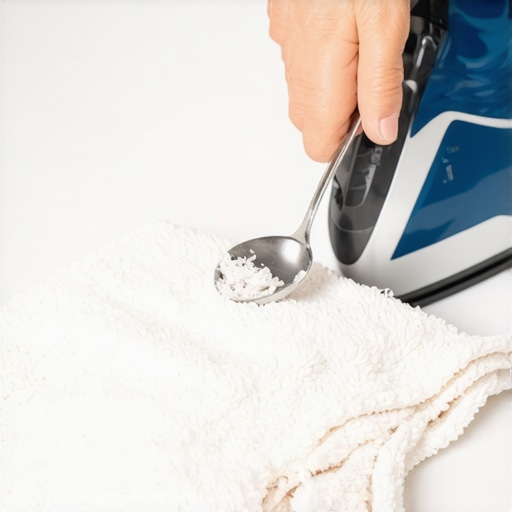
Wielding a Steam Iron Safely
If the ice cube doesn’t do the trick, you need the heavy hitter: heat. This is where most DIYers get nervous, and for good reason. I once got too close with an iron and nearly had to search for the iron burn repair for small carpet scars because I didn’t use a barrier. To do this right, lay a damp (not dripping) white cotton towel over the dent. Set your iron to the steam setting and hold it about an inch above the towel. Never let the iron touch the towel directly for more than a second, and never let it touch the carpet. The steam will penetrate the fibers and the backing, loosening the ‘set’ of the crush.
The Final Brush and Vacuum
Once you’ve applied steam or water, the fibers are in a malleable state. This is your window of opportunity. Use a carpet rake or even a clean hair comb to fluff the pile. If you are doing a full room reset, following a step-by-step flooring installation from planning to perfect finish mindset helps you stay organized. After fluffing, run a vacuum over the area. The suction pulls the fibers upright while they dry, which is the secret to making the repair permanent. While you’re down there on your hands and knees, it’s a great time to check if your edges need a baseboards makeover to really finish the look of the refreshed space. If the dent is near a wall, be careful not to knock your trim; sometimes the moisture from the steam can affect the finish of older wood baseboards.Let’s dig deeper into why those dents might be coming back even after you’ve spent an hour with an ice cube. Most homeowners assume that comfort comes solely from the thickness of the pile, but the real expertise lies in the interaction between tension and the sub-layer. A common myth is that a thicker pad always equals a more luxurious feel. However, I’ve seen countless projects ruined because owners didn’t realize why your carpet pad is too thick for the tack strip, leading to edges that pull away or ‘smile’ over time. If the pad is too soft or too thick, the carpet backing flexes excessively under heavy furniture, causing those craters to become permanent structural breaks in the latex rather than just compressed yarn. According to the Carpet and Rug Institute (CRI), residential padding should generally not exceed 7/16 of an inch for most cut-pile carpets; anything more creates a ‘trampoline effect’ that stresses the seams.
Why Do Your Carpet Seams Look Like Speed Bumps Under Morning Light?
This is a classic advanced-level headache that haunts even seasoned DIYers. You might think you followed all the carpet install secrets, but if your seam tape wasn’t centered or if you used too much heat on the iron, the yarn peaks. This ‘speed bump’ effect is often the result of failing to use the double cut method for invisible carpet seams. When the edges aren’t perfectly mirrored and tucked, they fight for space as the house naturally expands and contracts, pushing the fibers upward into a visible ridge. If you notice why your carpet seam looks like a speed bump, it is rarely a fiber issue and almost always a sub-surface failure. 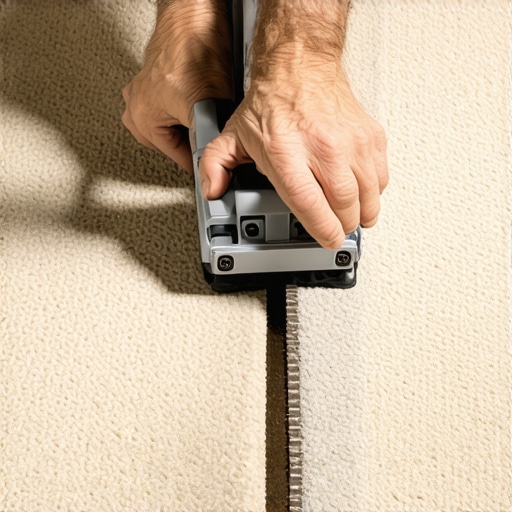
The Baseboard Trap Most DIYers Fall Into
While you’re focusing on the floor, don’t neglect the perimeter. A massive ‘oops’ factor I see is installing baseboards too tight against the floor without accounting for future carpet stretching. If you pin the carpet down with the trim, you lose the ability to use a power stretcher later. When you’re dealing with long runs, the scarf joint rule for long baseboard runs is your best friend to prevent the seasonal gapping that makes even expensive trim look cheap. And if your flooring project extends into the bathroom, the complexity spikes. People often forget that the transition from carpet to a wet zone requires more than just a metal strip; you have to consider how those materials react to humidity. If you aren’t using the inside cope method for beginners for your corners, you’ll find that moisture makes mitered joints open up faster than a blooming onion. Have you ever fallen into this ‘more padding is better’ trap? Let me know in the comments!I’ve spent way too many hours on my knees to ignore the gear that actually makes a difference versus the stuff that just clutters your garage. If you want to stop those furniture dents before they start, you need to invest in a professional-grade carpet rake—specifically something like the Grandi Groomer. I personally use this tool after every deep vacuuming session because it doesn’t just surface-clean; it agitates the pile and resets the ‘bloom’ of the yarn. According to the Shaw Floors Technical Bulletin on Residential Maintenance, regular pile agitation is the only way to prevent the ‘crush’ from becoming a permanent ‘break’ in the fiber’s molecular structure. When you see those fibers start to lean, a quick rake-over can save you from a weekend of ice cubes and steam irons later on.
How can I keep my floors looking brand new for a decade?
Maintenance isn’t just about cleaning up spills; it is about moisture management and friction control. For those of you with hard surfaces, I always swear by the microfiber mist rule for cleaning matte floors because soaking your boards is the fastest way to trigger gapping or cupping. If you are dealing with high-traffic carpet, the secret is a consistent schedule of professional hot water extraction every 12 to 18 months. This isn’t just a suggestion; it’s often a requirement to keep your manufacturer warranty valid. While you are at it, keep an eye on your trim. If you followed the pre-drill rule for wide baseboard installations, you shouldn’t see any splitting, but a quick bead of fresh caulk every few years keeps the perimeter looking sharp and prevents dust from settling into the expansion gaps. 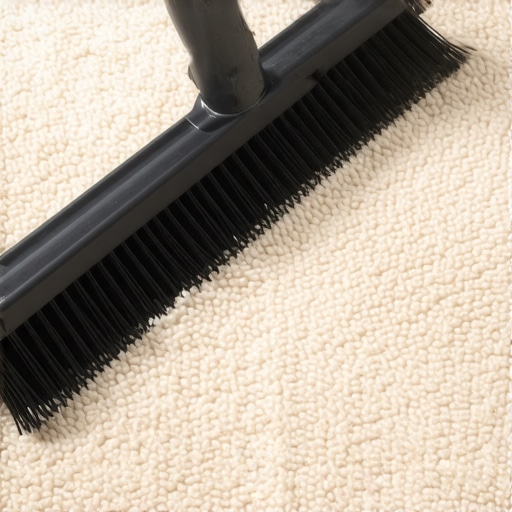
Why the future of flooring is smarter than we think
I’m seeing a massive shift toward bio-based fibers and ‘smart’ underlayments that can detect moisture levels before they reach the subfloor. As we look at transform-your-flooring-top-trends-in-installation-for-2025, the focus is clearly moving away from disposable materials and toward ‘forever flooring’ that can be repaired rather than replaced. We are moving toward a world where your floor isn’t just a surface, but a high-performance system designed for longevity.
Stop bathroom leaks before they ruin your hallway
If your flooring project spills into the bathroom, your maintenance checklist doubles. You need to be hyper-vigilant about the transition zones. I’ve seen beautiful carpet ruined because a slow leak behind a shower wall traveled under the baseboards and into the bedroom. Knowing shower-repairs-when-to-fix-vs-replace-for-longevity can save you thousands. Always check the silicone at the base of your shower daily; if it starts to peel, you are inviting moisture to rot out your subfloor from the inside out. My best advice? Grab a carpet rake today and give your high-traffic zones a ‘lift’—you’ll be amazed at how much life it breathes back into your home.
What My Knee Pads Taught Me About Floor Longevity
Reflecting on years of DIY mishaps, the biggest takeaway isn’t about the fix itself; it is about the preparation. I used to think I could out-steam a bad install, but I learned that choosing the right carpet for a cozy living space means matching the fiber to your lifestyle first. If you buy a polyester carpet and put a heavy mahogany desk on it, no amount of ice cubes will fix the permanent fiber break that occurs over five years. Another hard truth? Most ‘carpet problems’ are actually padding problems. When you try to save money there, you are basically building a house on sand.
Gear That Actually Earns Its Spot in My Workshop
If you want professional results, you cannot rely on kitchen spoons alone. My essential toolkit always includes a high-quality carpet rake for weekly pile agitation—it is the only way to prevent crushing from becoming permanent. For those tackling a full room, I highly recommend following carpet install secrets achieving flawless results every time to ensure your tension is correct from day one. I also swear by a digital moisture meter, especially when working near bathrooms where shower repairs when to fix vs replace for longevity become a factor. These tools don’t just make the job easier; they provide the peace of mind that your hard work won’t unravel in six months.
#IMAGE_PLACEHOLDER_E#
Build a Home That Stands Up to Your Life
The beauty of a home is that it is lived in, and that means furniture will move and life will happen. Don’t let the fear of a few dents stop you from transforming your home with expert flooring installation tips for 2025. Whether you are fluffing up old fibers or starting fresh with your guide to durable flooring installation for a stylish home, remember that every fix is a skill added to your repertoire. Your floors are the foundation of your comfort, so treat them with the patience they deserve.
What’s the deepest furniture crater you’ve ever successfully revived? Drop your floor-saving hacks in the comments below!