

I remember kneeling down to pick up a stray LEGO near the hallway baseboard last Tuesday. Instead of just grabbing the plastic block, I watched in slow motion as a three-inch strip of white semi-gloss paint simply flaked away from the wood, looking exactly like a sunburned shoulder after a week at the beach. It’s a punch to the gut. You pour your heart into a project, trying to elevate your interior with simple updates, only to find the bottom edge curling up like a dried leaf. Today, I’m going to share exactly why this happens and how I finally fixed it after years of making the same rookie mistakes myself.
Stop Treating the Symptom and Start Finding the Leak
[IMAGE_PLACEHOLDER] Most people think the paint is just “cheap.” I used to be that person. I’d buy the most expensive gallon of trim paint, slap it on, and then act surprised when it happened again. The reality is that your baseboards are the front lines of your home’s moisture war. Whether it’s from a damp mop, a humid basement, or even tiny spills that seep under the trim, moisture is the enemy. If you’ve ever dealt with flooring installation mistakes, you know that proper preparation is everything for a seamless look. I once ignored a tiny bit of dampness on the subfloor, thinking the paint would seal it in. Spoiler: it didn’t. It just trapped the water, forcing the paint to lose its grip and flake off. According to the Forest Products Laboratory, wood can expand and contract significantly based on moisture content, which puts immense mechanical stress on that bottom paint film.
Is my house actually rotting from the inside?
That was my biggest fear when I first saw the peeling. I thought, “Great, the studs are soaked.” While it’s rarely that dramatic, ignoring peeling paint can lead to bigger issues like mold or warped wood. You have to understand that once the paint bond breaks, the wood is vulnerable. Using the high-build primer secret is a great way to recover and hide those old flakes, but you have to stop the water first. Have you ever noticed your paint curling up right after you deep-clean your floors? Have you faced this specific problem before? Tell me in the comments if you think your mop might be the secret villain in this story.You cannot just paint over the flakes. It is like trying to build a skyscraper on a foundation of loose gravel—everything is going to shift and eventually crumble. First, grab a 5-in-1 tool or a sharp scraper. You need to remove every single piece of loose paint until you reach a feathered edge where the remaining paint is still firmly bonded to the wood. Last summer, I was helping a friend with a step-by-step flooring installation. We reached the baseboards and I noticed the bottom edge was already looking ragged. I tried to speed-sand it. Big mistake. The new paint didn’t just peel; it literally sloughed off in a single sheet like a piece of wet wallpaper because I had not removed the residues from the previous floor cleaners. I actually had to use the pry bar secret for removing baseboards without damaging the drywall just to get them off and start over in the garage. It was a four-hour detour I could have avoided with ten minutes of proper prep.
Check your moisture levels before you prime
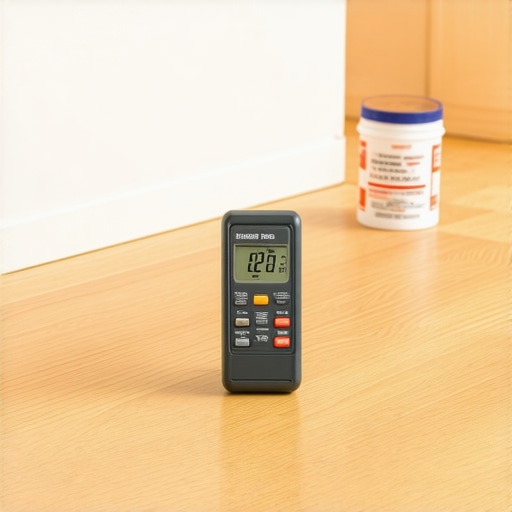
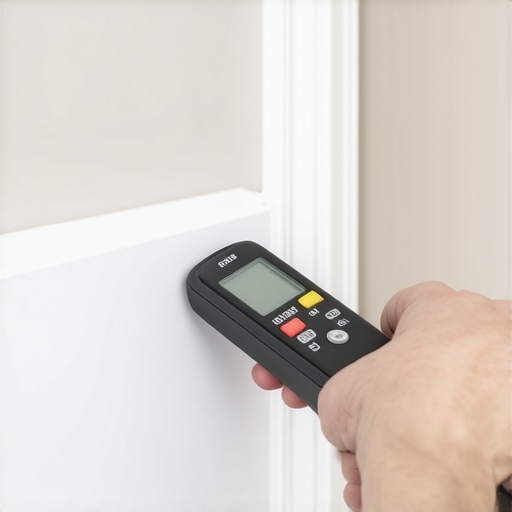 If the wood is still damp, you are just sealing the problem inside. I highly recommend using the moisture meter test every flooring pro uses to ensure the wood is below 12% moisture content. If you do not have a meter, a simple trick is to tape a small piece of plastic wrap over the wood for 24 hours. If there is condensation under the plastic, the wood is too wet to paint. This is especially critical if you are finishing a basement or have recently dealt with the concrete moisture test that saves your vinyl floor results that showed high humidity. Dry wood is the only surface that will hold onto a primer long-term.
The high-build trick for invisible repairs
Once the wood is bone-dry and scraped, you are often left with a crater where the old paint was. This is where the high-build primer secret for smooth baseboard paint comes into play. Normal primer is thin, but high-build primer is more like a liquid filler. It fills in those tiny height differences so you do not see the ghost of the old peeling spot. Sand it lightly with 220-grit sandpaper once it is dry. After that, you need to address the gap at the bottom. Most people leave a gap between the baseboard and the floor, but that is where the vacuum and the mop push water into the raw wood. Use stop baseboard hairline cracks with this flexible filler to create a water-resistant seal at that bottom joint. Finally, if you find your caulk keeps failing, it might be time to look at why your baseboard caulk is cracking and the flex-fill fix to understand how temperature changes affect the movement of the wood. By creating a flexible barrier, you prevent the wicking action that pulls mop water up into the grain and causes the paint to pop.The common wisdom says that if you buy a high-quality semi-gloss, you have created a waterproof shield. That is the biggest myth in home DIY. In my experience, the more ‘impermeable’ the paint, the faster it peels if you have not addressed the back-priming. While you are focused on the front, moisture is often wicking up the unsealed back of the wood from the subfloor. This creates vapor pressure that pushes the paint off from the inside out. I have seen this happen even when people think they are doing everything right with step-by-step flooring installation.
Don’t let your nailing pattern ruin the seal
Many DIYers make the mistake of thinking more nails equals a better fit. However, why you should never nail baseboards into the bottom plate only is a lesson in structural movement. If you pin the board too tightly to a plate that is prone to shrinking, you create mechanical stress that hair-line cracks your caulk instantly. According to the Building Science Corporation, wood-based materials can change dimensions by up to 10% based on relative humidity. When the wood moves and the paint stays rigid, peeling is inevitable. 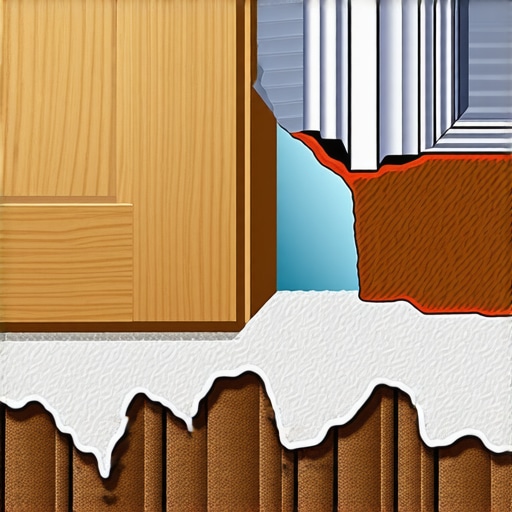
Is the wood species actually fighting your paint job?
Some woods, like oak or certain pines, have high tannin content or oily resins that act as a natural ‘de-bonder’ for water-based paints. If you did not use a shellac-based primer first, those oils will eventually migrate to the surface and lift your beautiful topcoat. I once spent a whole weekend on a baseboards makeover to elevate your interior, only to have the paint bubble because the resin in the pine knots was essentially ‘sweating.’ You also have to consider the fit; using the back-bevel secret for inside baseboard corners ensures the joints do not rub against each other during seasonal expansion. If you find your floor is moving too much, check why your new floor is bouncing and the joist fix to see if the subfloor itself is the culprit. Have you ever fallen into this trap where you did all the work only to see it fail a month later? Let me know in the comments.
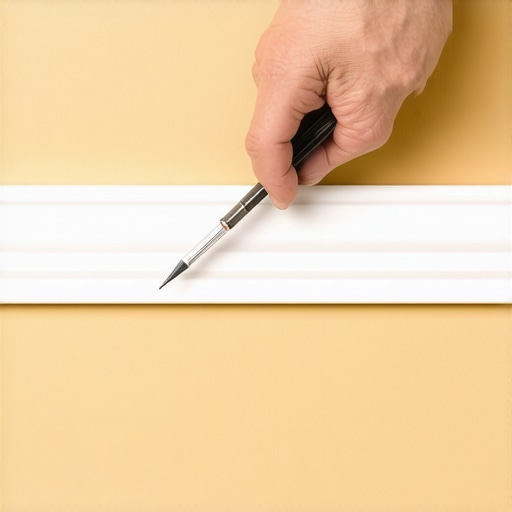
If you’re still trying to ‘eyeball’ your cuts and wondering why there’s a gap large enough to swallow a dime, you need to stop. I used to think I could just caulk my way out of a bad fit, but that only leads to cracked joints six months down the line. The game changed for me when I realized that the scribing tool every diyery needs for tight baseboards is not just for professionals; it is the only way to account for the fact that your walls are never actually straight. By tracing the literal contour of your drywall onto the wood, you get a fit that looks like it was grown there, not nailed there.
The tools that turned my hack-jobs into professional results
I have spent thousands of dollars on gadgets, but only a few have earned a permanent spot in my ‘never-lend-this-out’ bag. Beyond the scriber, a high-quality dead-blow hammer is non-negotiable for flooring. I remember trying to force a stubborn plank into place with a standard hammer and a block of wood, only to have the block slip and dent the face of my brand-new laminate. Using the dead-blow hammer secret for flat floor seams allows you to transfer all that energy into the joint without the bounce-back that causes micro-fractures in the locking mechanism.
When it comes to the wet areas of the house, I have become a bit of a fanatic. I wouldn’t dream of building a shower without following the liquid membrane rule for zero-leak shower niches. The Tile Council of North America (TCNA) handbook emphasizes that moisture management is the most critical aspect of any tile assembly, and relying solely on cement board is a recipe for disaster. You need that secondary waterproof barrier to ensure that even if a grout line fails, the structure of your home remains dry. Even on the soft stuff, I’ve found that the stay-put glue strategy for carpet on stairs prevents that annoying ‘waterfall’ shift that happens when the backing starts to stretch over time.
How do I keep these results for the next ten years?
Maintenance is the part of the blog nobody wants to read, but it is why my house looks better than my neighbor’s who hired a ‘pro’ five years ago. Keeping that pristine look isn’t just about the initial install; it is about knowing why your shower grout is turning pink or orange and acting before it eats into the sealer. I predict that in the next few years, we will see a massive shift toward fully synthetic, antimicrobial grouts that eliminate this entirely, but for now, we have to stay vigilant. If you want your baseboards to stay perfect, stop using high-pH floor cleaners that eat through your flexible fillers. Instead, stick to pH-neutral solutions that preserve the bond of the paint and the caulk. I highly recommend you try the moisture meter trick on your next project before you even open a can of paint; it is the single biggest factor in preventing the peeling we talked about earlier.
If you’re still trying to ‘eyeball’ your cuts and wondering why there’s a gap large enough to swallow a dime, you need to stop. I used to think I could just caulk my way out of a bad fit, but that only leads to cracked joints six months down the line. The game changed for me when I realized that the scribing tool every diyery needs for tight baseboards is not just for professionals; it is the only way to account for the fact that your walls are never actually straight. By tracing the literal contour of your drywall onto the wood, you get a fit that looks like it was grown there, not nailed there.
The tools that turned my hack-jobs into professional results
I have spent thousands of dollars on gadgets, but only a few have earned a permanent spot in my ‘never-lend-this-out’ bag. Beyond the scriber, a high-quality dead-blow hammer is non-negotiable for flooring. I remember trying to force a stubborn plank into place with a standard hammer and a block of wood, only to have the block slip and dent the face of my brand-new laminate. Using the dead-blow hammer secret for flat floor seams allows you to transfer all that energy into the joint without the bounce-back that causes micro-fractures in the locking mechanism.
When it comes to the wet areas of the house, I have become a bit of a fanatic. I wouldn’t dream of building a shower without following the liquid membrane rule for zero-leak shower niches. The Tile Council of North America (TCNA) handbook emphasizes that moisture management is the most critical aspect of any tile assembly, and relying solely on cement board is a recipe for disaster. You need that secondary waterproof barrier to ensure that even if a grout line fails, the structure of your home remains dry. Even on the soft stuff, I’ve found that the stay-put glue strategy for carpet on stairs prevents that annoying ‘waterfall’ shift that happens when the backing starts to stretch over time.
How do I keep these results for the next ten years?
Maintenance is the part of the blog nobody wants to read, but it is why my house looks better than my neighbor’s who hired a ‘pro’ five years ago. Keeping that pristine look isn’t just about the initial install; it is about knowing why your shower grout is turning pink or orange and acting before it eats into the sealer. I predict that in the next few years, we will see a massive shift toward fully synthetic, antimicrobial grouts that eliminate this entirely, but for now, we have to stay vigilant. If you want your baseboards to stay perfect, stop using high-pH floor cleaners that eat through your flexible fillers. Instead, stick to pH-neutral solutions that preserve the bond of the paint and the caulk. I highly recommend you try the moisture meter trick on your next project before you even open a can of paint; it is the single biggest factor in preventing the peeling we talked about earlier.
The Hardest Lessons I Learned While Chasing a Perfect Finish
Looking back at my early mistakes, there are three things I wish I could tell my younger self. First, paint is not a structural adhesive; if your trim moves, the paint will crack, period. Second, never trust a ‘paint-and-primer-in-one’ for high-moisture floor zones. You need a dedicated, high-adhesion primer that bites into the wood fibers. Finally, I realized that proper preparation is everything—if you spend 10% of your time painting and 90% prepping, the job lasts a lifetime. If you flip those numbers, you’ll be scraping flakes again by next Christmas.
The Gear I Actually Use When a Client Calls
If you want to stop guessing and start knowing, you need a moisture meter. It’s the single most important tool in my kit for avoiding flooring installation mistakes. I also swear by high-build primers; they bridge the gap between ‘old and damaged’ and ‘looks brand new.’ When I’m planning a larger room, I always look at baseboard trends in 2025 to see what heights and profiles are working best with modern flooring. Lastly, don’t ignore the style of your home; choosing the perfect baseboards for your home’s style is just as important as the technique you use to install them.
Your Home Deserves a Finish That Lasts
Peeling paint on your baseboards is more than just a nuisance; it’s a sign that your home’s trim is fighting a losing battle against moisture and movement. By switching to high-build primers, using flexible fillers, and ensuring your wood is bone-dry before you even crack open a paint can, you can break the cycle of constant repairs. Whether you are doing a quick touch-up or a full ultimate shower renovation guide inspired bathroom refresh, the key is to respect the physics of the materials. Have you ever struggled with a specific section of trim that just keeps peeling no matter what you do? Let me know in the comments below!