

I remember staring at my living room floor back in 2018, feeling like I’d been defeated by a piece of fabric. I had spent hours with a rented knee kicker, sweating through my shirt and punishing my joints, only to watch that stubborn ripple migrate toward the hallway like a slow-moving wave. It was humiliating. I thought I knew the carpet install secrets for a perfect finish, but all I had to show for it was a bruised kneecap and a floor that still looked like a topographical map. If you’ve ever tripped over a mysterious lump in your rug, you know exactly the frustration I’m talking about. Have you ever felt like your carpet was actively trying to sabotage your home’s vibe?
The Real Reason Your Carpet Is Starting to Look Like the Ocean
Most folks assume a bit of furniture moving or a quick kick will solve the problem, but why your carpet is buckling usually comes down to one thing: improper tension. When I first started DIY-ing my home repairs, I made the classic mistake of thinking a knee kicker was a primary tool. It is not. It is mostly for positioning and small adjustments. According to the Carpet and Rug Institute (CRI) standards, power-stretching is actually mandatory for residential installs to prevent premature wear and ripples. Without that wall-to-wall leverage, you’re just stretching the surface fibers, not the stiff backing. This leads to those unsightly bubbles that eventually turn into permanent creases. If you have tried the fix without a power stretcher and failed, do not feel bad—I was right there with you until I learned the proper way to use the long-pole stretch.
Does This Professional Tool Actually Live Up to the Hype?
You might be looking at that long, industrial-looking pole and wondering if it is worth the rental fee or the hassle of hauling it home. I used to be a skeptic, too. I figured my legs were strong enough to get the job done. I was wrong. The power-stretcher uses the opposite wall as an anchor, creating thousands of pounds of force that no human leg can match. It is the difference between a temporary band-aid and a permanent cure. When you combine this with the directional pull rule, you are not just moving the ripple; you are seating the carpet onto the tack strips so tightly it will never move again. We are going to dive into how to set this up without damaging your perfectly picked baseboards or accidentally punching a hole in your drywall.
Set the Stage with a Solid Anchor Point
To get that professional, drum-tight finish, you have to start by clearing the deck. Most DIYers fail because they try to stretch around heavy dressers, but learning how to stretch carpet in a room full of furniture is a skill in itself that requires moving pieces incrementally. Once the floor is clear, find your starting wall. The power stretcher works by pushing off one wall to pull the carpet toward the other. Place the tail block against a 2×4 scrap wood piece to protect your baseboard styles that elevate your interior design. If you press the tool directly against the trim, you risk cracking the wood or popping the nails. I learned this the hard way during a master bedroom refresh in 2019; I was so focused on the floor that I didn’t notice I had crushed a section of custom molding until I packed up my tools. It was a costly mistake that added hours of repair work. Use the extension poles to span the room, ensuring the head of the stretcher is about six inches away from the wall you are pulling toward.
Follow the Pattern to Kill the Ripples Forever
Think of your carpet like a giant sticker that has been misapplied. You cannot just pull from one side and hope for the best. You need to follow a specific sequence, often called the ‘star’ or ‘clock’ pattern. Start by locking down one corner with your knee kicker just enough to get it on the pins, then use the power stretcher to pull the carpet toward the opposite wall. You are looking for about one to one-and-a-half inches of stretch for every 10 feet of carpet. This is where the directional pull rule becomes your best friend. You must stretch at a slight angle toward the corners to ensure the tension is distributed evenly across the backing. When you engage the handle, you should feel a firm resistance—like pulling a heavy bowstring. If it feels too easy, you aren’t grabbing the backing; if you have to jump on the handle, you’re about to rip the carpet. 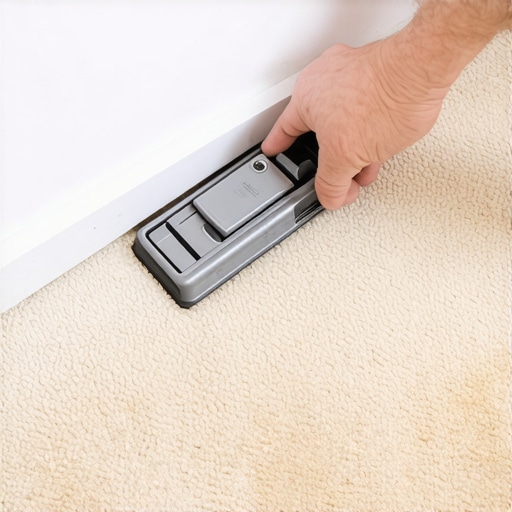
Lock it Down Before You Make the Final Cut
Once you have the tension dialed in, you need to seat the carpet onto the tack strip pins. I use the head of my hammer or a specialized carpet tool to press the backing down until I hear that satisfying ‘crunch’ of the pins biting into the fabric. If you skip this, the second you release the stretcher, the carpet will snap back like a rubber band, and you will be right back where you started. This is one of those carpet install secrets that separates a weekend warrior from a pro. After it is seated, trim the excess with a sharp wall trimmer. Do not use a dull blade; a dull blade will chew the pile and leave a fuzzy edge that looks terrible against your perfectly picked baseboards. Finally, tuck the edge into the gully between the tack strip and the wall. If you are transitioning to a wet area, make sure you understand the transition strip move for carpet to bathroom tile to prevent fraying where the two materials meet. Avoid common flooring installation mistakes by double-checking the tension in the center of the room one last time before you put the furniture back.I’ve spent years watching people obsess over the visible finish while completely ignoring the physics happening underneath. A common belief I constantly have to challenge is that ‘more is better’—more glue, more tension, more caulk. In my experience, ‘more’ usually just leads to a bigger mess. For instance, most folks think that jamming their baseboards tight against a new floor is the way to go. But if you don’t leave a micro-gap for seasonal expansion, you’ll end up wondering why your baseboard miters are opening at the top by next winter. It isn’t just about baseboard styles that elevate your interior design; it is about mechanical tolerance.
Why Your Subfloor Is Secretly Sabotaging Your Hard Work
One of the most overlooked traps is the ‘telegraphing’ effect. I once helped a friend who installed luxury vinyl directly over an old linoleum floor. It looked incredible for exactly three days. Then, the sunlight hit it at an angle, and you could see every single dent and seam from the old floor right through the new planks. They had ignored why your vinyl plank floor is telegraphing subfloor bumps. If you are working on a slab, you absolutely must check for moisture. The National Wood Flooring Association (NWFA) states that failure to test for subfloor moisture is the primary cause of flooring failure. That is why the moisture meter requirement for basement flooring jobs isn’t just a suggestion—it is your insurance policy.
Does Your Shower Subbase Actually Hold Water?
When it comes to wet areas, the nuance gets even more critical. Many homeowners assume the tile and grout are the waterproof layer. They aren’t. Grout is porous; water goes right through it. The real magic happens underneath. If you aren’t using the dry pack secret for rock-solid shower subbases, you are essentially building on a sponge. I’ve seen beautiful ‘luxury’ showers that had to be ripped out after six months because the installer skipped the pre-slope. 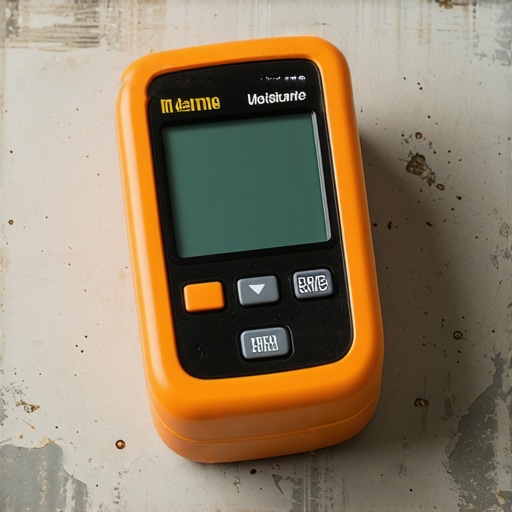
Don’t Let the ‘Click’ Sound Fool You
Another advanced mistake involves the transition zones. People get so focused on the main area that they botch the edges. You might think a clicking sound is just the floor ‘settling,’ but why your vinyl plank floor is clicking when you walk is often a sign of a subfloor dip that was never leveled. You can avoid these common flooring installation mistakes by using a straight-edge before you ever lay the first plank. It takes an extra hour, but it saves a decade of headaches. Have you ever fallen into this trap and had to start over? Let me know in the comments. I’d love to hear your ‘lesson learned’ stories so we can all stop making the same expensive mistakes.
Keep Your Floors Looking Like Day One
I have seen it happen a thousand times: a homeowner spends thousands on a gorgeous install, only to watch it degrade because they used the wrong cleaning solution or ignored a minor scratch. If you want to protect your investment, you have to be proactive. For example, I always tell people that the felt pad routine is not optional for hard surfaces. You can stop hardwood scratches with the felt pad routine by simply spending five minutes applying adhesive protectors to every chair leg in your dining room. It sounds basic, but it is the difference between a floor that lasts thirty years and one that needs refinishing in five. For those with soft surfaces, maintenance is about more than just surface dirt. You can stop carpet odors with the baking soda vacuum trick to keep the fibers smelling fresh without using harsh chemicals that strip the factory-applied stain resistance.
How can I keep my flooring and showers in peak condition?
The secret to longevity in wet areas is often found in the sealer. Many people forget that grout is essentially a hard sponge. According to the Tile Council of North America (TCNA) Handbook, cementitious grout requires periodic sealing to maintain its integrity and resist staining. I personally use a high-quality penetrating sealer every eighteen months. You should stop shower grout from staining with the pre-seal move before you even use the shower for the first time. This creates a hydrophobic barrier that keeps soap scum and mineral deposits on the surface rather than letting them soak into the substrate. If you are noticing a bit of wear already, look into shower repairs: when to fix vs replace for longevity to catch small leaks before they rot your subfloor.
The One Tool You Actually Need for a Pro Finish
If you asked me to pick just one tool that changed my DIY game, it would be a high-quality oscillating multi-tool. I specifically use a Fein MultiMaster because the vibration dampening is incredible, but even a mid-range DeWalt or Milwaukee will do. It is the only way to get those clean, flush cuts when you need to undercut door jambs for a seamless transition. When you are working on the fine details, like using the coping saw technique for flawless inside baseboard corners, having a precise motorized backup for tricky wall-to-floor junctions is a lifesaver. 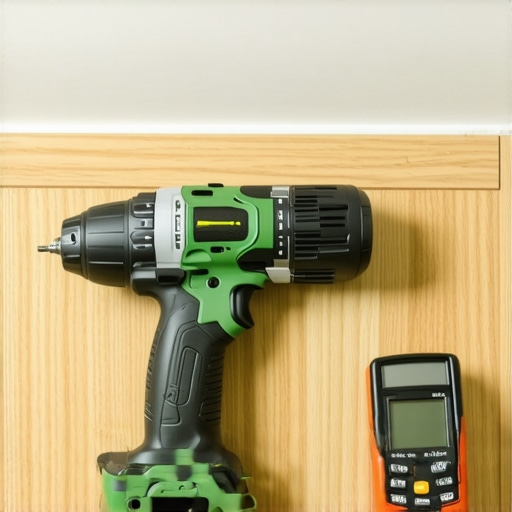
Future-Proofing Your Home Renovations
Looking ahead to 2025 and beyond, I predict we are going to see a massive shift toward modularity and smart-integrated flooring. We are already seeing luxury vinyl planks with integrated acoustic layers that outperform traditional underlayment. The goal for the future is ‘install once, update easily,’ which is why keeping up with transform your flooring: top trends in installation for 2025 is so vital. We might soon see smart moisture sensors embedded in subfloors that alert your phone if a pipe leaks under the kitchen island. For now, focus on the fundamentals. I want you to try the ‘pre-seal move’ on your next tile project or even just on your existing backsplash—it is an advanced tactic that saves hours of scrubbing down the road. It really is about working smarter, not harder.
What Your Flooring Contractor Won’t Tell You About Longevity
One of the most profound realizations I had after years of DIY struggles is that the beauty of your floor is entirely dependent on the things you can’t see. I used to think a ripple was just a cosmetic annoyance, but it is actually the carpet’s way of screaming that it is being structurally compromised. If you ignore it, the backing breaks down, and no amount of cleaning will fix the crunchy feel of a failed install. In fact, many homeowners wonder why your carpet feels crunchy after a diy spill fix, often missing that soap residue combined with loose tension is a recipe for disaster.
Another myth I had to bust was that subfloors only need to be clean enough. They need to be surgical. I now swear by the self-leveler move for perfectly flat vinyl installs because even a tiny 1/8-inch dip can ruin the click-lock mechanism of a luxury plank. My biggest takeaway? Patience in the prep phase pays dividends that last decades, while rushing to the pretty part always leads to a costly redo.
My Go-To Kit for a Flawless Finish
#IMAGE_PLACEHOLDER_E#
If you are serious about getting these results yourself, you need to look beyond the basic hammer and tape measure. I have built my reputation on a few non-negotiable tools. First, never start a job without a high-quality moisture meter; the moisture meter requirement for basement flooring jobs is something I learned the hard way after a laminate floor buckled in a humid July. Second, invest in a power stretcher rather than a knee kicker for the main tensioning—it is the only way to meet CRI standards.
For those looking for a comprehensive roadmap, I always recommend checking out a step-by-step flooring installation from planning to perfect finish guide to ensure you are not skipping the boring but vital steps. And if you are still in the shopping phase, knowing how to choose the right carpet for a cozy living space will save you from picking a material that your subfloor is not ready to support.
Take the Leap and Transform Your Home
Starting a major renovation can feel overwhelming, but remember that every pro started with a bruised knee and a confused look on their face. By mastering the power stretcher and respecting the physics of your subfloor, you are already ahead of 90% of DIYers. Your flooring installation does not have to be perfect on the first try, but with these techniques, it will be professional. If you hit a wall or need a second opinion on a specific room layout, do not hesitate to reach out via our contact-us page. We are here to help you get that drum-tight finish you deserve.
Have you ever tried to tackle a room full of furniture solo or had a power stretcher kick back on you? Let me know your best or worst stories in the comments below!