

I stood there with my hands on my hips, staring at the guest bathroom floor as the morning light poured in, and I honestly wanted to cry. I had just finished laying what I thought was a beautiful piece of sheet vinyl, but instead of a sleek surface, I was looking at a miniature mountain range. That single plywood seam I had simply sanded down was now a raised ridge that caught every shadow, making the whole room look amateur. It was my first big DIY flooring disaster, and it taught me a brutal lesson: thin vinyl is essentially a giant magnifying glass for your subfloor mistakes. If there is even a tiny gap or a slight height difference between sheets, the vinyl will eventually ‘telegraph’ that flaw right to the surface.
The Secret to Stopping Seams from Telegraphing Through Your Floor
If you are working with modern luxury vinyl or thin sheet goods, you have probably heard the term telegraphing. It sounds technical, but it really just means your subfloor’s ugly secrets are showing through the finish. My biggest mistake early on was thinking I could just throw some basic wood filler into the gap and call it a day. I did not realize that wood filler shrinks and cracks as the house shifts, leaving you right back where you started. To get that high-end look you see in magazines, you have to embrace the feather edge tactic for smoothing subfloor seams. This involves using a cement-based patching compound that stays flexible and bonds to the wood. When you are aiming for a seamless look by avoiding common flooring mistakes, the transition between your plywood sheets must be so smooth that you cannot feel it with your eyes closed. This is even more critical than choosing the pattern itself.
Can you actually hide those lines forever?
It is a common fear among homeowners that no matter how much they prep, the lines will eventually reappear as the seasons change. It is a valid concern because wood naturally expands and contracts. However, the trick lies in the chemistry of the patch you choose. According to the Resilient Floor Covering Institute (RFCI), proper subfloor preparation is the deciding factor in nearly 75% of all resilient flooring failures. If you use a high-quality, polymer-modified patching compound, it moves with the floor rather than snapping. I have seen floors that stayed perfect for a decade because the installer took an extra twenty minutes to trowel out a wide, thin ‘feather’ rather than just filling the crack. Have you ever spent a whole weekend on a project only to have a single ‘ghost line’ haunt you every time the sun hits the floor? It is incredibly frustrating, but I promise that mastering the skim coat will change your DIY life. Before we move on to the actual tools, make sure you have checked your subfloor screw routine to ensure nothing is moving under your feet.
How to Execute the Perfect Skim Coat
Success starts with a surface that doesn’t move. If your plywood sheets have even a millimeter of play, that seam will eventually crack any patch you put down. I remember a job in a 1920s bungalow where I thought I could skip the extra screws. I applied the patch, laid the floor, and three weeks later, the homeowner called because a ‘lip’ had appeared. I had to pull it all up just to add five screws. Now, I always follow a strict subfloor screw routine for stopping floor squeaks and movement. Once everything is tight, vacuum the seams like your life depends on it. Dust is the ultimate enemy of adhesion.
Nail the Consistency for a Smooth Spread
Mixing your patching compound is more of a culinary art than a construction chore. You aren’t looking for a watery soup or a dry clump. You need to mix your compound for the perfect peanut butter consistency. If it is too thin, it will shrink into the gap as it dries, leaving a valley. If it is too thick, you will struggle to pull it flat, creating a mountain. Use a small bucket and a margin trowel to whip it until it is creamy and holds its shape on the blade. This ensures it stays where you put it and bonds deeply into the wood fibers.
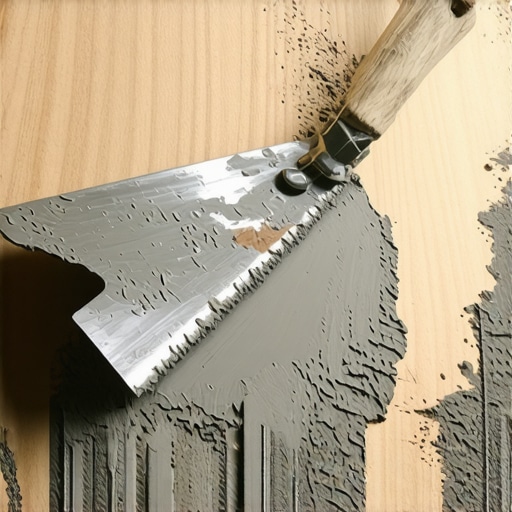
Spread the Patch Further Than You Think You Need To
The biggest mistake DIYers make is only covering the actual crack. If you only patch a two-inch wide strip, you are just creating two new, smaller bumps on either side of the original seam. To truly hide the transition, you must use the feather edge tactic for smoothing subfloor seams. Start by filling the gap, then using a 12-inch or 14-inch drywall trowel, pull the material out away from the seam. Your goal is to have the patch go from the thickness of a credit card over the crack to absolutely zero at the edges. It should look like a soft shadow on the wood, not a physical layer. If you are dealing with moisture-prone areas, consider how the double glue method for vinyl on plywood might interact with your patch choice to prevent future bubbling.
Check Your Work with a Light Test
Once the patch is dry—usually 30 to 60 minutes depending on the brand—give it a light sand with 60 or 80-grit sandpaper. But here is the pro secret: take a bright flashlight and lay it on the floor, shining the beam across the patch. This low-angle light will highlight any ridges or dips that your eyes would otherwise miss. If you see a shadow, you have a high spot. Use a sanding block to knock it down until the shadow disappears. Avoiding these flooring installation mistakes for a seamless look is what separates a DIY job from a professional finish. If you find you have over-sanded, do not be afraid to apply a second, thinner skim coat to get it perfect. It is much easier to fix it now than after the vinyl is glued down and permanent.
Establishing a perfectly smooth subfloor is only the first hurdle. Once you move into the finishes, like carpet or baseboards, the nuances become even more subtle—and the mistakes even more expensive. Many DIYers and even some ‘pros’ believe that the thicker the carpet padding, the more luxurious the floor will feel. This is a classic trap. If your padding is too thick, it can actually cause the carpet backing to stretch and delaminate over time because it provides too much ‘give.’ In fact, according to the Carpet and Rug Institute (CRI) Standard 105, choosing a pad that exceeds 7/16 of an inch for certain residential carpets can void your warranty and lead to premature wear. Beyond the warranty, why your carpet pad is too thick for the tack strip matters because if the pad is taller than the pins, your carpet won’t actually stay hooked, leading to those annoying ripples six months later.
Why do my carpet seams look like a shadow in the morning?
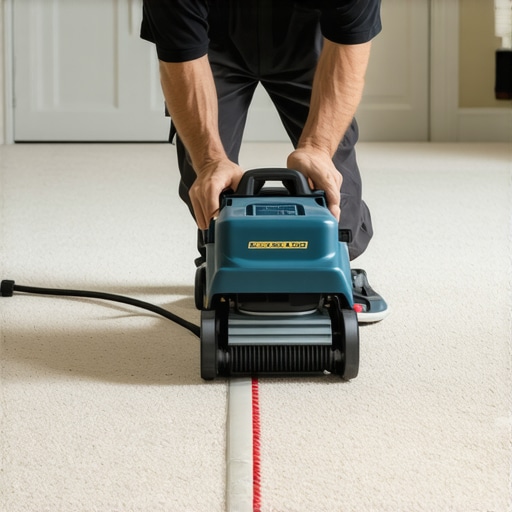
It is a phenomenon called ‘seam peaking.’ You might have done everything right—used a quality iron, the best tape, and followed the overlap and cut secret for perfect carpet joins—but when the sun hits the floor at a low angle, that seam looks like a mountain range. This usually happens because the carpet was not stretched properly with a power stretcher. If you only use a knee kicker, you aren’t actually stretching the carpet; you are just shifting it. A true pro uses the power stretcher move to fix loose carpet bubbles before they even happen. Without that mechanical tension, the heat from the seaming iron causes the backing to humpage slightly, creating a permanent shadow. Have you ever fallen into this trap of thinking a knee kicker was enough? Let me know in the comments.
The Baseboard Trap That Ruins a Room
Moving from the floor to the walls, baseboards are where most people lose their patience. The common belief is that a simple 45-degree miter is the gold standard for every corner. In reality, houses are rarely square. If you rely on simple miters, you will find why your baseboard miters are opening at the top or bottom within a single season change. Wood is a living material; it breathes. Instead of standard miters on long walls, you should be using the scarf joint rule for long baseboard runs. By overlapping two 45-degree cuts in the same direction over a stud, you create a joint that stays tight even as the wood shrinks.
The biggest ‘oops’ factor I see in modern renovations is neglecting the transition between the floor and the trim. If you are installing vinyl or hardwood, you must resist the urge to nail the baseboard into the flooring itself. Always nail into the wall studs. If you pin the floor down with your trim, you’ve just created a ‘pinch point’ that prevents the floor from expanding, leading to why your vinyl floor is bubbling in one specific spot. When you understand the butt joint vs scarf joint debate for baseboards, you realize that professional-grade results come from anticipating how materials move, not just how they look on day one.
Stop Guessing With The Right Measurement Gear
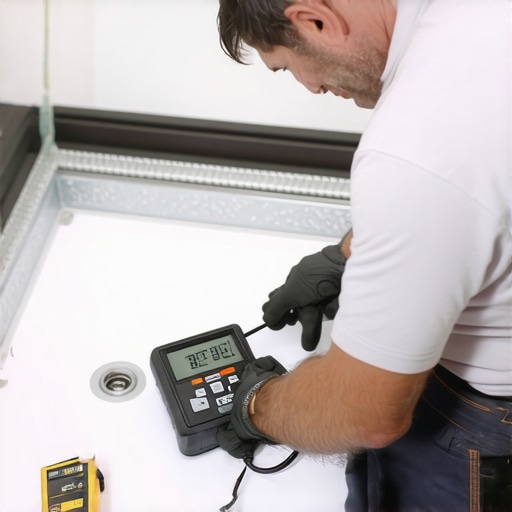
Even with a perfect understanding of scarf joints and subfloor prep, your project is only as good as the data you collect before the first nail is driven. I used to trust my ‘gut’ when it came to subfloor moisture, especially on ground-level slabs. That was a mistake that cost me a thousand-dollar vinyl install when the adhesive failed. Now, I never start without a digital pinless moisture meter. If you are working on a slab, you absolutely must understand why your concrete subfloor needs a calcium chloride test before committing to a permanent floor. This tool doesn’t just save your floor; it saves your reputation. For tile, I’ve swapped my old bubble levels for a high-end cross-line laser. Using the laser level hack for straight tile rows ensures that your layout doesn’t ‘drift’ as you move across a large room, which is the number one cause of those awkward sliver-cuts at the far wall.
How do I keep my shower from failing five years later?
Maintenance starts during the installation phase, particularly in the wet zone. Most homeowners think a shower is ‘done’ once the tile is up, but the real work is invisible. According to the Tile Council of North America (TCNA) Handbook, waterproofing membranes must be continuous and integrated with the drain assembly to prevent capillary action from rotting your wall studs. I personally swear by the flood test secret for guaranteed leak-proof showes. You plug the drain, fill the pan with two inches of water, and mark the line. If that water level drops even an eighth of an inch over 24 hours, you have a problem that needs solving before the tile goes down. It is the only way to sleep soundly at night. Long-term, you should be looking for signs of wear early; knowing when to fix vs replace your shower for longevity can save you from a full-scale mold remediation project down the road.
What the 2025 shift means for your next renovation
We are entering an era of ‘smart surfaces’ and ultra-durability. Looking at the top trends in flooring installation for 2025, we are seeing a massive move toward large-format porcelain that mimics natural stone but requires zero sealing. These tiles are beautiful but heavy, often requiring the back-buttering rule for large format wall tiles to ensure they don’t pop off the wall. For your daily routine, stop using harsh chemicals. I’ve found that the microfiber mist rule for cleaning matte floors keeps the finish looking factory-new without the cloudy buildup that traditional mopping leaves behind. As materials get more advanced, the tools must follow. I predict that in the next few years, we will see even more DIY-friendly epoxy grouts that offer the stain resistance of a commercial kitchen with the ease of use of a standard paste. For now, I strongly encourage you to try the ‘Flood Test’ on your next bathroom project—it is the ultimate pro-move that separates the amateurs from the craftsmen.
Why your floor care routine is probably wrong
Most people treat their LVP or hardwood like a garage floor, dousing it in water. This is a recipe for disaster. Moisture can seep into those perfectly prepped seams we talked about earlier, causing the edges to swell. Instead of a wet mop, focus on pH-neutral cleaners and high-quality microfibers. If you are dealing with baseboards, don’t forget that fresh baseboard styles for every room often include intricate grooves that trap dust. A quick pass with a dryer sheet can actually repel that dust for weeks. By combining the right tools with a disciplined maintenance schedule, you aren’t just installing a floor; you are protecting an investment.
The Hardest Lesson I Learned While Scraping Up Ruined Vinyl
If there is one thing I have taken away from years of renovation, it is that your finished floor is only as good as the dust you vacuumed up. I once lost three days of progress because I ignored a tiny humidity spike on my moisture meter. Now, I treat the subfloor like the foundation of a house—if it is weak, the whole structure fails. You have to accept that 90% of the work happens before the pretty planks even come out of the box. When you are trying to avoid flooring installation mistakes for a seamless look, remember that shadows are your best friend during the prep stage.
A flashlight held at floor level will tell you more about your work than any level ever could. Also, never underestimate the power of a proper dry-fit. Laying out your pieces without adhesive first helps you spot those awkward thin strips at the doorway before they become permanent eyesores. This applies whether you are working with LVP or implementing carpet install secrets for flawless results. Precision is the difference between a floor that lasts and one that requires early repairs.
#IMAGE_PLACEHOLDER_E#
The Gear That Separates Amateurs From Craftsmen
I always keep a copy of the TCNA handbook nearby for wet area work, but for the day-to-day, I rely on a few specific tools that have never failed me. A high-quality power stretcher is non-negotiable for carpet, and for heavy tiling, using something like the ledger board trick for heavy wall tiles has saved my sanity more times than I can count. These aren’t just gadgets; they are insurance policies against having to do the job twice. If you’re tackling a bathroom, knowing when to fix vs replace your shower depends entirely on having the right diagnostic tools like moisture meters and thermal cameras.
Stop Overthinking and Lay That First Row
Your home is a sanctuary, and the work you put into it today creates the comfort you will enjoy for the next decade. Whether you are experimenting with fresh baseboard styles for every room or starting a full kitchen remodel, the key is to start with a plan and finish with patience. Your flooring installation journey is about more than just square footage; it is about the pride of looking at a perfectly smooth surface and knowing you did it the right way. Have you ever found a ‘ghost line’ in your vinyl months after the project was finished? Let me know in the comments below!