

I still remember the pit in my stomach when I saw it. I had just finished a grueling weekend project, buffing those deep, chocolatey planks until they glowed like a high-end showroom. Then, my dog—bless his eighty-pound heart—decided to do a high-speed burnout across the living room to chase a squirrel. The result was a jagged, bright white streak right in the center of the floor. It felt like someone had keyed my favorite car. If you have dark walnut, you know exactly what I am talking about. Every little nick feels like a personal insult because that dark wood has a nasty habit of showing the pale, raw timber underneath the second the finish is compromised. It is enough to make you want to cover the whole thing in area rugs, but we are not going to do that today. Instead, I am going to show you how to make those marks disappear using things you probably already have in your pantry or a quick trip to the hardware store.
Stop Staring at Those Ugly White Lines
I have spent years figuring out which DIY hacks are total garbage and which ones actually save your sanity. Most of the time, you do not need a full sand-and-refinish to restore your floor’s dignity. We are going to cover everything from the famous walnut meat trick to professional-grade touch-up pens. While I often talk about flooring installation mistakes to avoid for a seamless look, dealing with the aftermath of daily life is where the real homeowner skills are tested. The secret lies in matching the depth of the color without creating a weird, glossy halo around the repair site. If you are currently looking at a scratch and wondering if your floor is ruined forever, take a deep breath. We can fix this. Have you ever tried a quick fix that ended up looking worse than the original scratch? I would love to hear your horror stories in the comments because I have certainly lived through a few myself.
Will a DIY Fix Just Make the Mess More Visible?
It is a fair question to be skeptical. Early in my journey, I made the classic blunder of grabbing a generic black permanent marker to hide a ding. I thought that since the floor was dark, black would blend right in. I was wrong. In the morning light, that scratch looked purple and oily, standing out far worse than the original wood ever did. That fail taught me that knowing how to mix custom wood stains without blobs is a vital skill for any homeowner. Dark walnut is particularly tricky because it is actually softer than many people realize. According to the National Wood Flooring Association, American Walnut has a Janka hardness rating of about 1010, making it significantly softer than Red Oak or Hickory. This means it is prone to dings, but it also means the wood is forgiving when you are trying to work a repair into the grain. If your floor is already showing too much wear, you might want to look into why wire brushed finishes hide scratches better for your next renovation, but for now, let’s get that white line out of your sight.Before you even think about color, you have to get that scratch surgically clean. Think of it like a surgeon prepping a site for a procedure; any dust or old wax trapped inside the scratch will prevent your repair from sticking. I use a slightly damp microfiber cloth—following the microfiber mist rule for cleaning matte floors—to ensure I am not over-saturating the wood. If you leave moisture in that open grain, the wood fibers will swell, making the scratch puff up like a bee sting. I once rushed this on a job in a sun-drenched hallway, and the repair looked like a raised scar by noon because the trapped moisture had nowhere to go.
Rub a Raw Walnut Over the White Line
For those surface-level ‘white’ scratches that haven’t actually removed wood, the most effective tool is likely in your kitchen. Break a raw walnut in half and rub the meat of the nut directly into the scratch. The natural oils in the walnut penetrate the wood fibers and darken them back to their original state. It sounds like witchcraft, but the chemistry is solid: the oil acts as a natural saturant. However, don’t just rub and walk away. You need to use your finger to massage the oil into the grain and then buff it out with a clean cloth. If you leave the excess nut residue, it will turn into a sticky, dust-attracting mess within forty-eight hours.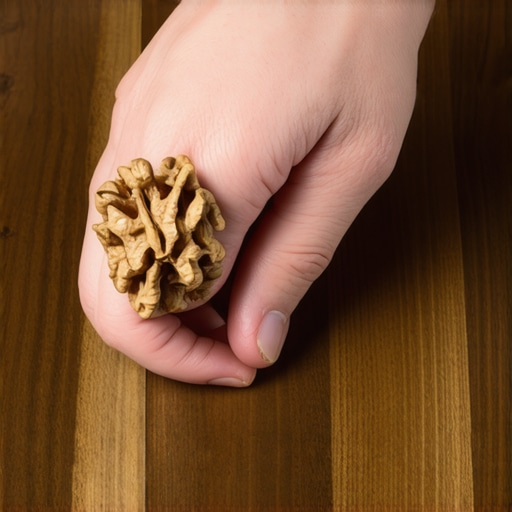
Fill the Deep Chasms with Soft Wax
If your dog’s claws or a dropped kitchen knife actually gouged the wood, oil won’t be enough. You need to replace the missing material. This is where specialized wax fill sticks come in. They are essentially high-pigment crayons designed for wood. The trick here is to use two different shades: one that matches the base color and one slightly darker to mimic the grain. Start by rubbing the lighter color into the hole until it is level. Then, take the darker stick and draw tiny ‘vines’ through the patch to replicate the wood pattern. This is a simplified version of the grain mapping secret for seamless hardwood floor patches. I’ve seen people try to use wood putty for this, but putty often shrinks as it dries, leaving a divot that catches the light like a thumbprint on a clean window. Wax stays stable and flexible.
Blend the Repair Area Without Making a Mess
To keep the wax from looking like a smudge, you need to level it off perfectly. Do not use a metal putty knife; you will just create more scratches. Use the edge of an old credit card or a plastic scraper. Once it’s level, the area might look a bit duller than the surrounding finish. A tiny drop of floor polish or even a bit of clear wax buffed over the top will restore the sheen. If you’re worried about making a mess on the surrounding planks, you can use the blue tape trick for cleaning up silicone beads by masking off the edges of the scratch before you start filling. It keeps your ‘surgical site’ contained and ensures you aren’t buffing wax into the healthy parts of the floor. This method works well for both hardwood and even as a quick fix for how to scribe vinyl planks to a round stone hearth when you accidentally nick the surface during installation.
Stop Over-Sanding Your Success Away
Most DIY guides tell you to sand the area around a scratch to ‘blend’ the repair, but in my experience, that is the fastest way to ruin a high-end walnut floor. When you sand a small patch of factory-finished wood, you are not just removing the scratch; you are destroying the aluminum oxide topcoat that gives the floor its specific sheen. This creates a ‘dead spot’ that looks like a smudge of matte paint on a glossy car. Instead of reaching for the sandpaper, I advocate for the micro-fill technique. This involves using a fine-tipped artist brush to apply stain only to the raw wood inside the scratch. If you over-apply, you create a raised bump that will eventually chip. I have seen homeowners try to fix a tiny nick and end up with a six-inch blur of mismatched texture because they were too aggressive with the 220-grit. Have you ever fallen into this trap of making a small problem much bigger by ‘over-fixing’ it? Let me know in the comments.
Why Your Repair Changes Color When the Sun Goes Down
This is the advanced nuance most people miss: metamerism. It is a phenomenon where two colors look identical under one light source (like your kitchen LEDs) but completely different under another (like natural afternoon sun). Dark walnut is notorious for this because of its complex undertones of purple, green, and gold. According to a study on wood optics by the International Wood Products Association, the cellular structure of walnut reflects light differently depending on how the grain was sliced. If you match your repair at night under a warm lamp, it might look like a bright orange scar the next morning. To beat this, always test your stain or wax under three different lighting conditions before committing. This level of detail is exactly why many pros prefer the grain mapping secret for seamless hardwood floor patches over simple one-color fillers.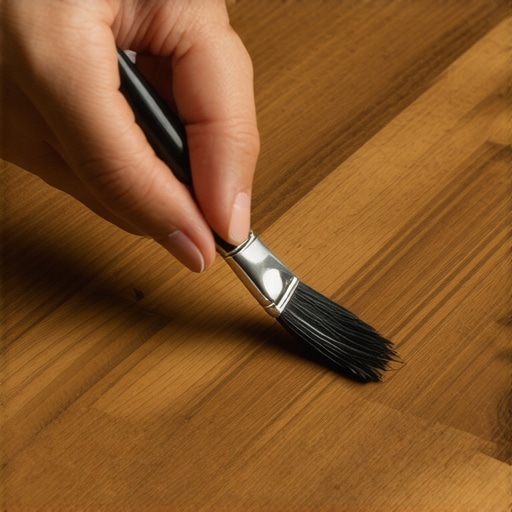
The Expansion Trap You Are Probably Ignoring
A mistake I see even ‘pro’ handymen make is filling deep gouges with rock-hard wood epoxy. Wood is a living, breathing material. Even after it is harvested and installed, it reacts to humidity. If you use a filler that is harder than the walnut itself, the wood will expand during a humid summer, but the filler won’t. The result? The wood literally pushes the filler out, or worse, the surrounding grain cracks. This is why understanding the penny gap rule for hardwood expansion space is so vital. You must use flexible materials like soft waxes or high-quality wood-specific resins that can move with the seasons. If your home has significant temperature swings, you might notice why your baseboard miters keep gapping in the winter, which is the same principle at play. For a long-lasting fix, always prioritize flexibility over hardness. If you are struggling with a floor that feels like it is constantly shifting, you might want to review flooring installation mistakes to avoid for a seamless look to see if the underlying issue is structural rather than cosmetic. If you need a more permanent solution for a badly damaged area, don’t hesitate to contact us for a professional evaluation.Continuing from those expansion issues, the best way to prevent your repairs from failing is to control the environment before the wood ever has a chance to rebel. I never walk onto a job site without a pinless moisture meter. If you are serious about long-term results, a tool like the Wagner Meters Orion series is non-negotiable. It allows you to check the moisture content of your walnut without poking holes in that expensive finish. According to the Hardwood Manufacturers Association (HMA), maintaining a consistent relative humidity between 35 percent and 55 percent is the single most important factor in preventing finish failure and gapping. If you ignore this, even the most perfect durable flooring installation for a stylish home will eventually start to show its age through structural stress.
Tools That Make the Difference Between Amateur and Pro
Beyond humidity control, the specific equipment you use for adjacent projects matters just as much. If you have carpeted rooms leading into your walnut hallways, do not settle for a simple knee kicker during repairs. I always use a power stretcher. It ensures the backing is under uniform tension, which prevents those annoying ripples that eventually lead to premature wear. Learning carpet install secrets for flawless results often comes down to having the right mechanical advantage. The same applies to your baseboards; if you are swapping them out to match your newly repaired floors, a 23-gauge pin nailer is your best friend because the holes are virtually invisible, saving you hours of wood filling.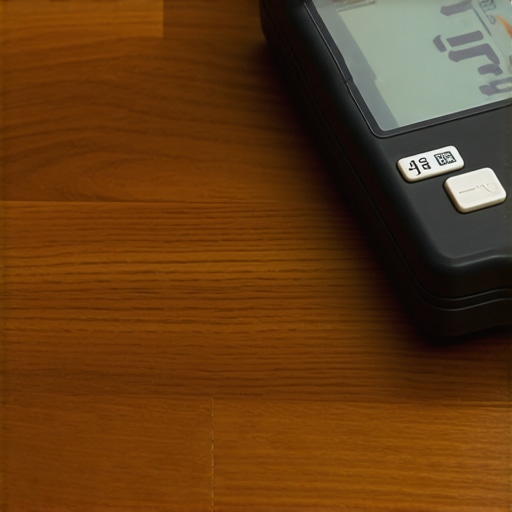
How do I keep my dark floors from looking aged?
Consistency is the secret sauce. You have to move away from the deep clean mentality and embrace the frequent micro-clean approach. I strictly follow the microfiber mist rule for cleaning matte floors because it prevents the buildup of cleaning agents that eventually turn into a cloudy film. Looking ahead, I predict we will see a massive shift toward self-healing UV-cured topcoats in the next five years. These finishes are already being tested in commercial spaces and use heat-responsive polymers that can close up micro-scratches with just the pass of a warm iron. Until that tech hits the residential market, your best defense is a proactive offense. If you notice your carpets getting loose near the transitions, use the power stretcher move to fix loose carpet bubbles before they create a trip hazard against your wood. My challenge to you this weekend is this: do not just fix the scratch—check your home’s humidity levels. It is the one advanced move that will save you thousands in future repairs.
The Brutal Truth About Matching Dark Walnut Finishes
Over the years, I have realized that the biggest mistake homeowners make isn’t the repair itself, but the expectations they carry. Dark walnut is a chameleon; it shifts with the sunlight, and trying to achieve a 100% perfect match under every conceivable light source is a recipe for madness. My lightbulb moment came when I stopped trying to match only the color and started focusing on the reflection. If the sheen is off, the color won’t matter. Another myth is that you can just ‘stain over’ a scratch without preparation. If you do not break the surface tension of the existing finish, the stain just sits there like water on a waxed car. Finally, remember that every floor has a story. A few micro-scratches add character, but those glaring white lines are the ones that need your immediate attention. If you are starting fresh with a new room, always refer to a step-by-step flooring installation from planning to perfect finish to ensure your subfloor is as solid as your repair work. Avoiding common flooring installation mistakes to avoid for a seamless look starts with understanding how your specific wood species reacts to its environment.
My Secret Weapon List for Wood Repairs
I do not go anywhere without my ‘Walnut Recovery Kit.’ First, get a set of Mohawk Fil-Stik pencils. These are the industry gold standard for filling deep gouges without the mess of liquid putties. Second, I always carry a high-quality variable-temperature heat gun. A tiny bit of heat can help the wax flow into the grain for a much tighter bond. Third, a micro-mesh sanding pad (12000 grit) is vital for those times you need to knock down a high spot without destroying the surrounding factory topcoat. I trust these tools because they have saved me from thousands of dollars in replacement costs on high-end custom jobs. If your home project involves more than just wood, you might find carpet install secrets for achieving flawless results helpful when transitioning between different rooms. For those looking to complete the visual transformation, a baseboards makeover to elevate your interior with simple updates can make the whole room feel brand new.
Turn That Heartbreak into a Finished Project
It is incredibly easy to feel defeated when you see that first big scratch on a pristine floor. But wood is a remarkably resilient material, and with these techniques, you are now equipped to handle almost anything daily life throws at your home. Do not let the fear of a ‘less than perfect’ result stop you from protecting your investment and maintaining your home’s value. The more you practice these small fixes, the more confident you will become in maintaining the luxury of your space. If you find yourself in over your head or dealing with damage that looks like it might be structural, feel free to contact us for a bit of professional guidance. Your dark walnut floors are the soul of your home—give them the care they deserve. Have you ever tried a repair that looked great at night but terrible the next morning? Let me know in the comments below!