

There I was, sweat dripping off my nose, staring at a brand-new piece of 7-inch primed baseboard and a wall that looked like it had been through a target practice session. I had five different professional stud finders lined up on the floor, and every single one of them had lied to me. My living room remodel was turning into a nightmare of missed it by an inch holes. You know the feeling—that sinking sensation when the nail sinks into nothing but air and drywall dust. I was trying to follow the latest baseboard trends for 2025, but my fancy sensors could not see through the beefy MDF I had chosen. [image]
Why Electronic Stud Finders Fail You on the Big Stuff
The truth is, most consumer-grade stud finders are calibrated for 1/2-inch drywall and nothing else. When you start adding 3/4-inch baseboard or thicker trim into the mix, the density changes, and the sensor gets confused. Early in my DIY journey, I made the classic flooring installation mistake of assuming that if the red light blinked, there must be wood there. It turns out, those sensors often pick up on electrical wires, plumbing, or even just dense clumps of joint compound. Before you start, make sure you have used the pry bar secret to get the old stuff off cleanly. Once the wall is bare or you are trying to hit wood through new, thick material, you need a different strategy. I spent three hours patching holes that day because I refused to admit my tech was failing me. Eventually, I remembered an old trick a retired carpenter showed me: stop looking for the wood and start looking for the steel.
Is a tiny magnet really better than a fifty-dollar sensor?
It sounds like voodoo or some clickbait hack, does not it? But here is the science: every piece of drywall is held up by nails or screws driven directly into the center of a stud. Neodymium magnets—the super-strong earth magnets—can feel those screw heads even through layers of paint, plaster, and thick wood. According to the National High Magnetic Field Laboratory, neodymium magnets are the strongest permanent magnets available, capable of lifting more than 1,000 times their own weight. This extreme pull is exactly what allows them to snap onto a hidden screw head with satisfying precision. When you are trying to figure out how to choose the perfect baseboards, you do not want to be limited by installation fears. I’ve seen so many people settle for thin, flimsy trim just because they were scared they could not find the framing. Believe me, you do not want to end up with a wobbly finish because you decided to nail into the bottom plate only. That’s a recipe for gaps and squeaks later on. Have you ever felt like throwing your electronic stud finder out the window after it gave you three different readings for the same spot? You are not alone. I’ve been there, and that is why I am going to show you exactly how to use this magnet trick to get a perfect, solid hit every single time. It is about working smarter, not harder, and definitely not making more holes than you have to.
Get Your Magnets Ready for the Hunt
Finding a stud through thick trim is like trying to find a needle in a haystack while wearing oven mitts. You need a tool that ignores the surface and reacts only to the structure. Grab a pack of neodymium magnets—often called rare-earth magnets. These are not your average refrigerator magnets; they have a pull force strong enough to detect a screw head buried under a half-inch of plaster and two coats of paint. When you are deep into a step-by-step flooring installation, precision is your best friend. I remember working on a hallway where the previous owner had layered three different types of wallpaper over the drywall. My electronic sensor kept screaming like there was a ghost in the wall. I pulled out a single 1/2-inch neodymium magnet and started my sweep. Within sixty seconds, I had a vertical line of magnets sticking to the wall like a row of tin soldiers. That is the moment I stopped doubting the physics and started trusting the steel.
Master the S-Curve Sweep
To do this correctly, do not just slide the magnet randomly. Start about six inches above where the top of your baseboard will sit. Move the magnet in a slow, horizontal ‘S’ pattern across the wall. You are looking for that distinct ‘snap’ when the magnet finds a drywall screw. Once you find one, leave the magnet there. Now, move vertically up or down from that spot to find a second screw. If you find two in a vertical line, you have guaranteed wood. 
Why Nailing the Stud Matters More Than You Think
Once you have located your studs, you can focus on the actual joinery. If you are dealing with uneven walls—and let’s be honest, every wall is uneven—you might need to use the scribing tool every diyer needs for tight baseboards to ensure the wood sits flush. A magnet tells you exactly where you can apply pressure with a finish nailer to pull a warped board tight against the framing. Without hitting that stud, your nail is just a decorative piece of wire stuck in gypsum.
Don’t Fall for the Bottom Plate Trap
A common mistake is to simply nail into the very bottom of the board, assuming the 2×4 bottom plate will catch the nail. This is why you should never nail baseboards into the bottom plate only. The bottom plate can often be slightly recessed or angled, and hitting it does not provide the lateral pull needed to close gaps at the top of the trim. Aim your nails about two inches up from the floor, directly into the stud you located with your magnet. This creates a lever effect that keeps the top edge of your 2025-style baseboards tight against the wall. When you reach the corners, remember that the 45 degree trick for perfect baseboard outside corners only works if the ends of the boards are anchored to solid wood. If your miter is slightly off, you can use the cardboard shim hack for flush baseboard miters to tweak the angle before the final nail goes in. Using the magnet method ensures that every nail counts, preventing the ‘Swiss cheese’ effect on your beautiful new trim.
The biggest lie in the DIY world is that modern click-lock flooring or thick baseboards are ‘forgiving’ of a bad substrate. I see it every weekend: a homeowner buys the most expensive material from the expert flooring installation tips for 2025 and thinks the thickness of the plank will mask a lumpy subfloor. In reality, thick materials act like a lever; every high spot becomes a fulcrum that eventually snaps the locking mechanism or causes that annoying ‘squish’ when you walk. If you have noticed why your laminate floor is making a popping sound when you walk, it is rarely the floor’s fault and almost always a failure to respect the 3/16-inch-in-10-feet flatness rule.
The Flatness Fallacy That Ruins Luxury Vinyl
Most beginners confuse ‘level’ with ‘flat.’ Your floor doesn’t necessarily need to be level (perfectly horizontal), but it absolutely must be flat (a smooth plane). According to the National Wood Flooring Association (NWFA), failure to prep a subfloor within these tight tolerances is the leading cause of warranty denials. If you ignore a dip and just bridge it with a plank, you’re creating a structural bridge that will fail. This is often why people see gaps in luxury vinyl without pulling up the whole floor later on—the planks are physically moving too much. It’s also why I always warn against the tapping block mistake that breaks vinyl tongues; forcing a fit over an uneven spot is a recipe for disaster.
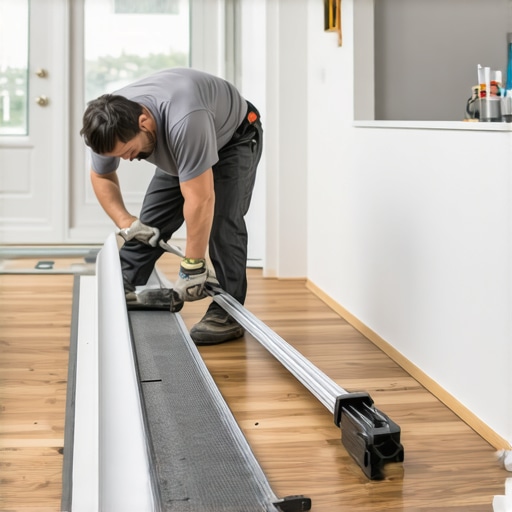
Can you really skip the power stretcher for a small bedroom?
This is the hill many DIYers choose to die on, and it’s a mistake. The common belief is that a knee kicker is enough for a 10×12 room. It isn’t. Professional standards, like those from the Carpet and Rug Institute, mandate a power stretcher for every installation, regardless of room size. A knee kicker is for positioning; a power stretcher is for tension. If you skip it, you are almost guaranteed to see ripples within 24 months. I’ve fixed countless ‘carpet bubbles’ that were simply caused by the knee kicker mistake that ruins new carpet. You need that perimeter tension to keep the backing stable under foot traffic. Have you ever fallen into this trap and had to rent a stretcher six months later? Let me know in the comments.
The Invisible Threat of Concrete Moisture
Another nuance that pros obsess over while DIYers ignore is MVER—Moisture Vapor Emission Rate. Just because a concrete slab ‘looks’ dry doesn’t mean it isn’t exhaling water vapor that will delaminate your glue or mold your carpet pad. Always perform the concrete moisture test that saves your vinyl floor before you even open your boxes of material. If you’re working on a step-by-step flooring installation, this is the most critical ‘invisible’ step. Ignoring this is the ‘oops’ factor that leads to your baseboards peeling or your floor smelling like a damp basement within a year. Precision isn’t just about the cuts you see; it’s about the physics you don’t. Make sure your baseboard trends in 2025 are installed over a foundation that isn’t actively trying to rot them from behind.
If you want that high-end finish to last more than a single season, you have to talk about how materials move. Every house breathes, and your baseboards are right in the line of fire. It is incredibly frustrating when you start to see why your baseboard caulk is cracking and the flex-fill fix is the only way to avoid re-doing the work every single winter. I personally stopped using cheap, rigid painters’ caulk years ago. Now, I only reach for high-performance elastomeric sealants that can stretch up to 25% of their original joint width. It is the difference between a one-year fix and a ten-year solution.
Fight the Expansion with Flexible Fillers
In the world of showers and wet areas, this movement is even more critical. According to the Tile Council of North America (TCNA), specifically their EJ171 guidelines, movement joints are not optional; they are a structural necessity to prevent tile tenting and grout failure. When I am finishing a shower, I never use hard grout in the corners. I use the blue tape secret for professional shower silicone lines every time to ensure those change-of-plane joints can flex without leaking. If you have already noticed issues, you need to decide on shower repairs: when to fix vs replace for longevity before water gets behind the substrate and ruins your framing.
Grab the Hammer That Won’t Mar Your Finish
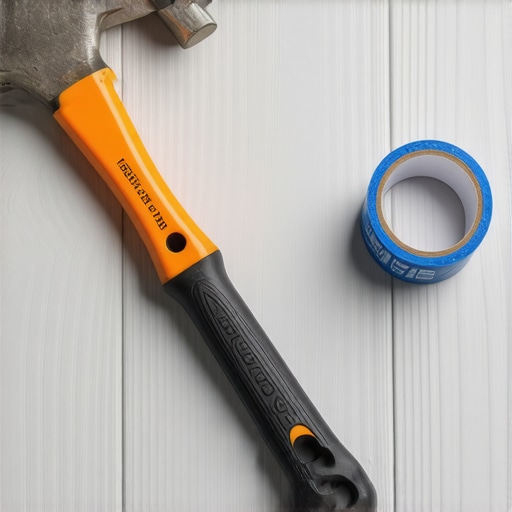
When it comes to the actual install, your choice of impact tool defines the finish. I see people using standard hammers with scrap wood, but that is a recipe for missed swings and dented planks. I swear by a 16-ounce dead blow hammer with a non-marring face. Using the dead blow hammer secret for flat floor seams allows you to deliver a focused, vibration-free strike that seats the locking mechanism of vinyl or laminate without the bounce-back that causes micro-fractures in the tongue. It is a small investment that saves you from those annoying hollow sounds later on. If you are dealing with a particularly stubborn area, you can even use the liquid membrane rule for zero-leak shower niches to ensure that even the smallest tool-related nicks don’t become moisture entry points.
How can I keep my flooring and trim looking new for a decade?
Maintenance is not about deep cleaning once a year; it is about the right tools for the weekly grind. For showers, I always recommend the toothbrush trick for cleaning stubborn shower grout to prevent mineral buildup before it hardens into stone. For floors, stop using steam mops on anything that isn’t solid porcelain; the forced moisture can delaminate even the best luxury vinyl. I predict that within the next few years, we will see a massive shift toward smart moisture-sensing underlayments that can alert your phone if a leak starts under your baseboards. Until then, the best defense is a good offense: high-quality sealants and precision tools. I strongly encourage you to try the blue tape method for your next silicone bead—it is the fastest way to upgrade your DIY results from amateur to artisan. Keep those expansion gaps clear and your joints flexible, and your 2025 remodel will still look pristine in 2035.
Hard Truths from the DIY Trenches
After years of fixing my own mistakes, I’ve realized that the most expensive material in the world won’t save a poorly prepped room. First, never underestimate the power of a vertical cut; if you are struggling with curves, knowing how to install baseboards over a curved wall with this vertical cut hack can save you hours of frustration. Second, remember that a gap doesn’t always mean a redo. You can often learn how to fix baseboard gaps without replacing the trim if you catch the issue early. Finally, your subfloor is the foundation of your success. Ignoring a single high spot or a bit of moisture is the fastest way to turn a weekend project into a decade-long headache. You have to respect the house before it will respect your new floors.
#IMAGE_PLACEHOLDER_E#
The Gear That Never Leaves My Truck
I don’t believe in buying every gadget at the hardware store, but these items are non-negotiable for me. I always keep a high-quality moisture sensor handy because the moisture meter test every flooring pro uses is the only way to be 100% sure your slab is ready. For trim work, the scribing tool every diyer needs for tight baseboards is my go-to for matching uneven floors to expensive wood. I also highly recommend the TCNA (Tile Council of North America) Handbook; it’s the industry bible that keeps me honest on every shower renovation. And for the perfect finish on your corners, mastering the back bevel secret for seamless baseboard corners will make your joints look like they were carved from a single piece of wood.
Your Vision is Worth the Extra Effort
It’s easy to get overwhelmed by the details, but remember why you started this journey. Whether you are aiming for a full baseboards makeover or finally tackling that guest bath, each step you take with precision is an investment in your home’s future. Don’t be afraid of the technical side; embrace it. When you use carpet install secrets or pro flooring techniques, you aren’t just renovating—you are building a space that reflects your standards. Grab your tools, trust the magnets, and go create something you are proud to walk on every day. Have you ever struggled with a wobbly baseboard or a mystery gap that just wouldn’t close? Let me know your biggest DIY hurdle in the comments below!