

The sun was hitting my brand-new oak floors just right—or so I thought until I noticed the hump near the hallway. I’d spent three days on my knees, agonizing over every cut, only to realize I’d made the most amateur mistake in the book. I hadn’t left enough room for the wood to expand. It’s a gut-wrenching feeling to see weeks of work literally rise up against you because you forgot a few plastic shims. If you’ve ever walked across your home and felt a strange bounce or heard a crack like a gunshot in the middle of the night, you’re likely dealing with a floor that’s suffocating.
My Hardwood Floor Literally Waved at Me
When I first started out, I figured tight meant right. I wanted those seams to be invisible, so I hammered them right up against the perimeter walls. I didn’t realize that a thousand-square-foot floor can expand by nearly half an inch depending on the season. Without a consistent gap, that pressure has nowhere to go but up. I ended up having to rip out the perimeter and trim the boards back—a total nightmare that could have been avoided with a simple scrap piece of wood. It’s not just about slapping some boards down; you need to think about flooring installation mistakes to avoid for a seamless look before you even open the first box. I learned the hard way that a professional finish isn’t just about what you see; it’s about the hidden gaps you leave behind. This is where the spacer-block rule comes in. It’s the difference between a floor that lasts fifty years and one that fails in five.
Is a tiny gap really going to save your investment?
You might be thinking that a gap will look ugly or that the baseboard isn’t wide enough to hide your mistakes. I get the skepticism. It feels counterintuitive to leave holes in your work. But here’s the reality: those gaps are your floor’s insurance policy. According to the National Wood Flooring Association, wood is hygroscopic, meaning it constantly gains and loses moisture to reach an equilibrium with its environment. If you don’t account for this, the physical force of expanding wood is strong enough to buckle subfloors or even push out drywall.
Why Your Floor Needs Room to Breathe
Every plank of hardwood is like a sponge. In the humid summer, it swells; in the dry winter, it shrinks. To keep everything flat, you need a uniform expansion space around the entire perimeter—usually about 1/2 to 3/4 of an inch. Using a consistent spacer block ensures you aren’t guessing. I used to use random scraps of cardboard, which was a disaster because they’d compress. Now, I use dedicated blocks or even the the moisture meter test every flooring pro uses to gauge exactly how much movement to expect. I also found that getting the gap right is only half the battle; you also have to master the under-cut move for fitting flooring perfectly under door casings so the expansion space continues even where the wall ends. Have you ever noticed your floor lifting near a doorway or a wall? Tell me in the comments—I’ve likely been there and fixed it. Next, we’re going to dive into how to build your own spacer kit and exactly where to place them to ensure a perfectly flat finish.
Build Your Own Reliable Spacer Kit
You can buy those flimsy plastic spacers from the big-box stores, but they often slip or tip over the second you tap a plank into place. I once tried to eyeball the gap in a small living room using just my thumb as a guide. By the time I reached the far wall, the whole floor was crooked and the expansion space had vanished entirely. I had to kick the whole floating assembly back and start over. Now, I cut my own blocks from 1/2-inch plywood scraps. They are heavy enough to stay put and won’t compress when you’re wrestling with a stubborn board. If you’re working with thinner materials, you can follow the penny gap rule for installing laminate near drywall to ensure you aren’t choking the floor. Place a spacer every 12 inches along the starting wall. This creates a rock-solid foundation so your first row doesn’t shift when you start hammering row three. 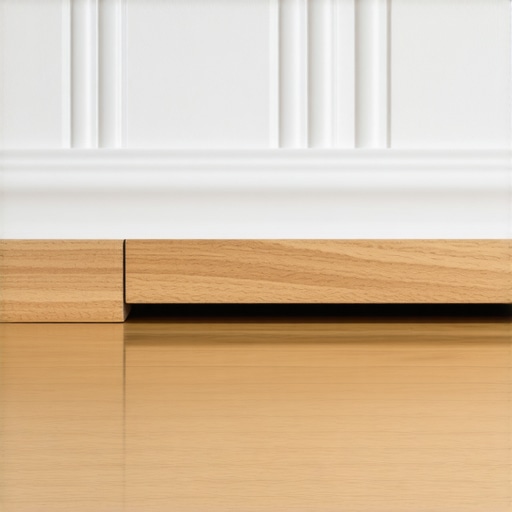
Cut Your Door Casings the Right Way
The biggest mistake I see DIYers make is trying to cut the wood to fit around a door frame. It looks terrible and leaves no room for movement. You need to undercut the casing so the floor can slide right underneath it. I use a scrap piece of the flooring and a pull saw to get the height perfect. This keeps the expansion gap continuous through the doorway. It is an essential part of a step-by-step flooring installation from planning to perfect finish. If you skip this, the floor will bind at the door, and that’s exactly where you’ll see the first signs of peaking. I always use the under-cut move for fitting flooring perfectly under door casings to make sure the transition looks like a pro did it.
Lock the Joints Without Breaking the Tongues
When you’re joining planks, it’s tempting to just whale on them with a hammer. Don’t do it. You’ll snap the delicate locking tongue and then the joint will never stay tight. I always use a dedicated tapping block and a dead blow hammer. The block distributes the force across the entire edge of the board, while the hammer provides a non-rebound strike that seats the plank firmly. I’ve learned that the dead-blow hammer secret for flat floor seams is the only way to avoid those annoying 1mm gaps that show up six months later. Also, be careful with your tools; the tapping block mistake that breaks vinyl tongues is usually caused by holding the block at an angle rather than flush against the board.
Anchor Your Baseboards to the Walls Only
Once the floor is down, the baseboards hide those ugly expansion gaps. But here is the golden rule: never nail the baseboard into the floor. If you do, you’ve just locked the floor in place, defeating the purpose of the gap. The floor needs to slide freely under the trim as it expands and contracts. Nail the trim into the wall studs instead. I use the magnet hack for finding wall studs behind thick baseboards to make sure every nail hits home. If you’re dealing with outside corners, remember that the 45-degree trick for perfect baseboard outside corners will keep your miters tight even if the walls aren’t perfectly square. Finally, make sure you aren’t just hitting the bottom plate of the wall; why you should never nail baseboards into the bottom plate only is a lesson in long-term stability that prevents the trim from pulling away when the house settles.Moving from the walls to the wet areas, let’s talk about the biggest myth in bathroom remodeling. Most DIYers think that a waterproofing membrane is a magic shield that solves everything, but I’ve seen more failed showers with expensive liners than I have old-school lead pans. The biggest myth is that pre-sloped foam pans are the gold standard for every situation. In my experience, nothing beats the mud bed secret for rock-solid shower floors. A hand-packed mortar bed allows you to compensate for subfloors that aren’t perfectly level, which is almost every subfloor in existence. If you rely on a foam tray on an uneven floor, you’re just inviting a crack in your grout six months down the line.
Can a waterproof shower still rot your subfloor?
It happens more than you’d think because people focus on the surface and ignore the drainage path. The Tile Council of North America (TCNA) Handbook states that the mortar bed must be properly sloped underneath the liner, not just on top of it. If you have a flat liner, water sits there, turns into a stagnant swamp, and eventually finds a way out. This is often why your new shower smells like hardboiled eggs. Also, don’t let the trowel size mistake that ruins your shower tile bond be the reason your beautiful marble pops loose. 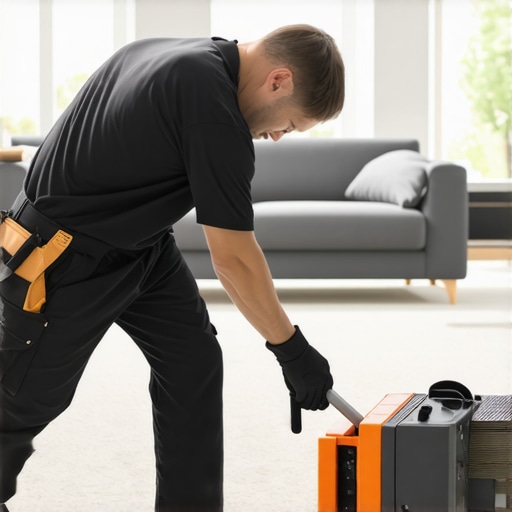
The Truth About Your Carpet Installer
Most people think a professional carpet install just involves a guy with a knee kicker. Here is the contrarian truth: if that’s all they use, they aren’t professionals. According to the Carpet and Rug Institute (CRI) 105 standard, power stretching is mandatory for a warrantied installation. A knee kicker is meant for positioning, not for stretching the whole room. I’ve seen countless homeowners wonder why your carpet is wrinkling two years after install, and 90% of the time, it’s because the installer skipped the power stretcher. It’s the knee kicker mistake that ruins carpet tension and cuts the life of your rug in half.
Tight Miters Are Often a Seasonal Illusion
Finally, let’s talk about the oops factor in finish carpentry. You spend hours getting a perfect 45-degree miter on your baseboards, only for it to open up like a Venus flytrap in the winter. The mistake is assuming walls are 90 degrees and that wood won’t shrink. Instead of a standard miter, I always use the back-bevel secret for seamless baseboard corners. By cutting the back of the board at a steeper angle, you ensure the front face stays tight even when the wood dries out. If you’re already seeing separations, you might need how to fix baseboard gaps without replacing the trim. Have you ever fallen into this trap where your perfect work looked different six months later? Let me know in the comments.One tool I never step onto a job site without is a sharp, two-inch floor scraper. It sounds basic, but when you are dealing with a microscopic bead of adhesive that squeezed out of a tongue-and-groove joint, you will be thankful for the scraper blade fix for dried glue on new hardwood. If you let that glue sit, it becomes a magnet for dirt, and eventually, you’ll have a black line highlighting every single seam in your kitchen. I’ve seen homeowners try to scrub it off with harsh chemicals, but that usually just eats into the finish. A physical scrape at a 45-degree angle is the only way to get it clean without a call to a restoration expert.
Stop Guessing and Start Scribing
For those of you wrestling with baseboards against stone fireplaces or wonky 1920s plaster walls, stop trying to use a tape measure. You need the scribing tool every diyer needs for tight baseboards. It’s essentially a compass that transfers the chaotic profile of your wall directly onto your wood. When I first used one, it felt like I was cheating. My gaps disappeared instantly. I also found that even the best installation needs a little help after the house settles, which is why knowing how to fix baseboard gaps without replacing the trim is a skill that will save you thousands in material costs over the life of your home. 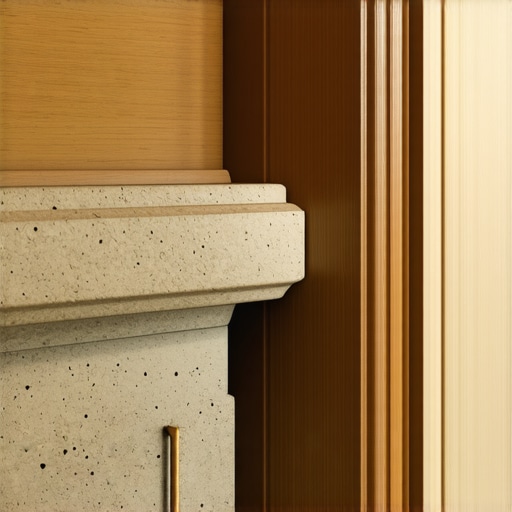
How do I keep my new flooring and shower looking brand new for ten years?
The secret isn’t in the cleaning; it’s in the monitoring. I keep a digital hygrometer in my main living space to ensure my home stays between 35% and 55% humidity. If you drop below that, your wood will shrink and crack; if you go above, it will cup. In the shower, the biggest long-term failure point is the change of plane where the wall meets the floor. I’ve stopped using standard grout in those corners because it always fails. Instead, I use color-matched 100% silicone. This is how we fixed the grout crack in the shower corner for good in my own master bath.
Why Rigid Core and Waterproof Tech are the Future
Looking ahead, I see a massive shift toward high-performance hybrid floors. We are moving away from flimsy laminates and into stone-polymer composites (SPC) that can actually handle a flooded dishwasher. You can see these shifts in the top trends in installation for 2025. The Resilient Floor Covering Institute (RFCI) actually notes that the demand for waterproof, dimensionally stable cores has surpassed traditional hardwood in many urban markets because people want durability without the maintenance. Even with these advancements, your foundation matters. If your installer skips the prep, you’ll still end up with a mess. Always check your substrate because 4 subfloor prep mistakes that make new vinyl planks sound hollow can ruin even the most expensive material. I want you to try the back-bevel technique on your next corner; it’s the single biggest upgrade you can make to your finishing game and will ensure those joints stay tight for a decade.
Hard-Won Truths from My Years on the Knee Pads
After years of fixing my own mistakes and those of others, I’ve realized that even the most expensive materials can’t save a bad foundation. Humidity is your floor’s greatest enemy, and keeping a house stable is more important than the brand of wood you buy. If you ignore the environment, you are just waiting for a disaster. Also, never underestimate the power of a good transition; it’s usually where DIY projects look amateur. I always recommend reviewing a step-by-step flooring installation from planning to perfect finish to ensure you haven’t skipped a mental step before the physical work begins.
- The Humidity Rule: Your home needs to be a stable climate zone before, during, and after installation to prevent cupping.
- Pre-drilling is Key: To stop baseboard splitting with this simple pre-drilling tactic, always take the extra five seconds.
- Silicone Over Grout: Use silicone in change-of-plane corners to avoid the inevitable cracks that happen as houses settle.
#IMAGE_PLACEHOLDER_E#
Tools That Separate Amateurs from Pros
If you want results that look like a magazine spread, you need the right gear. I don’t mean the most expensive tools, but the most effective ones. For showers, I always go back to the mud bed secret for rock-solid shower floors because it gives me control that foam pans simply can’t. For any wood project, a digital hygrometer is non-negotiable to track the moisture in the air. Finally, a high-quality power stretcher is the only way to avoid the embarrassment of wrinkles in your rug later on. These tools are the bridge between a simple DIY job and an expert-level transformation.
Start Your Next Renovation with Confidence
Taking on a remodel is daunting, but you now have the insider secrets to avoid the pitfalls that catch most people off guard. Whether you are deciding on shower repairs when to fix vs replace for longevity or tackling a full living room floor, the key is patience and the right technique. Your home is an investment, and doing the work correctly the first time pays dividends in peace of mind and resale value. Use these expert flooring installation tips for 2025 to guide your next weekend project. You’ve got this.
Have you ever had a “perfect” installation show its flaws a few months later because of a change in weather? Let me know in the comments below!