

I still remember the smell of the new house scent as I finished dragging my favorite mid-century dresser into the guest room. I was so proud of those luxury vinyl planks. They looked like reclaimed oak, felt like a dream underfoot, and I thought I was being the ultimate responsible homeowner by slapping those little rubber discs on the bottom of every furniture leg. Three months later, I decided to rearrange the room. I tilted the dresser back, and my heart sank. Right where the rubber had sat, there were four distinct, brownish-yellow circles etched into the vinyl. It wasn’t dirt. It wasn’t a scuff. The floor was actually discolored from the inside out. I had fallen into one of those classic flooring installation mistakes to avoid for a seamless look before I even got to enjoy the room. Today, I want to save you that heartbreak and explain why felt is the only thing that should touch your LVP.
The Hidden Chemistry That Ruins Vinyl Floors
When I first saw those stains, I thought I could just scrub them away with a little elbow grease. I was wrong. What I was looking at was a chemical reaction called plasticizer migration. Most rubber pads and even some rug backings contain antioxidants and oils designed to keep the rubber flexible. When these sit against the PVC in your luxury vinyl, they literally swap molecules. It’s like a slow-motion chemical burn that leaves a permanent mark. It is why I always emphasize using the right materials in your guide to durable flooring installation for a stylish home. If you want your floors to stay pristine, you have to understand that not all protective pads are created equal. Felt allows the furniture to glide across the surface, whereas rubber grips the floor with a death-stare. On LVP, a floor that is designed to expand and contract, you want your furniture to be able to shift microscopically if the temperature changes. When a heavy sofa is locked to the floor with rubber, it can actually contribute to why your vinyl plank floor is gapping at the short ends because the planks cannot move together as a single unit.
Is This Just an Overblown Concern for Perfectionists?
You might be thinking that it is just a chair leg and wonder how bad it can really be. Trust me, it is not just about the aesthetics. According to the Resilient Floor Covering Institute, certain chemicals found in rubber and latex can cause irreversible yellowing that no cleaner on earth can fix. Unlike a scratch that you can sometimes buff out or a plank you can replace, this discoloration often spreads slightly beyond the point of contact. Felt, on the other hand, is usually made of compressed wool or synthetic fibers that are chemically inert. They do not react with the floor; they just sit there and do their job. I made the mistake of prioritizing grip over protection, and it cost me a section of my flooring. Have you ever noticed weird yellow spots under your area rugs or furniture legs? Drop a comment and let me know. I bet I am not the only one who learned this the hard way. By switching to felt, you are not just preventing scratches; you are preventing a chemical disaster. It is a tiny swap that makes a massive difference in transform your home expert flooring installation tips for 2025.
Swap Your Pads Before the Damage Becomes Permanent
Swapping out your furniture pads is not just about peeling and sticking; it is a tactical rescue mission for your floors. I learned this the hard way when I tried to rush the process on a heavy sectional. I simply slapped new felt over the old, degrading rubber pads. Within forty-eight hours, the felt had slid off, leaving a gooey, sticky mess of adhesive and rubber residue that was even harder to clean. To do this right, you need to completely remove the old pad and use a plastic putty knife to scrape away any lingering adhesive. If you encounter stubborn residue, a tiny drop of mineral spirits on a rag works wonders, but you must wipe it dry immediately to avoid softening the vinyl’s wear layer. This attention to detail is a hallmark of step-by-step flooring installation from planning to perfect finish. Once the surface is clean and dry, apply heavy-duty, dense felt pads that are slightly smaller than the furniture leg so they remain invisible.
Pick the Right Rug Backing to Prevent Yellowing
Many people do not realize that the rug itself is often the culprit. If you are looking into how to choose the right carpet for a cozy living space, remember that area rugs on top of LVP need a non-reactive mesh or a felt pad underneath. Avoid anything labeled ‘non-slip rubber’ or ‘latex-backed’ unless the manufacturer explicitly states it is safe for vinyl. These backings act like a giant rubber stamp, slowly transferring color to your floor through heat and pressure. It is the same reason why 4 subfloor prep mistakes that make new vinyl planks sound hollow matter; the materials touching your floor dictate how it performs long-term. 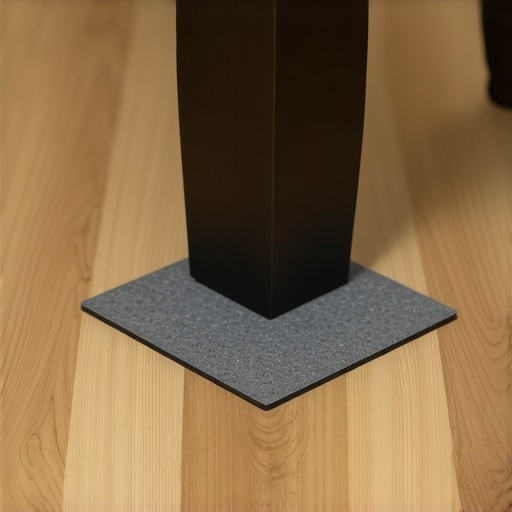
The Right Way to Move Heavy Furniture Without Scratches
Even with felt pads, moving a heavy hutch or a refrigerator requires a specific technique. Think of a grain of sand under a felt pad like a piece of sandpaper on a power sander. If you slide a heavy object across the floor without checking for grit, you will leave a trail of micro-scratches. I always keep a dedicated ‘floor broom’ just for sweeping the path before I move anything. For the truly heavy lifting, use a professional furniture jack to lift the piece just enough to slip a clean towel or a specialized furniture slider underneath. This prevents the ‘clicking’ or ‘popping’ sounds often discussed in why your vinyl plank floors are making a clicking sound.
Protect Your Floors During Other Home Projects
If you are mid-renovation—perhaps focusing on upgrade your bathroom the ultimate shower renovation guide—the traffic in and out of the house can bring in debris that destroys vinyl. Always use a ‘breathable’ floor protection like Ram Board rather than taping plastic sheets directly to the LVP. Taping plastic can trap moisture and heat, leading to the same discoloration issues we see with rubber pads. When working near walls, be mindful of your trim; knowing the pry bar secret for removing baseboards without damaging the drywall can prevent you from dropping tools or heavy wood onto your unprotected planks. Luxury vinyl is tough, but it isn’t invincible. It requires a gentle touch and chemically inert barriers to stay looking like the day it was installed.Beyond the chemistry of furniture pads, there is a physical side to floor longevity that most people—even seasoned DIYers—completely misunderstand. We often talk about “tucking” and “fitting,” but the real nuance lies in tension and movement. Let’s look at carpet first. A common myth is that a knee-kicker is the only tool needed to get a tight fit. Everyone says it is the industry standard for small rooms, but in my experience, relying solely on it is a recipe for disaster in any space larger than a closet. This is the knee-kicker mistake that ruins carpet tension and leads to those ugly ripples three years down the line. According to the Carpet and Rug Institute (CRI) 105 standard, a power stretcher is mandatory for all wall-to-wall installations. If your installer doesn’t bring one out, they aren’t finishing the job properly. It’s the difference between a floor that stays flat and one that bunches up under your feet. It is a critical part of the power stretcher rule for large living room carpets. Have you ever fallen into this trap? Let me know in the comments; I’ve seen it happen in even the highest-end homes.
Why Does Your New Carpet Appear to Change Color?
It isn’t just your imagination or “bad” lighting. The way fibers are oriented during carpet install secrets achieving flawless results every time determines how light reflects off the surface. This phenomenon, known as shading or pooling, is the reason why your carpet looks different colors from different angles. Understanding the “pile direction” is an advanced nuance that pros use to ensure the room looks uniform from the main entry point. 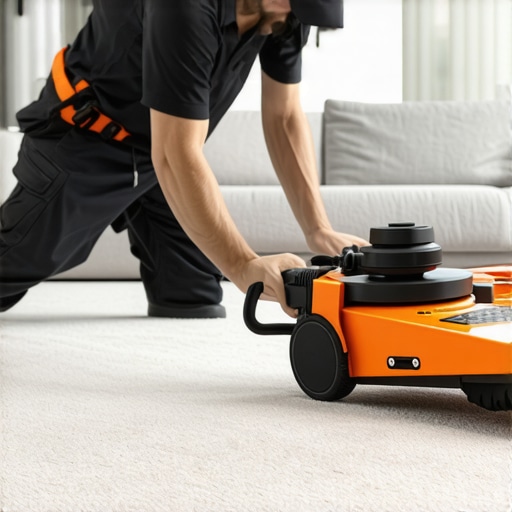
The Baseboard Tension Trap You Need to Avoid
When it comes to finishing the perimeter, there is another subtle mistake that can ruin your new luxury vinyl or laminate installation. People assume that baseboards should be pressed tight against the flooring to create a “seamless” look. However, if you pin the floor down with the weight of the baseboard, you are effectively killing the expansion gap required for the floor to float. This is a massive “oops” factor that leads to buckling in the summer when the house humidity rises. I always recommend using a shim when installing trim to ensure the floor can still move microscopically. If you are dealing with uneven walls, the scribe tool trick for baseboards against stone walls can help you achieve that tight look without applying physical pressure. Also, never forget to pre-drill near the ends of your boards; it is the best way to stop baseboard splitting with this simple pre-drilling tactic. By treating your trim as a separate entity from your floor, you avoid the buckling and gapping that haunts so many DIY projects. It’s these high-level details that separate a “good” floor from a truly professional step-by-step flooring installation from planning to perfect finish.One tool that changed my life on the job site is the oscillating multi-tool. If you are still trying to hand-saw your door jambs, you are working way too hard. I use it for the under-cut move for fitting flooring perfectly under door casings, and it makes the transition from vinyl to wood look like it was carved out of a single block. But even with the best installation, maintenance is what determines if that floor lasts five years or fifty. For my showers, I have moved away from standard cementitious grouts in high-use areas because of the maintenance headache. Instead, I have started leaning into high-performance epoxy grouts. They are much harder to work with—trust me, you have about twenty minutes before they turn into literal rock—but they are virtually waterproof and stain-proof. This is a huge win for shower repairs when to fix vs replace for longevity. If you are building a new one, pay close attention to the curb. There is a reason why your shower curb is always the first part to fail, and it usually comes down to improper sloping or poor waterproofing membranes.
How do I maintain my flooring and shower over time?
Maintenance is not just a spring-cleaning task; it is about the chemistry of the products you use. For LVP and hardwood, I never touch anything that contains wax or oil. These create a ghost film that traps dirt and makes the floor look perpetually hazy. I use a pH-neutral cleaner or a specialized LVP spray. In the shower, the biggest maintenance move you can make is actually the simplest: use a squeegee after every single shower. It prevents mineral buildup that eventually eats through your sealer. According to the Tile Council of North America (TCNA) Handbook, maintaining proper curing times and keeping surfaces dry is the best defense against efflorescence. For carpet, do not just vacuum; use a brush-less suction head on high-pile carpets to avoid fuzzing the fibers. If you have an area with heavy traffic, keep an eye on best carpet types for high traffic areas in 2025 to see if your current choice is up to the task. 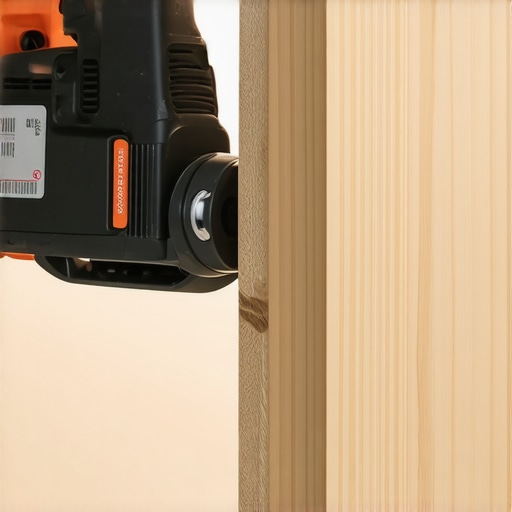 Looking ahead, I see a huge shift toward prefabricated waterproof systems. We are moving away from manual mud beds and toward high-density foam pans that come pre-sloped. It is why the liquid membrane move for fail-proof shower pans is becoming the gold standard for DIYers and pros alike. These systems take the guesswork out of the equation. If you want to level up your game today, I challenge you to try the masking tape method on your next silicone job. Use the blue tape secret for professional shower silicone lines every time and watch your bathroom transform from a DIY project to a magazine spread overnight.
Why Your Floors Will Fail Without This Invisible Prep
If there is one thing a decade of DIY and professional work has taught me, it is that the prettiest floor in the world is only as good as what lies beneath it. I have seen thousands of dollars wasted because someone skipped the simple step of checking for level or moisture. For instance, why we never skip the subfloor moisture test on concrete is a lesson usually learned after the first sign of buckling. Here are a few lightbulb moments I wish I had known from day one:
- Expansion gaps are non-negotiable: No matter how tight you want that seam to look, if you do not leave space for the floor to breathe, it will eventually find its own space by peaking or gapping.
- The subfloor is the foundation of comfort: If you skip the prep, you will likely be searching for how to fix a hollow sound under your vinyl plank floor sooner than you think.
- Texture matters as much as color: When choosing materials, consider how the wear layer feels. A smooth finish shows every speck of dust, while a textured finish hides the daily chaos of a busy home.
- Adhesive is your best friend and worst enemy: In shower installs, using the wrong notch can lead to disaster; the trowel size mistake that ruins your shower tile bond is the primary reason tiles pop off walls.
Gear That Will Save Your Back and Your Budget
You do not need a warehouse full of tools, but you do need the right ones for the job. I personally trust a high-quality oscillating multi-tool for every project. It is the secret weapon for those tricky cuts under door frames. For maintenance, stop reaching for the harsh chemicals. A simple pH-neutral cleaner is the only thing that should touch your LVP or hardwood to prevent that hazy film from building up. If you are updating your trim, looking into baseboard styles that elevate your interior design can help you pick a profile that matches your tool capability—some modern flat profiles are much easier to miter than complex traditional shapes. I also highly recommend the TCNA Handbook for anyone diving into tile; it is the industry bible and has saved me from more than one expensive redo.
Bring Your Dream Home to Life with Confidence
Taking on a home project can feel overwhelming, but remember that every professional started with a single plank or a single tile. The key to a successful flooring installation is patience and a willingness to learn from the small hiccups along the way. You are not just laying down a surface; you are creating the backdrop for your family’s future memories. Whether you are tackling a guest room or a full master bath, focus on the details that provide longevity and comfort. You have the tools and the knowledge now—it is time to get started. Have you ever run into a surprise under your old carpet that completely changed your project plans? Let me know in the comments below!