

I remember the first custom shower I ever tiled like it was yesterday. I spent hours meticulously packing mortar, sweating over a 4-foot level, and feeling incredibly proud of the result. But two weeks later, my client called. “The water just… sits there,” she said. I had to go back, rip out my beautiful tile, and face the music. My “hand-sloped” floor was a series of tiny hills and valleys that defied physics. That’s when I realized that unless you’re a literal wizard with a trowel, the old-school method is a gamble you’re eventually going to lose. Today, we are going to fix that. I’m going to show you why pre-sloped pans are the only way to go if you want a shower that actually works.
Gravity is Not Your Friend in a Flat Shower
Water has a mind of its own. If your floor doesn’t have a perfect 1/4-inch per foot slope toward the drain, that water is staying for dinner. I’ve seen enough “mystery leaks” to know that most of them aren’t actually leaks at all; they’re just stagnant pools rotting the grout from the inside out. When you’re creating a spa-like shower experience, the last thing you want is a puddle at your feet. It’s about more than just comfort; it’s about structural integrity. My early mistake was thinking I could “fix it in the thinset.” Spoiler alert: you can’t. You need a solid, pitched foundation before the first tile even touches the floor.
Does a pre-made pan actually beat a hand-poured bed?
You might think, “I’m a DIYer, I want to do it all myself.” I get it. I used to be a purist too. But the margin for error when mixing mud is razor-thin. If your mix is too dry, it crumbles; too wet, and it shrinks. According to the Tile Council of North America (TCNA), a consistent slope is the single most critical factor for mold prevention and drainage. A pre-sloped pan takes that guesswork out of the equation. You drop it in, thinset it down, and boom—perfect drainage every single time. It’s the difference between a floor that lasts thirty years and one that needs shower repairs by year three. Plus, it eliminates the risk of shower floor tiles popping because the substrate is perfectly flat and stable.
Stop Fighting the Mud and Start Winning the Build
The real beauty of these pans is the speed. I used to spend a whole day just on the dry pack secret for a perfectly sloped shower floor, waiting for it to cure before I could even think about waterproofing. Now? I can have the pan set and be ready for the liquid membrane move in under an hour. It’s not cheating; it’s being smart. Have you ever stepped into a shower and felt that annoying little pool of cold water around your ankles? Let me know if you’ve struggled with a “lazy” drain before—I’d love to hear your horror stories. Using a pre-manufactured slope is the best insurance policy you can buy for your bathroom. We are going to dive into how to choose the right one and get it installed without a single headache.A pre-sloped pan is only as good as the wood or concrete beneath it. If you have a flex in your joists, your tiles will eventually crack. I learned this the hard way on a 1920s farmhouse remodel. We didn’t reinforce a bouncy subfloor before tiling, and the movement was enough to snap the seal around the drain after just six months. Always check for deflection first. If you’re working on a slab, understanding why we never skip the subfloor moisture test on concrete is vital; rising vapor can prevent your mortar from ever truly bonding to the floor.
Dry Fitting Saves Your Sanity and Your Budget
Before any glue or mortar hits the floor, you need to drop that pan in place. Think of it like a dress rehearsal for a play where you can’t afford a single missed cue. You need to ensure the drain hole aligns perfectly with the plumbing. I remember a project where the rough-in was just an inch off-center. If I had spread the mortar first, I would have been in a world of mess trying to adjust. Instead, I used the techniques for how to install a shower drain when the plumbing is off center to correct the stub-out before things got permanent. This is also the time to check your wall clearances. If the pan isn’t square to your studs, your first row of tile will look like a staircase, and no amount of grout will hide that.
Get the Mortar Bed Right Every Time
Many DIYers think the pan just sits on the subfloor like a rug. In reality, it needs a “wet bed” to support the weight of a person without flexing. Installing a shower pan without a solid mortar bed is like building a house on a mattress. I like to use a modified thinset or a light mortar mix. Spread it with a notched trowel—this isn’t the time for the trowel size mistake that ruins your shower tile bond. You want full coverage so there are no air pockets that cause that hollow “clack” sound later. If you find the pan is rocking slightly because the floor isn’t perfectly level, you can use the cardboard trick for leveling a wobbly shower base before the mortar sets. It’s a simple shim method that keeps the pan stable and level while the mortar cures.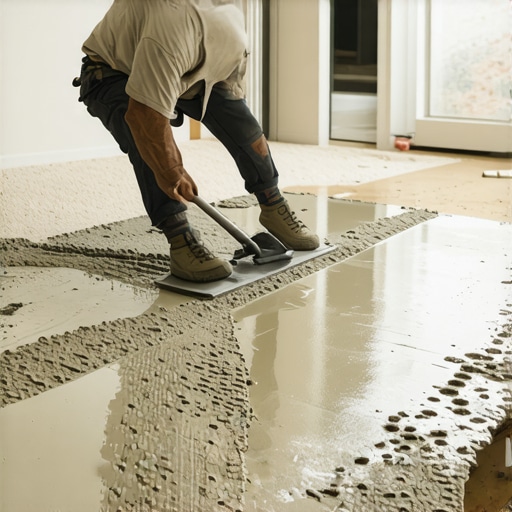
Sealing the Junctions for Total Waterproofing
Once the pan is set and solid, you move to the critical junction: where the floor meets the wall. Most catastrophic leaks happen right here. I always use a high-quality waterproof band or the liquid membrane move for fail-proof shower pans to bridge that gap. Think of this as your secondary insurance policy. If you are also managing a full flooring installation throughout the rest of the bathroom, make sure your transition is flush and protected. If the bathroom connects to a carpeted bedroom, you might need to know how to transition from thick carpet to thin vinyl without a lip to ensure the entire floor system is safe and professional. Every step you take to solidify the base makes the actual tiling process a breeze.Most contractors will tell you that a thick, hand-poured mortar bed is the only ‘real’ way to build a shower. I used to be one of those purists until I realized that in modern construction, rigidity is actually your enemy. Newer homes are built to flex, and a three-inch slab of rigid mud doesn’t like to move. This is the big contrarian secret: a high-density, pre-sloped foam pan is often more durable because it can handle slight structural shifts without snapping your grout lines. When you are looking at flooring installation mistakes to avoid for a seamless look, failing to account for house settling is at the top of the list. A foam pan acts like a shock absorber for your tile.
Will a pre-sloped pan compress under the weight of heavy natural stone?
This is the question I get from homeowners who want that high-end marble look. They worry that a ‘foam’ base will squish. However, technical data from the ANSI A118.10 standards proves that these integrated systems are engineered to support thousands of pounds per square foot once the tile is bonded. The key isn’t the material of the pan itself; it is the bond. If you make the trowel size mistake that ruins your shower tile bond, you’ll get movement regardless of what is underneath. When properly installed, these pans are as solid as a sidewalk but half the weight.
The invisible drain flange trap that stops projects cold
The biggest ‘oops’ factor I see with DIYers—and even some pros—is the drain height. If your drain flange is set too high before the pan goes down, your tile will never sit flush against the grate. You’ll end up with a ‘lip’ that catches hair, soap scum, and toes. I’ve seen people try to fix this by glopping on extra thinset, but that just creates a sponge for moisture. This leads to those expensive shower repairs that could have been avoided with a simple dry fit. Have you ever fallen into this trap? Let me know in the comments. 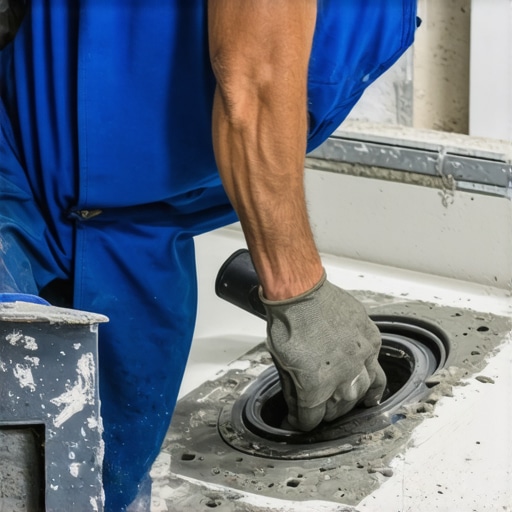
Why substrate prep matters more than the finish
Even the most expensive creating a spa-like shower experience fails if you ignore the subfloor. Just like you would never start carpet install secrets on a floor full of staples and debris, you cannot drop a shower pan onto a dusty, uneven subfloor. If you don’t vacuum every grain of drywall dust, your mortar won’t stick, and you’ll end up needing to know how to fix a hollow sound under your vinyl plank floor—except in a shower, that hollow sound usually means a future leak. Take the extra twenty minutes to clean, prime, and check for level. Your future self will thank you when the water flows perfectly down the drain for the next twenty years.You’ve got the pan set, the tile laid, and the drain flowing like a dream. Now comes the part where most DIY projects lose their ‘custom’ feel: the finishing touches. I’ve seen gorgeous $10,000 tile jobs look like amateur hour because the baseboards were gapped or the transitions felt like a speed bump. When you’re wrapping up a bathroom, your trim is the frame for your masterpiece. If you’re working with uneven walls—which is basically every wall ever built—you need to master the scribe tool trick for baseboards against stone walls or even just standard drywall. It ensures that your trim sits flush against the floor and wall without needing a gallon of caulk to hide the gaps.
How can I make sure my shower stays leak-proof for decades?
The secret isn’t in the tile; it’s in the maintenance of the movement joints. Every corner where a wall meets a floor or another wall needs a flexible sealant. I don’t care how good your grout is; it will eventually crack in the corners. According to technical data from LATICRETE, a leading expert in tile installation systems, cementitious grout is inherently rigid and cannot accommodate the micro-movements of a house settling or thermal expansion. This is why I always use 100% silicone in every change of plane. To make it look like a pro did it, use the blue tape secret for professional shower silicone lines every time. It creates a razor-sharp edge that looks factory-finished. If you chose a natural stone for that luxury look, don’t forget that moisture is the enemy of color. Learn how to seal a marble shower without changing the color to keep that stone from looking ‘muddy’ or water-stained after six months of use.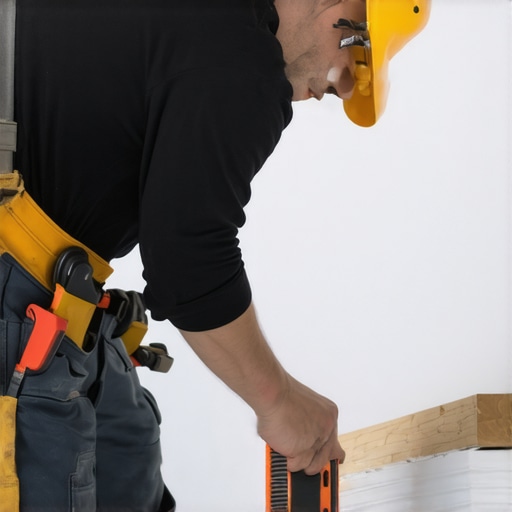
Invest in Tools That Do the Thinking for You
I used to rely on a plastic tape measure and a prayer. Now, I won’t touch a flooring installation without a self-leveling cross-line laser. It’s the only way to ensure your baseboard trends in 2025 actually look straight across a long room. For those of you branching out into other areas of the home, keep your standards just as high. If you’re moving into the bedroom, avoid the knee kicker mistake that ruins luxury carpets by renting a power stretcher. Precision tools don’t make you less of a craftsman; they make you a more consistent one. Looking ahead, I see the industry moving toward even more integrated, modular systems. We are already seeing ultra-thin, large-format porcelain panels that can cover a whole shower wall with a single piece. These systems will require even more precise substrate prep than we do today because there is no grout to hide imperfections. My advice? Start practicing your layout skills now. Grab a scribe tool this weekend and try it on one small section of baseboard. Once you see that perfect, gap-free fit, you’ll never go back to ‘caulk and walk’ again.
The Realities of Modern Shower Building I Learned the Hard Way
After years in the trenches, I’ve realized that the biggest secret to a successful build isn’t actually a secret at all—it’s patience. First, understand that moisture is patient; it will find every pinhole you missed. That’s why I’ve moved away from traditional mud beds in favor of engineered systems. Second, your substrate is the unsung hero. If you don’t take the time to patch a hole in the subfloor before carpeting or tiling, the rest of the project is on shaky ground. Finally, remember that aesthetic issues like why your shower grout looks patchy and uneven in color often trace back to the water-to-thinset ratio or uneven drying times caused by an un-sloped floor. Using a pre-sloped pan eliminates half of these variables instantly.
My Non-Negotiable Tools for a Flawless Finish
If you want results that look like a pro did them, you need to stop guessing. My toolkit always includes a self-leveling laser—it’s the only way to ensure your tile rows don’t drift as they go up the wall. For the finishing trim, I never go without the scribe tool trick for baseboards against stone walls because it creates that seamless look that caulk just cannot replicate. When I’m transitioning to other areas of the home, I make sure to choose the perfect baseboards for your home’s style so the bathroom feels integrated, not isolated. And if you’re managing a power stretcher rule for large living room carpets in an adjacent room, make sure your transition strips are locked down before the carpet is tensioned to prevent any unsightly lips.
Build Your Dream Shower with Confidence
I know the prospect of ripping out a floor and starting over is daunting, but you have the roadmap now. By choosing a pre-sloped system, you are removing the single most common failure point in bathroom remodeling. You are moving from “hoping it drains” to “knowing it works.” This shift in mindset is what turns a DIYer into a true craftsman. Your next flooring installation doesn’t have to be a source of stress; it can be the project that finally gives you the spa-like retreat you deserve. Have you ever dealt with a “mystery puddle” in your current shower that just won’t go away? Let me know your drainage horror stories in the comments below!