

I was walking through my kitchen at 2 AM for a glass of water when I felt it—that sickening, hollow sink followed by a sharp click under my heel. It wasn’t just a noise; it felt like the floor was breathing. If you have spent any time with Luxury Vinyl Plank (LVP), you know exactly what I am talking about. It is that one spot where the subfloor was not quite perfect, and now every step feels like you are walking on a thin crust of ice. I spent years thinking I would have to tear up the whole room just to fix one bouncy joint. [image_placeholder]
Stop Living with That Annoying Floor Click
It is incredibly frustrating. You spend a weekend meticulously following a step-by-step flooring installation, only to have a single joint fail three months later. Most people think their only options are to ignore it or dismantle the entire floor starting from the nearest wall. I am here to tell you there is a third way. Today, I am going to show you how to execute the ‘floating-joint’ fix. This is a surgical approach that addresses the root cause—usually a hollow sound under your vinyl plank floor—without destroying your hard work or your budget.
Can you actually fix one plank without ruining the rest?
I know what you are thinking. You are worried that if you touch one plank, the whole interlocking system will crumble like a house of cards. I had those same fears early in my career. In fact, I made a massive mistake on a job in a small hallway where I tried to ‘bridge’ a gap by pumping it full of construction adhesive. I thought I was being clever. When the summer humidity hit, the floor tried to expand, hit that wall of hardened glue, and literally tented up three inches off the subfloor. It was a disaster. According to Floor Covering News, LVP and similar resilient materials now account for over 50% of the flooring market, yet repair techniques are often misunderstood. The ‘floating-joint’ fix respects the physics of your floor. It allows for the natural movement that prevents gapping at the short ends while providing the structural support needed to stop that clicking. Have you ever felt like your floor is mocking you every time you walk to the fridge? If you have a ‘clicker’ that is driving you crazy, you are in the right place. We are going to stop the noise and keep the floor’s integrity intact.
Pinpoint the Hollow Spot with a Simple Tap
You cannot just start drilling. You need to map the “squish.” I use a heavy glass marble or a golf ball; I roll it across the area and listen for the pitch to drop. A hollow click means there is air between the plank and the subfloor. This often happens if the installer skipped the self-leveler move for perfectly flat vinyl installs. Once you find the epicenter, mark it with a piece of painter’s tape. This prevents the drill bit from skating across your beautiful finish and helps you visualize the boundary of the hollow sound under your vinyl plank floor.
The Drill and Inject Technique
You are going to need a very fine drill bit—1/16-inch is usually the sweet spot—and a high-viscosity floor repair adhesive. I remember a job where I rushed this and used a standard 1/8-bit because I couldn’t find my small kit. I ended up with a hole that looked like a cigarette burn. It was a mess, and I had to spend an hour blending custom wax fillers just to hide my impatience. Now, I always use a depth stop. You only want to penetrate the LVP, not the subfloor itself. If you go too deep, you risk creating a new problem or hitting a vapor barrier, which is a major flooring installation mistake to avoid. 
Injecting Stability Without Compromising Movement
The secret to this fix is using an adhesive that remains slightly flexible. Remember, your floor needs to move. If you use something like epoxy, it will crack the first time the temperature drops or the summer humidity rolls in. I use a specialized pressure-sensitive adhesive. You insert the syringe into the tiny hole and slowly pump the fluid in. You will actually feel the resistance build up as the void fills. I once worked in a small kitchen where the click was so loud it sounded like a metronome. I hadn’t realized the subfloor was actually a double layer of old linoleum. When I injected the adhesive, the chemical reaction with the old glue caused a tiny puff of gas; it was a terrifying moment of “what did I just do?” but after it settled, the bond was rock solid. That is why checking the vapor seal requirement for luxury vinyl is so important before you start any repair.
Weighting the Joint for a Permanent Bond
Once the adhesive is in, you must weight the area. I use 40-pound bags of leveling compound or heavy toolboxes. This forces the plank down into the glue and flattens out any subfloor bumps that are telegraphing through. If you skip the weight, the plank will just “float” on top of the wet glue, and you will have a high spot that is even more annoying than the click was. While the glue sets, check the surrounding area. Sometimes, fixing one spot puts pressure on another, especially if you have gapping at the short ends. Keep an eye on those joints to ensure they stay tight while the repair cures. This process effectively mimics the structural support of a proper subfloor without the need for a full teardown. It turns a weekend-long disaster into a twenty-minute surgical strike that keeps your floor silent.
The Perimeter Gap Myth is Costing You Money
Everyone tells you that a 1/4-inch expansion gap at the walls is the holy grail of a successful install. In my experience, that is only half the battle. You can have the perfect gap, but if you pin the floor down elsewhere, that gap is useless. This is the ‘pinch point’ trap. I see it most often when homeowners install heavy kitchen islands directly on top of their floating floors. According to the North American Laminate Flooring Association (NALFA), a floating floor must be able to move as a single unit; pinning it with several hundred pounds of cabinetry effectively anchors it, leading to the exact joint failure we are trying to fix. If you are planning a remodel, always follow the expansion gap rule for heavy kitchen islands on laminate and LVP to avoid buckling.
Why does your vinyl still click despite a flat subfloor?
This is a question I get from seasoned DIYers all the time. They did everything right: they used the self-leveler move for perfectly flat vinyl installs, yet they still hear that rhythmic tick-tick-tick. The nuance often lies in micro-debris or ‘telegraphing.’ Even a grain of sand trapped in the locking mechanism can prevent the joint from seating fully. This is why I obsess over the vacuum seal trick for cleaning dust out of floor grooves before every single click. If that joint is not 100% clean, you are building a ticking time bomb into your kitchen. 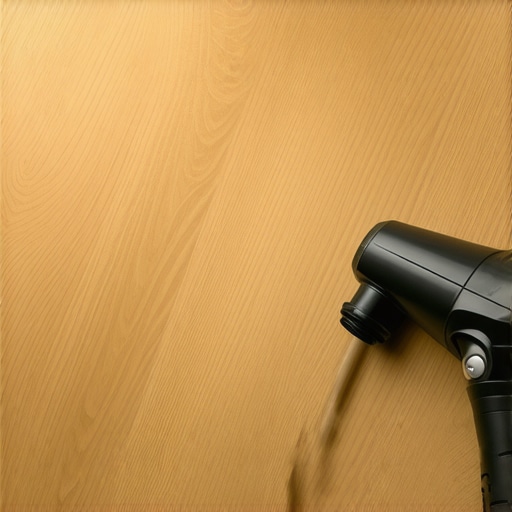
The Moisture Trap Most Professionals Ignore
One of the most dangerous mistakes is assuming a ‘waterproof’ floor means you can ignore the subfloor’s moisture. I once worked on a basement project where the installer skipped the subfloor moisture test on concrete because the LVP was rated as waterproof. Within six months, the hydrostatic pressure from the slab forced moisture into the tiny gaps under the planks, creating a cushion of air that made the floor feel like a trampoline. Always check the moisture meter requirement for basement flooring jobs before you even open a box of planks. Ignoring this is a classic flooring installation mistake to avoid if you want your repair to actually last.
Baseboards and the Hidden Structural Connection
People often treat baseboards as purely decorative, but in a repair scenario, they are your structural safety net. If you nail your baseboards too tightly against the floor, you create another pinch point. I prefer the inside corner cope for perfect baseboard installs because it allows for micro-movements that standard mitered corners just can’t handle. If your floor is already clicking, check if your baseboard is ‘crushing’ the plank’s edge. Sometimes, simply loosening a few nails and following the caulk and paint sequence to hide the shift can stop a click instantly. Have you ever fallen into this trap of pinning your floor down without realizing it? Let me know in the comments if you have ever had to move a baseboard just to let your floor breathe.
The Right Tools are Cheaper Than a Redo
I have a rule in my workshop: if you have to fight the material, you are using the wrong tool. When it comes to finishing a room, people often skimp on the very things that guarantee a professional result. For instance, I never step onto a job site without a high-quality moisture meter. It is not just for the pros; it is your insurance policy. If you are working on a basement, failing to respect the moisture meter requirement for basement flooring jobs is the fastest way to watch your investment warp. For carpet, I stopped relying on a simple knee kicker years ago because it leads to uneven tension. Now, I always follow the power stretcher rule for large living room carpets to ensure the backing is properly seated. It saves your joints and your carpet’s lifespan.
How do I keep my home looking brand new for years?
Maintenance is not about a deep clean once a year; it is about the small, daily habits that prevent micro-damage. For hard surfaces, I am religious about the felt pad routine to stop hardwood scratches. Even a tiny grain of grit under a chair leg can act like a diamond-tipped glass cutter on your finish. In the bathroom, longevity comes down to the seal. I always tell my clients that the pre-seal move for shower grout is the only way to prevent those ugly permanent stains. According to the Tile Council of North America (TCNA) Handbook, grout joints act as the structural shock absorbers of your tile system, and keeping them sealed prevents moisture from undermining the thinset. 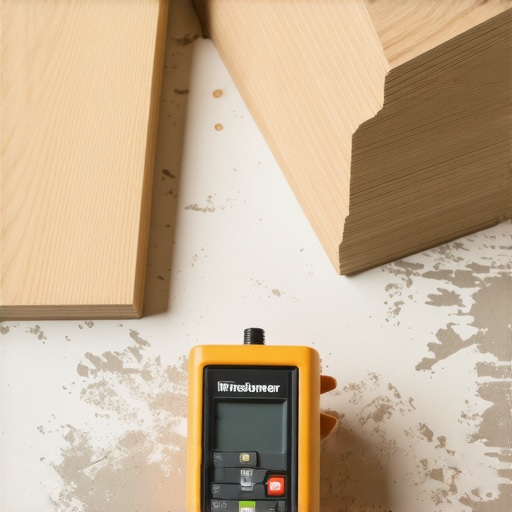
The Future of Smart Flooring and Integrated Design
We are heading into an era where floors do more than just sit there. I am starting to see ‘smart’ subfloors equipped with leak-detection sensors that sync to your phone. Imagine getting a notification that your shower pan has a micro-leak before it ever ruins the ceiling below. Whether you are using the liquid membrane move for fail-proof shower pans or sticking to traditional methods, the integration of technology is making DIY maintenance much more scientific. I predict that within the next five years, we will see self-healing finishes on LVP that react to heat to buff out minor scuffs. For now, my best advice is to stay disciplined. If you just finished a project, try the vacuum seal trick for cleaning dust once a month to keep your joints from clicking. It is a simple habit, but it is the secret to a floor that stays silent and beautiful for a decade.
What Your Vinyl Floor Is Trying to Tell You (And How I Listened)
After years of crawling on my hands and knees, I have realized that a floor isn’t just a surface; it is a moving, breathing system. Here are a few lightbulb moments that changed how I approach repairs:
- The ‘Wait and See’ Trap: Small clicks never stay small. If you hear a tick today, it’s a gap tomorrow. Addressing the issue early prevents the locking mechanism from shearing off completely.
- Cleaning is the Invisible Foundation: I used to think I was clean until I started using the vacuum seal trick for cleaning dust. One microscopic grain of drywall dust can ruin a $5,000 installation.
- Respect the Perimeter: You can’t force a floor into submission. If you don’t follow expert flooring installation tips for 2025 regarding expansion, the floor will find its own way to move—usually by buckling.
- Temperature is Your Master: Never repair a floor that hasn’t acclimated to the room’s ‘lived-in’ temperature for at least 48 hours. If the house is 60 degrees during the fix and 72 degrees when you live in it, the glue will fight the expansion.
The Gear That Keeps My Professional Reputation Intact
If you want to stop that vinyl plank floor from clicking for good, you need more than just a hammer. These are the specific items I keep in my truck:
- Digital Moisture Meter: I never trust my eyes. Using a meter is the only way to satisfy the subfloor moisture test on concrete requirements and protect your warranty.
- Specialized Syringe Kits: Don’t use a standard caulk gun for repairs. Precision syringes allow you to inject adhesive through a 1/16-inch hole that disappears once you apply a little color-matched wax.
- Stay-Sharp Blades: Jagged edges lead to poor joints. I always adhere to the stay-sharp blade rule for cutting luxury vinyl to ensure the factory-edge precision remains intact during any necessary board replacements.
- Heavy-Duty Suction Cups: These are lifesavers for shifting boards back into place without needing to use a pull bar on the edges, which can damage the delicate tongue-and-groove system.
Take Back Your Quiet Home Tonight
You don’t have to live with a house that sounds like a bowl of Rice Krispies. Whether you are dealing with a simple hollow spot or a complex transition where you need to fix a loose carpet transition, the key is patience and the right chemistry. Fixing a vinyl plank floor is an art of subtlety, not brute force. Take your time, trust the adhesive, and remember that every quiet step you take from now on is a testament to your hard work and attention to detail. You’ve got this!
Have you ever found a mysterious ‘click’ that was caused by something other than a hollow spot? Let me know in the comments below!