

I remember the day I decided to finally refresh our guest bedroom. I moved the heavy oak dresser, feeling proud of my progress, only to see it—a jagged, thumb-sized hole right where the spring doorstop had been grinding away for five years. It wasn’t just a dent; the backing was shredded, and the subfloor was peeking through like a mocking eye. I tried to fluff the fibers with a fork, but let’s be honest: you can’t fluff away a missing chunk of material. It’s a common sight in older homes, yet it feels like a personal failure every time you walk past it. Today, I’m going to show you how to erase that ‘crater’ so well that even you will forget where it was.
Fix Your Damaged Carpet Without Calling a Pro
When I first started messing around with flooring, I made the classic mistake of thinking I could just ‘glue’ some loose fibers into the gap. Spoiler alert: it looked like a cat had coughed up a hairball in the corner of my room. To get a truly seamless look, you have to treat it like a mini-installation. This means avoiding the common flooring installation mistakes to avoid that lead to fraying or visible ridges. The secret lies in finding a donor piece of carpet—usually from the back of a closet or under a baseboard—and marrying it to the existing floor. If you’ve ever worried about why your carpet seam looks like a speed bump, it’s usually because of poor cutting or using too much adhesive. We are going to bypass all of that.
Is a DIY patch actually going to be invisible?
I know what you’re thinking: ‘I’m not a professional, so this is going to look like a bad toupee, isn’t it?’ I had the same fear. The truth is, if you follow carpet install secrets like grain mapping and using the right tools, the human eye literally cannot detect the seam. You see, carpet fibers have a specific direction they lean, called the ‘nap.’ If you flip your patch the wrong way, it’ll reflect light differently and stick out like a sore thumb. According to the Carpet and Rug Institute (CRI), carpet can actually help improve indoor air quality by trapping allergens, but maintaining the integrity of the pile through proper repair is essential for the longevity of the floor. My first attempt failed because I ignored the nap, but once I learned how to blend a new carpet patch into an old room, everything changed. Have you ever uncovered a hidden floor disaster after moving furniture? Tell me about your ‘lightbulb moment’ in the comments. Now, let’s grab our utility knives and get to work on that donor piece.
Raiding the Closet for Spare Parts
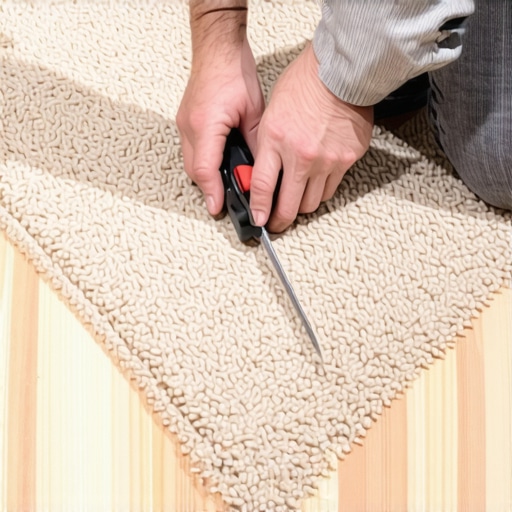
Before you start cutting, you need a donor piece that matches your current floor perfectly. I usually head straight for the back corner of a walk-in closet or the dark space behind a heavy dresser. If you are lucky, you might even find a scrap tucked under a loose section of baseboard from the original installation. I remember a time I tried to use a ‘similar’ piece of carpet I found in the garage for a hallway repair. It looked like a neon sign in the middle of the floor because the dye lots were just slightly off. To avoid this, always pull from the same room if possible. Once you locate your donor site, use a sharp utility knife to cut out a square slightly larger than the damage. This is where you learn how to blend a new carpet patch into an old room by ensuring the wear patterns are at least somewhat comparable.
Use the Double-Cut Technique for a Flawless Match
The secret to a seam that vanishes is geometry. Instead of trying to cut a hole in your floor and then ‘fitting’ a patch into it like a puzzle piece, you should use the double-cut method for invisible carpet seams. Place your donor piece directly on top of the damaged area. Holding both layers firmly, cut through the donor and the damaged carpet simultaneously. This creates two edges that are identical twins; they will mirror each other’s imperfections perfectly when you swap the pieces. It’s like a magic trick for flooring installation. I once tried to measure and cut separately with a ruler, and I ended up with a 1/8th inch gap that gathered dust like a magnet. Never again. Use the double-cut and let the blade do the matching for you.
Watch the Grain or Risk a Visual Disaster
Think of carpet fibers like a field of tall grass. If the wind blows it all to the left, and you drop in a patch where the grass leans to the right, it’s going to look dark or light depending on where you stand. This is called the ‘nap.’ Before applying any adhesive, lay your patch in the hole and rotate it 360 degrees while looking at it from across the room. If you ignore this, you’ll end up with a patch that looks like a different color even though it came from the same roll. Following carpet install secrets like grain mapping is what separates a DIY ‘oops’ from a professional-grade finish. I’ve seen homeowners get the cut perfect, only to ruin the look by installing the patch backwards.
Apply Adhesive Without Creating a Speed Bump
Now, let’s talk about the ‘sticky’ part. You need high-quality carpet seam tape or a specialized adhesive disc. My biggest failure early on was using too much liquid glue. It seeped into the fibers and hardened into a crusty ‘Lego’ that hurt to walk on. If you’ve ever wondered why your carpet seam looks like a speed bump, it’s almost always because of an over-application of adhesive or failing to press the edges down flat. Slide the adhesive tape under the edges of the existing carpet, place the patch on top, and use a carpet roller (or even a clean rolling pin) to marry the fibers together. Work the edges with a flathead screwdriver to tuck any stray yarns into the seam for a clean, integrated look.
Once you have that donor piece in hand, it’s tempting to just slap some adhesive down and call it a day. But if you want to elevate your work, you have to look past the surface and understand the physics of the floor.
Stop trusting the pile to hide your subfloor
A common myth in the DIY world is that carpet is a ‘forgiving’ material. People assume that because it’s fluffy, it will mask a bumpy or uneven subfloor. In reality, any ridge or dip underneath will eventually manifest as a wear spot on the surface. If you’re patching a hole and notice the subfloor is damaged, you need to address that first. I’ve seen beautiful patches ruined because the installer ignored a crumbling subfloor. This is one of those flooring installation mistakes to avoid if you want your repair to last more than a few months. Always ensure the base is flat and clean before the patch goes down.
Why more glue is actually your worst enemy
Here is a contrarian take: most homeowners use way too much adhesive. They think a ‘thick bond’ equals a permanent fix. In my experience, excessive glue creates a hard, non-porous ‘puck’ under the carpet that doesn’t move with the rest of the floor. This leads to the ‘speed bump’ effect where the patch sits higher than the surrounding area. If you’ve ever wondered why your carpet seam looks like a speed bump, look at the amount of glue used. You only need enough to bond the primary and secondary backings—nothing more.
Will your patch survive the high-traffic hallway test?
This is the question I get most often from readers who are worried about their repair falling apart under heavy foot traffic. The key isn’t the glue; it’s the seal. According to the IICRC (Institute of Inspection Cleaning and Restoration Certification) S100 standard, failing to seal the cut edges of a carpet is the leading cause of seam failure and fraying over time. You must use a specialized edge sealer to prevent the yarns from ‘blooming’ or unraveling at the join. If you are working in a busy area, it helps to understand the best carpet types for high-traffic areas in 2025 to see how different piles react to long-term repair.
The hidden danger of the high-heat iron
If you are using a seam iron, the ‘hotter is better’ mentality will destroy your project. Each carpet fiber has a specific melting point. If you set the iron too high, you can actually singe the fibers or melt the synthetic backing, turning your patch into a plastic mess. Mastering the iron temperature secret for flat carpet seams is what separates the pros from the amateurs. You want just enough heat to liquefy the tape’s adhesive, not enough to cook the carpet. 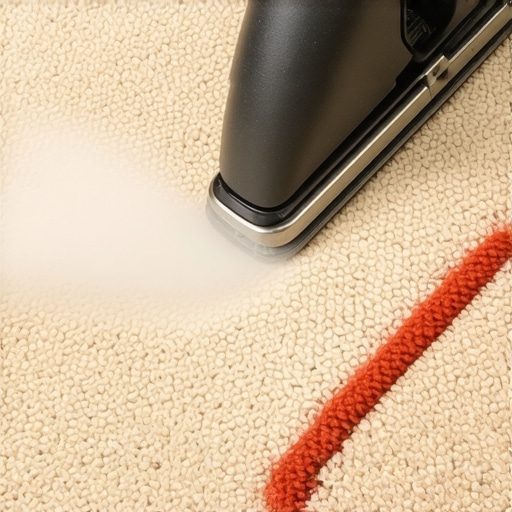 Once the patch is set, don’t forget the finish work. Use the carpet tucker move for clean baseboard edges to ensure everything is tight and seamless against the walls. Have you ever fallen into the trap of using too much glue or accidentally melting your fibers? Let me know in the comments. We’re all here to learn from each other’s ‘oops’ moments.Once you have moved past the fear of melting your fibers, you realize that the ‘handyman’ approach to tools is why most DIY jobs look amateur. I used to think a sharp box cutter was enough, but then I discovered the row separator. If you aren’t using a professional row separator, you are essentially guessing where the ‘valley’ between fibers is. By manually parting the yarns before you cut, you ensure you aren’t decapitating the very fibers meant to hide your seam. It is a tiny detail that makes a massive difference in whether your repair looks like a scar or a shadow. Another non-negotiable for me is a pair of offset duckbill shears. These allow you to trim stray tufts flush with the surface without accidentally gouging the main pile. I have learned that the hard way more times than I care to admit.
Grab the Tools That Actually Save Your Sanity
For larger patches or stretching out ripples, the choice between the power stretcher vs knee kicker debate becomes very real. In my early days, I relied solely on a knee kicker, and my joints paid the price while the carpet eventually sagged again. A power stretcher ensures the tension is uniform across the room, which is vital for preventing your patch from pulling away under pressure. This level of precision is part of the carpet install secrets that pros use to guarantee a repair stays put for years. Don’t forget a star wheel roller either; it is the best way to blend the fibers of the patch with the original floor. 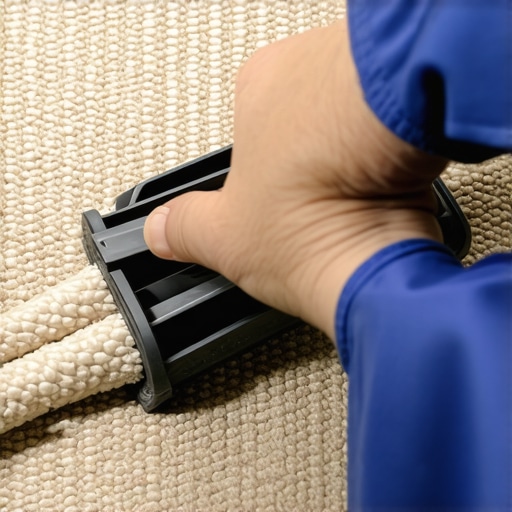
How can I keep my carpet patch from looking old?
Maintenance is where most people drop the ball. Even the most perfect patch will fail if you treat it like a doormat. According to the Carpet and Rug Institute (CRI) 104 Standard for Installation of Residential Carpet, maintaining the structural integrity of the floor requires consistent vacuuming with a high-quality beater bar to prevent grit from acting like sandpaper on the fibers. If you have chosen the best carpet types for high-traffic areas in 2025, your maintenance routine will be easier, but you still need to be vigilant. Avoid high-pH cleaners on your patch, as they can strip the stain-resistant coating and make the patch attract dirt faster than the rest of the room. I also recommend checking the padding underneath; often, the reason a repair looks ‘sunken’ is because you didn’t realize why your carpet pad is crushing down too fast. If the pad is gone, the patch won’t have the support it needs to stay level.
Smarter Fibers are Coming to a Living Room Near You
Looking ahead, the flooring industry is moving toward ‘circularity.’ We are starting to see carpets designed for 100% recyclability, which means the adhesives and backings will be much easier to work with for future repairs. I predict that within the next few years, we will see ‘smart fibers’ that can actually be heat-manipulated to re-bond themselves after a cut. Until then, you have to rely on good old-fashioned technique. If you are dealing with deeper issues like spills that went through the backing, you will need to know how to remove pet odors from deep carpet padding before you seal that patch up for good. My advanced tip for you this week: try using a row separator on a scrap piece today just to see how much cleaner your cuts become—it will change your entire perspective on flooring precision.
Three Mistakes That Almost Ruined My Best Repairs
When I first started fixing floor damage, I assumed the carpet fibers would do all the work for me. I quickly learned that even the most expensive shag won’t hide a lack of technique. One of my biggest lightbulb moments was realizing that edge sealing is non-negotiable. If you don’t seal the cut edges of your patch, the yarns will eventually ‘bloom’ or fray, making the repair visible within months. I also found that checking the support system is vital; if you have wondered why your carpet pad is crushing down too fast, you probably have a localized wear issue that requires a small piece of new padding before the patch goes down. Finally, always double-check the lighting at different times of the day. A patch that looks invisible at noon might cast a shadow at sunset if the grain isn’t perfectly aligned.
Gear That Belongs in Your Flooring Toolkit
To get professional results, you have to stop using generic utility blades for everything. I trust a professional row separator above all else because it allows you to part the fibers and cut the backing without decapitating the yarns. Another essential tool is a pair of offset duckbill shears, which are designed to trim stray tufts flush to the floor without gouging the surrounding pile. For larger areas where the carpet has lost its tension, understanding the power stretcher vs knee kicker debate is crucial. While a knee kicker is great for positioning, only a power stretcher provides the uniform pull needed to prevent the patch from shifting or buckling later. I also recommend a star wheel roller to physically ‘marry’ the patch fibers to the existing floor, ensuring the seam is practically impossible to find.
Bring the Life Back to Your Living Room
Repairing a damaged floor is more than just a home maintenance task; it is about reclaiming a space that felt broken. By mastering these carpet install secrets, you are giving your home a fresh start without the massive expense of a full replacement. Take your time with the double-cut method and keep your adhesive application light to avoid the dreaded ‘puck’ effect. If you have ever wondered why your carpet seam looks like a speed bump, remember that less is almost always more when it comes to glue. You have the knowledge and the tools to execute a flawless flooring installation on a micro-scale. Have you ever tried to patch a carpet and struggled with the grain direction or a visible seam? Let me know your experience in the comments below!