

I stood in my hallway, sweat stinging my eyes, looking at a miter joint that looked more like an open alligator mouth than a professional finish. I had a brand-new miter saw, a sharp blade, and I’d measured three times. Yet, there it was—a gaping, ugly hole at the corner that no amount of wood filler could truly hide. I remember thinking that maybe my house was just cursed, or perhaps I wasn’t cut out for DIY. I eventually reached for the caulk, trying to paint over my sins, but as soon as the house settled, that caulk cracked and looked worse than before. That’s when an old finish carpenter friend of mine laughed at my frustration and showed me the back-cutting secret. It changed everything.
Stop Blaming Your Saw for Those Gaping Corners
Most of us start our trim projects with the same logical, but ultimately flawed, assumption: that our walls are square. They aren’t. Not even close. Between the layers of drywall mud at the corners and the way studs can twist over time, a perfect 90-degree corner is about as common as a unicorn. If you cut two pieces of trim at exactly 45 degrees, they’ll almost always kick out at the front or the back because the wall itself is probably 89 or 91 degrees. Early in my journey, I made the classic mistake of trying to force the wood into place with more nails. All I ended up with was split MDF and a massive headache. I didn’t realize that why your baseboard miters are opening at the top usually has nothing to do with your saw’s calibration and everything to do with how the back of the board interacts with the drywall. When you learn to adjust for the wall’s imperfections rather than fighting them, your results improve instantly.
Is back-cutting really worth the extra time?
You might be thinking, “I just want to get this done. Do I really need to add another step?” The answer is a resounding yes if you want results that look like a pro did them. Back-cutting is the process of angling your saw blade slightly—just a degree or two—so that the very front point of the miter touches first. This creates a hollow space behind the joint, allowing the visible edge to snap together tightly even if the wall is a bit wonky. According to architectural standards frequently cited by organizations like the National Association of Home Builders, drywall corners are rarely ever truly plumb due to the buildup of joint compound, which can add up to 1/8th of an inch of thickness. This buildup is the primary enemy of a tight miter. Whether you are following the latest baseboard trends in 2025 or just trying to refresh a single room, this technique is the bridge between DIY-obvious and expert-level. Before you even pick up the saw, you need to know how to choose the perfect baseboards that can handle these types of precise adjustments. Have you ever finished a room only to realize your corners look like a total mess once the light hits them?
How to Outsmart Your Home’s Wonky Walls
Setting your saw to a crisp 45 degrees is a great starting point for a geometry class, but it’s often a recipe for disaster in trim carpentry. When you’re staring down a corner that won’t close, you aren’t fighting the wood; you’re fighting the buildup of joint compound behind the drywall. Think of it like trying to fit a square peg into a round hole that’s also been slathered in peanut butter. To win, you have to create a ‘relief’ space. This is where back-cutting becomes your best friend. By tilting your miter saw blade just one or two degrees away from the face of the board (a slight bevel), you ensure that only the very front tips of the wood meet. This creates a hollow pocket behind the joint, allowing the visible edges to compress together tightly regardless of how much mud the drywaller slapped on the corner. This approach is essential whether you are wrapping up a step-by-step flooring installation from planning to perfect finish or just upgrading a single hallway.
Lean Into the Cut with a Slight Back-Angle
When I was working on a 1920s bungalow renovation, every single wall looked like a rolling wave. I spent three hours on one room before I realized my ‘perfect’ cuts were the problem. I started beveling the back of my miters, and suddenly, the joints snapped together like magnets. If the corner is wider than 90 degrees, you might also need to know how to cut baseboards around a bullnose corner without gaps, as those rounded edges require a three-piece transition rather than a standard miter. For straight runs, always remember that seasonal shifts will happen; why your baseboard miters keep gapping in the winter is usually due to humidity drops, and back-cutting provides a bit more ‘bite’ to keep those gaps closed even when the wood shrinks slightly. 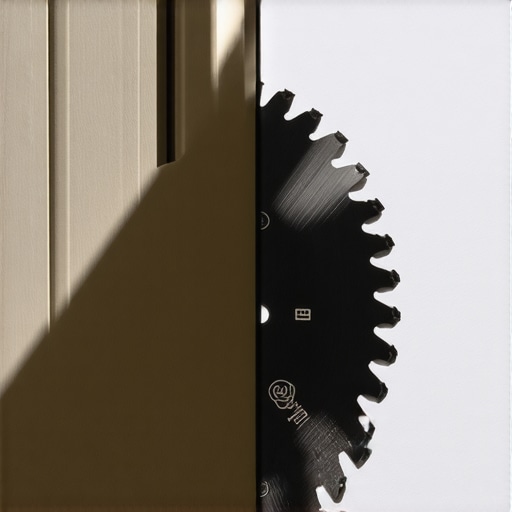
Join Your Boards Before They Even Hit the Wall
One of the biggest mistakes DIYers make is trying to nail the boards to the wall individually and hoping they meet in the middle. The wall is almost always wavy, which pulls the boards apart as you nail. Instead, I’ve learned to ‘pre-assemble’ my miters on the floor. I apply a thin bead of wood glue and then use the hot glue hack for holding baseboard miters while nailing. By using a few dabs of fast-acting hot glue alongside standard wood glue, you can hold the miter in a perfect 90-degree grip for sixty seconds while it sets. Once it’s one solid unit, you can carry it to the wall and nail it as a single piece. If you find the corner is too complex for a miter, don’t be afraid to pivot; the inside cope method for beginners is often more forgiving for inside corners because it allows one board to tuck behind the other.
Manage Long Walls with the Scarf Joint Rule
Don’t let your guard down on the long, straight sections between the corners. If a wall is longer than your longest piece of trim, a simple butt joint will eventually open up and look like a scar. Instead, use the scarf joint rule for long baseboard runs. By overlapping two 45-degree angles in the middle of the wall, you create a mechanical lap joint that is much easier to hide with a bit of sanding and paint. This technique, combined with a back-cut miter at the corners, ensures that every transition in the room looks intentional rather than accidental.While those tight baseboard miters give you that immediate satisfaction, the real disasters often happen where you can’t see them—beneath the surface. Most people think that a floor is ready for tile as long as it looks flat to the naked eye. In reality, flatness is secondary to structural rigidity. I’ve seen beautiful step-by-step flooring installation projects fail within six months because the installer ignored the ‘bounce’ in the floor. The Tile Council of North America (TCNA) specifies a deflection limit of L/360 for ceramic tile, meaning the floor shouldn’t move more than a fraction of an inch under a specific load. If you skip checking this, you’re essentially laying glass over a trampoline. This is exactly why your floor joists need blocking before tile installation; without that extra support, the grout lines will crumble and your expensive tiles will eventually snap under pressure.
The Sealant Trap That Actually Causes Bathroom Rot
Then there’s the common misconception about waterproofing in bathrooms. Logic says that if some caulk is good, a whole tube must be great. But in a shower environment, over-sealing is a silent killer for your framing. If you seal the bottom of a shower door frame or a niche perimeter completely, you might be trapping moisture inside the wall with nowhere to escape. This is a primary reason why your shower niche is growing mold behind the tile—water gets behind the grout (it’s porous, after all) and hits a silicon wall instead of draining back toward the pan. To avoid this, you must follow the soft joint rule for shower wall corners and use 100% silicone strategically, rather than just slathering it on every seam. This subtle ‘weep gap’ is the difference between a 20-year shower and a 2-year teardown.
Why Your Plush Carpet Pad is Ruining Your Installation
The same ‘more is better’ logic often ruins living rooms too. Beginners frequently assume that the thickest, softest carpet pad will feel the most luxurious. However, a pad that exceeds 7/16 of an inch can actually prevent the carpet from properly engaging with the pins on the tack strip. This is why your carpet pad is too thick for the tack-strip issues lead to wrinkles and shifting within months. If you want carpet install secrets that actually work, focus on the density of the pad (measured in pounds) rather than just the height. A high-density 8-pound pad will feel firmer but will support the carpet backing much better than a cheap, airy 12mm foam. 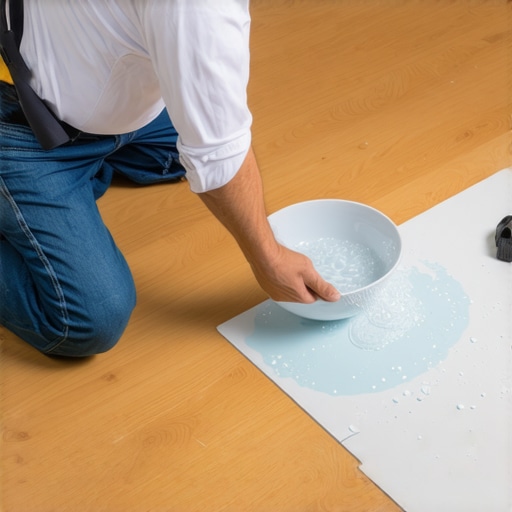
How do I know if my floor is stiff enough for large format tile?
The easiest way to check for deflection without expensive equipment is the ‘bowl of water’ test. Place a full bowl of water in the center of the room and jump nearby. If the water ripples significantly, your subfloor lacks the necessary stiffness for large format porcelain. For wet areas, you can’t just wing the slope either. While many pros use pre-sloped pans, I still swear by the dry-pack method for a level shower base because it allows you to customize the pitch for non-standard drains and ensures a rock-solid foundation. Even if you’ve done everything right, never skip the flood test secret for guaranteed leak-proof showers. Filling that pan for 24 hours is the only way to sleep soundly knowing your subfloor isn’t slowly rotting. Have you ever fallen into the trap of thinking a thicker material was ‘better’ only to have it backfire? Let me know in the comments.
Keep Your Hard Work Looking New for Decades
After you have survived the dust and the stress of the initial install, the game shifts from construction to preservation. I used to think the job was done when the last nail was fired, but the longevity of a floor or a shower depends on the habits you form in the first month. For instance, I have seen stunning matte finishes ruined by aggressive chemicals. That is why I always tell people to follow the microfiber mist rule for cleaning matte floors. It sounds simple, but oversaturating a floor is the quickest way to swell those seams you worked so hard to tighten. Proper maintenance is just as important as the step-by-step flooring installation itself. If you treat your new surfaces like they are indestructible, they will prove you wrong very quickly.
The Precision Tools That Separated My Hacks from My Masterpieces
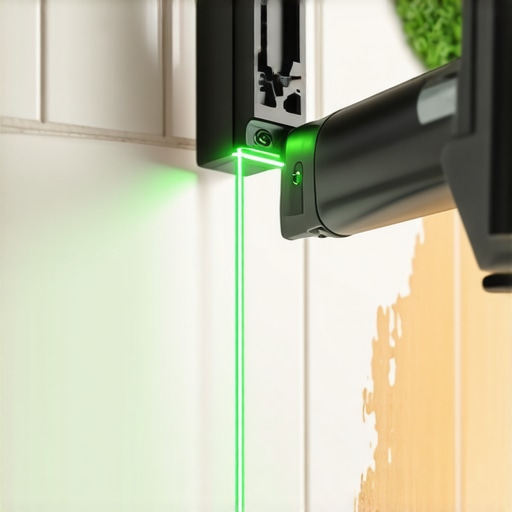
When it comes to the tools that actually saved my sanity, I stopped relying on my ‘good eye’ years ago. I bought a self-leveling cross-line laser, and it was like turning on the lights in a dark room. Using the laser level hack for straight tile rows ensures that if your first row is off by even a hair, you are not fighting a massive slant by the time you reach the ceiling. This level of precision is also vital when you are dealing with why your door jamb undercuts are too high; if you do not use a scrap piece of your actual flooring as a height guide for your oscillating saw, you will end up with an ugly gap that no amount of caulk can fix. I also swear by a high-quality moisture meter. According to technical standards from the National Wood Flooring Association (NWFA), wood flooring should be within 2% to 4% of the subfloor’s moisture content before installation begins to prevent catastrophic warping later.
I predict that in the next few years, we are going to see a massive shift toward digital templating for DIYers. We are already seeing apps that can scan a room and give you exact miter angles for your baseboard trends in 2025, but nothing replaces the tactile feel of a well-calibrated tool. Whether you are looking at top trends in installation for 2025 or sticking to classics, the tools you use define your ceiling for quality.
How do I keep my bathroom and floors from aging prematurely?
The secret is not just cleaning; it is about checking the ‘soft joints.’ Every six months, I inspect the silicone in my shower corners. If it is peeling, I do not just smear more on top. I strip it, clean it with denatured alcohol, and apply a fresh bead. This prevents why your shower niche is growing mold behind the tile. The same applies to your baseboards. If you notice why your caulked baseboards are cracking within weeks, it is usually a sign of seasonal movement. Instead of panic-repairing, wait for the humidity to stabilize. For those working with textiles, I highly recommend learning carpet install secrets to ensure your tension remains consistent as the house settles.
If you are ready to step up your game, I challenge you to try the ‘double-cut’ on your next carpet project. Using the double-cut method for invisible carpet seams is a bit nerve-wracking the first time you do it, but the results make the seam virtually disappear, even in harsh sunlight. This attention to detail is what separates a DIY project from a professional renovation that adds real value to your home.
Lessons Bought with Sweat and Scrapped Lumber
If there is one thing I have learned after years of fighting wonky studs and uneven subfloors, it is that your eyes will always lie to you, but your tools won’t. The biggest lightbulb moment for me was realizing that a perfect measurement on a tape measure means nothing if the wall is bowed. I stopped trying to force the wood to be ‘right’ and started learning the block scribe secret for baseboards on brick walls to handle those impossible textures. Another hard truth? Perfection is rarely found in the first cut; it is found in the ‘relief’ you create behind the scenes, like back-cutting your miters or leaving expansion gaps. Lastly, never underestimate the power of physics. Whether you are dealing with water drainage or carpet tension, fighting nature always leads to failure. Instead, work with the house’s movement.
#IMAGE_PLACE_HOLDER_E#
The Gear That Separates Pros from Weekenders
You don’t need a warehouse full of tools, but you do need the right ones for the ‘invisible’ work. For any tiling project, I never start without checking my layout using the laser level hack for straight tile rows; it saves hours of correction later. When I am finishing up trim, I’ve found that choosing the right sealant is non-negotiable, which is why I live by the painter caulk vs silicone guide for baseboards to ensure my joints don’t crack the first time the house settles. For those of you tackling textiles, keeping a repair kit handy is a life-saver—I’ve used the iron burn repair for small carpet scars more times than I care to admit to fix minor accidents before they became permanent eyesores. I trust these methods because they have survived real-world use, not just a showroom floor.
Step Out of the Hallway and Start Building
The transition from a frustrated DIYer to a confident home renovator doesn’t happen when you buy a better saw; it happens when you decide to stop fearing the mistakes. Whether you are diving into shower renovation ideas for a luxury feel or finally tackling that step-by-step flooring installation you’ve been putting off, remember that every pro started with a gaping miter joint and a tube of caulk. Your home is a canvas that evolves with you. By focusing on the structural integrity beneath the surface and the precision of your transitions, you are building a space that will stay beautiful for decades. Don’t let the fear of a ‘wonky wall’ stop you from creating the home you deserve. Which part of your project is giving you the most trouble right now—the corners, the layout, or those tricky finishing touches? Let me know in the comments below!