

I’ll never forget the feeling of standing in the middle of my half-finished master bathroom three years ago, staring at a pile of gorgeous 24×48 porcelain slabs and then looking down at a standard circular drain sitting smack in the center of the floor. It was a total “oh no” moment. If I went with that old-school drain, I’d have to cut those beautiful tiles into a messy envelope pattern just to get the water to flow. It felt like buying a Ferrari and then putting wooden wheels on it. That was when I discovered the linear drain, and honestly, it changed the way I think about modern shower designs forever. Today, I’m going to pull back the curtain on why this one choice is the difference between a nice bathroom and a high-end spa retreat. We’re going to talk about how to get that perfect slope and why you don’t need to be an architect to pull it off.
Why You Should Ditch the Old Center Drain
For decades, we were stuck with center drains. They work, sure, but they force you to slope the floor from four different angles. This means you’re limited to small tiles or mosaic sheets. If you’ve ever tried to plan a flooring installation only to realize your layout looks like a jigsaw puzzle, you know the frustration. Linear drains change the game by requiring a single-plane slope. You can run your floor tile right into the shower without those awkward diagonal cuts. [image-placeholder]
Is a linear drain actually worth the extra cash?
This is the question I get from neighbors every time they see my remodel. Yes, the hardware costs more than a ten-dollar plastic grate from the hardware store. But you save it in labor and tile waste. Plus, there is no better way to create a spa-like shower experience. I once tried to save money on a guest bath by sticking with a center drain, and I regretted it every time I stepped on those grout lines. Have you ever felt like your design was limited by the plumbing? Let me know, because I’ve been there.
Getting the Foundation Right the First Time
My biggest mistake early on was failing to understand that the drain isn’t just a cap on the pipe. It’s part of the waterproofing system. I once rushed a job and didn’t use the liquid membrane move, leading to a slow leak that I didn’t catch for months. According to the National Kitchen & Bath Association (NKBA), curbless entries and integrated drainage systems have seen a massive rise in demand because they solve both aesthetic and accessibility problems at once. If you want a floor that stays dry and looks sleek, you have to master the dry pack secret for a perfectly sloped shower floor. It’s the unsexy part of the job that makes the final result look like a million bucks.
Get the Drain Placement Right Before the Mud Goes Down
The first thing you need to realize is that a linear drain is essentially a long trough. If that trough isn’t perfectly level from left to right, your tile won’t sit flush against the grate, and you’ll end up with a tripping hazard. I remember a master suite renovation where the original stack was three inches too far from the wall for the linear drain kit I’d bought. Instead of ripping out the whole subfloor, I had to learn how to install a shower drain when the plumbing is off center. It was a stressful afternoon of dry-fitting and measuring twice, but it taught me that the drain body placement is the ‘anchor’ for the entire project. Before you pour a drop of mortar, you must ensure the drain flange is secure and the height is set to account for your tile thickness and thinset.
Why a Single-Plane Slope Saves Your Sanity
Traditional drains require a ‘bowl’ shape, which is a nightmare for large format tiles. With a linear drain, you are creating one flat ramp. Think of it like a wheelchair ramp instead of a funnel. To get this right, you need to master the dry pack secret for a perfectly sloped shower floor. Use a straight edge to screed the mud from the far wall down to the drain. If your screed board isn’t perfectly straight, you’ll get ‘birdbaths’ or low spots where water pools. Last year, I rushed a guest bath and didn’t check my screed board; I ended up with a pool the size of a silver dollar that never fully drained, eventually leading to a nasty grout stain. Take the extra ten minutes to verify that slope is a consistent 1/4-inch per foot.
Stop Water in Its Tracks with a Proper Seal
Once your mortar is hard, the real fun begins with waterproofing. You can’t just slap tile over mud and hope for the best. I always use a combination of pre-formed corners and liquid waterproofing to create a continuous, rubbery skin across the entire floor and up the walls. This is where the liquid membrane move becomes your best friend. Don’t be stingy—apply it until the texture of the mortar is completely hidden. 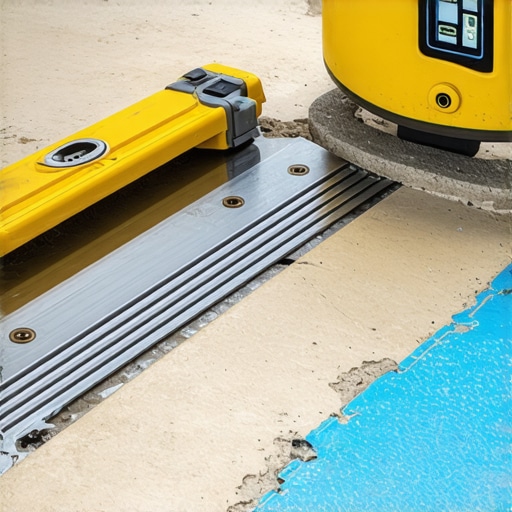
Keep Your Grout Lines Straight from Floor to Wall
The biggest aesthetic advantage of a linear drain is the ability to use the same large tiles on the floor and the walls. To make this look like a high-end hotel, you have to align tile patterns across a shower floor and wall. Start your layout from the drain and work your way out. If you start at the entrance, you might end up with a tiny sliver of tile at the drain that looks like an afterthought. Always use a leveling system to stop tile lippage, especially since large tiles are prone to bowing. There is nothing worse than finishing a beautiful shower only to realize one tile is sitting 1/16th of an inch higher, catching your toe every morning. Before you finish, use the finger test for checking thinset moisture to ensure you aren’t grouting too early. Excess moisture trapped under the tile can lead to patchy grout colors later on.People often think that a shower’s success is all about the tile, but it’s actually about the substrate. Most DIYers (and even some pros) believe that thick-set mortar can fix a wonky floor. It can’t. In fact, relying on thinset to level a floor is the fastest way to invite cracks. If your subfloor isn’t flat to within 1/8 inch over 10 feet, you’re building on a shaky foundation. I’ve seen beautiful porcelain crack because the installer thought they could ‘float’ the tile over a low spot. Don’t fall for it; always use the self-leveler move before you even think about thinset.
The Myth That a Knee-Kicker Is Enough
Most homeowners see installers using that little padded tool you hit with your knee and think that’s all there is to carpet tension. It’s a total myth. If your installer shows up without a 15-foot long power stretcher, ask them to leave. Using a kicker on a large room is the knee-kicker mistake that ruins luxury carpets. The Carpet and Rug Institute (CRI) specifically mandates power stretching in its 104/105 standards because without that mechanical tension, the carpet will eventually relax and develop unsightly ripples.
Why does my expensive carpet look like a wavy ocean after six months?
This usually happens because the primary backing wasn’t tensioned enough to bite into the tack strips. If you want to avoid those tripping hazards, follow the power stretcher rule for large living room carpets. I once saw a $10,000 wool install ruined in a year because the contractor was too lazy to haul the big tool out of the truck. Have you ever fallen into this trap? Let me know in the comments.
The Real Reason Your Baseboards Look Amateur
We’ve all seen it: that ugly gap at the outside corner of a baseboard that’s been stuffed with caulk. Most people think their walls are just ‘crooked.’ While that’s true, the pro secret isn’t just a 45-degree cut; it’s about the back-angle. I swear by the back-cut secret for tight baseboard outside corners. By slightly over-cutting the angle to about 46 degrees, you ensure the front edges touch first, creating a seamless joint even if the wall is out of square. 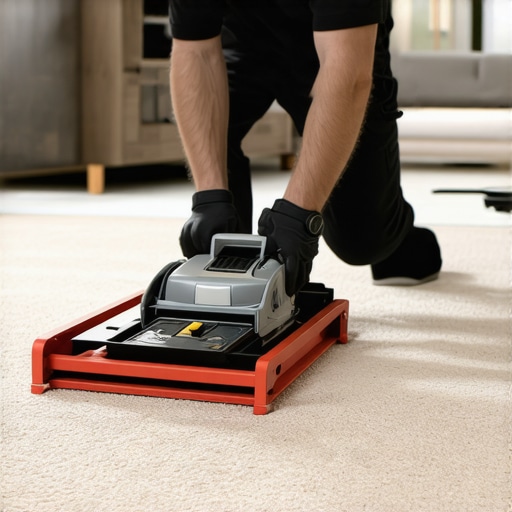
Don’t Ignore the Crunchy Sound Under Your Feet
If you walk across your new floor and hear a distinct ‘crunch,’ you’ve hit the ‘Oops’ factor. Many people think it’s just the floor ‘settling,’ but why your carpet pad feels crunchy under your feet is usually a sign of a failing moisture barrier or trapped debris. I once ignored a slight crunch in a master bedroom only to find out six months later that the installer had left bits of old drywall under the pad, which had eventually pulverized into a gritty mess. This is why flooring installation mistakes to avoid for a seamless look often start with a vacuum, not a hammer. Establishing these nuances separates a DIY job from a professional masterpiece.
Stop Eyeballing Your Cuts with These Essential Tools
That professional finish isn’t just about avoiding mistakes; it’s about owning the right gear for the final 5% of the project. If there is one tool that stays in my bag regardless of the job, it’s my oscillating multi-tool. It is the only way to execute the under-cut move for fitting flooring perfectly under door casings without ruining the trim. I see guys trying to notch the flooring around the casing with a jigsaw, and it looks like a hack job every single time. Instead, lay a scrap piece of your new floor down and use it as a height guide for your blade. This ensures your expansion gap is hidden and the finish is professional. When I’m dealing with uneven masonry or wavy plaster, I rely on the scribe tool trick for baseboards against stone walls. It’s a $10 tool that makes a $10,000 difference in the final look. 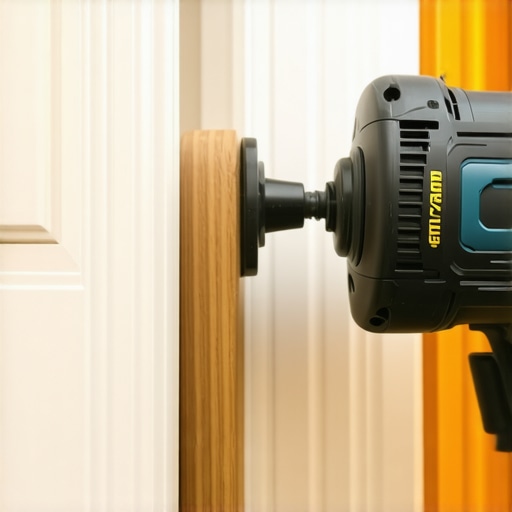
What’s the secret to keeping your floors and showers looking new?
The honeymoon phase with a new bathroom usually ends the first time you see a hairline crack in the corner. Understanding shower repairs and when to fix vs. replace for longevity is critical. I always tell clients: if you see a crack in the corner, don’t just add more grout. We found that how we fixed the grout crack in the shower corner for good involved replacing the grout with a color-matched 100% silicone sealant. Movement happens in every house, and grout simply won’t flex. For the cleanest look, use the blue tape secret for professional shower silicone lines every time. It prevents that smeared, messy caulk look that screams ‘amateur.’
What the future of home renovation looks like
Looking forward, I expect to see a major shift toward antimicrobial and self-healing materials that make cleaning almost obsolete. According to the Tile Council of North America (TCNA) Handbook, the move toward larger thin-tile panels (LHTP) is requiring even more precision in substrate prep. We are already seeing baseboard trends in 2025 leaning toward flush-mount profiles that integrate directly into the drywall. It’s a sleek look, but it leaves zero room for error. If you’re planning a remodel, check out expert flooring installation tips for 2025 to see how tech is changing our layout strategies. My challenge to you: next time you’re installing baseboards against a wonky wall, don’t reach for the caulk first—grab a scribe tool and cut the wood to fit the wall, not the other way around.
Lessons Bought with Sweat and Wasted Materials
Looking back at my first few jobs, I realize I spent way too much time worrying about tile color and not enough about what was happening underneath it. A major lightbulb moment was when I realized that why we never skip the subfloor moisture test on concrete is the difference between a floor that lasts a lifetime and one that peels up in three years. Another hard truth? The curb is the most vulnerable spot in your house. Understanding why your shower curb is always the first part to fail usually points back to moisture wicking through the liner or improper pitch at the junction points. [image-placeholder]
Three Tools That Make a Professional Finish Possible
I tell every homeowner that a cheap project becomes expensive when you use the wrong gear. First, the scribing tool every diyer needs for tight baseboards is non-negotiable for walls that aren’t square; it turns a messy gap into a tight joint that requires zero caulk. Second, for carpet work, a power stretcher is the only way to guarantee your floor won’t ripple in six months. Finally, for any modern drain install, a high-quality 360-degree laser level ensures your single-plane slope is dead accurate across the entire span, preventing those annoying birdbaths.
Build Something That Outlasts the Trends
Tackling a comprehensive shower renovation can feel like a mountain of work, but the result of a perfectly executed flooring installation is a home that feels solid and luxury-grade. Whether you are tucking carpet into a sliding door or setting large-format porcelain, the real pride comes from the precision of the substrate you can’t see once the job is finished. Every cut and every slope is a brick in the foundation of your home’s value. Have you ever run into a subfloor surprise that nearly ruined your project? Let me know in the comments below!