

I stood in my kitchen, coffee in hand, watching a single, rhythmic drop of water fall from my light fixture. My heart sank. I’d spent weeks on my DIY project, but a tiny gap in the corner had turned my masterpiece into a liability. That’s the thing about water—it doesn’t care about your expensive tile; it only looks for the path of least resistance. Usually, that path starts exactly where two walls meet. Today, I’m going to share the simple ‘overlap’ trick that changed how I handle every shower renovation guide project I touch. We are going to ensure your subfloor stays bone-dry for decades, not just until the warranty expires. Have you ever noticed those mysterious damp spots on the ceiling below your bathroom? Tell me in the comments, because I’ve been there too.
Why Water Always Finds a Way Through the Corners
Early in my career, I made the classic rookie mistake of thinking a thick bead of caulk was a substitute for structural waterproofing. I’d butt the membrane sheets together in the corner, slap on some thinset, and call it a day. But corners are high-stress areas; houses settle, and joints move. According to the Insurance Institute for Business & Home Safety, water damage is a leading cause of property loss, and shower leaks are a primary culprit. If you don’t have a continuous, overlapped barrier, that movement will eventually create a pinhole leak. This is especially true if you are dealing with a complex dry pack method for a level shower base where moisture management is critical. Once the water gets past the tile, it hitches a ride on the studs and starts rotting your home from the inside out. This is often why a shower niche grows mold—it’s not a cleaning issue, it’s a failure of the initial seal. To avoid this, you need to master the art of the 2-inch overlap.
Does an Extra Layer Mean My Tile Won’t Sit Flush?
This is the biggest fear I hear from folks starting their first bathroom remodel. They worry that overlapping the waterproofing membrane will create a ‘bump’ that makes the tile look crooked. I used to worry about the same thing until I learned how to mix thinset for the perfect consistency. If your mud is right, that extra millimeter of membrane disappears into the wall. It’s a tiny trade-off for the peace of mind that comes with knowing your bathroom won’t eventually rain into your living room.
Laying Down the First Layer of Protection
To start, you need to think of your waterproofing as a single, unbroken suit of armor. I begin by applying thinset to the bottom six inches of the wall and the first six inches of the floor. When you’re executing a step-by-step flooring installation for a wet area, the order of operations is everything. Use a 3/16-inch V-notch trowel to comb out your mortar. If you haven’t mastered how to mix thinset for the perfect peanut-butter consistency, your membrane won’t bond correctly, and you’ll end up with air pockets. Lay the membrane into the bed and use the flat side of your trowel or a plastic taping knife to ‘squeegee’ the air out from the center toward the edges. You want to see just a little bit of thinset ooze out of the sides—that’s how you know you have 100% coverage.
Fold and Smooth Your Corners Without Creating Bulk
The corner is where the ‘overlap’ magic happens. Instead of cutting the sheet exactly at the corner, you should wrap it around the adjacent wall by at least two inches. Then, your next sheet overlaps that first two-inch flap. It’s like shingles on a roof, but horizontal. If you are aiming for modern designs for a luxury feel, you cannot afford a ‘bump’ in the corner that throws your tile out of plumb. To keep it flat, use the edge of your trowel to firmly crease the membrane into the junction. 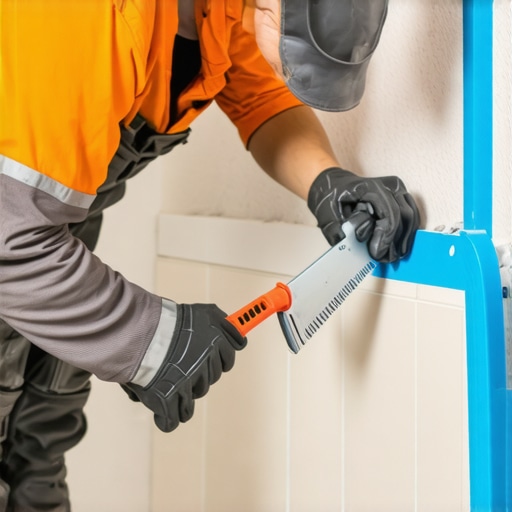
A Quick Lesson from My Biggest Mess
I once worked on a project where the homeowner had tried to do the waterproofing themselves. They’d overlapped the sheets, but they used so much thinset that the corners were thick, rounded mounds. I had to go in with a sharp utility knife, carefully shave down the excess, and re-apply a liquid-applied membrane over the patches to ensure a seal. It was a mess, but it taught me that precision in the fold is just as important as the overlap itself. If you’re worried about bulk, pre-manufactured corner pieces are your best friend. They are thinner than the standard membrane and take the stress out of folding.
Mastering the Soft Joint for Final Movement
Once your membrane is up and your tile is ready to go, remember that the corner shouldn’t be filled with grout. This is a common flooring installation mistake that people carry over into showers. You need to follow the soft joint rule for shower wall corners. This means leaving a small gap—about 1/8th of an inch—and filling it with 100% silicone caulk later. This allows the walls to expand and contract without cracking the seal or the tile. If you skip this, all that hard work with the membrane might be compromised by structural movement.
Prove Your Work With a Flood Test
Before a single tile touches the wall, you must perform the flood test secret for guaranteed leak-proof showers. Plug the drain, fill the base with a few inches of water, and mark the waterline. Come back in 24 hours. If that water level hasn’t budged, you’ve built a fortress. This is especially vital if you have a shower niche growing mold in your old setup; it proves the new system is actually airtight and watertight.
The Power Stretcher is Not Optional
While we are on the subject of precision, let’s talk about the biggest lie in carpet installation: that a knee kicker is enough for a small room. I’ve seen countless DIY installs fail because the homeowner thought that little tool was the end-all-be-all. The Carpet and Rug Institute (CRI) explicitly states in their 105 standard that power stretching is mandatory for every installation to prevent ripples and premature wear. Without it, the backing isn’t tensioned enough to stay flat through seasonal humidity changes. This is a huge part of carpet install secrets that most people overlook until they see those ugly bubbles. If you want that high-end look, you have to master the double cut method for invisible carpet seams, but no amount of seam work can save a loose floor.
Why Do My Baseboard Miters Keep Pulling Apart?
You spend hours getting a perfect 45-degree angle, only for it to look like a canyon six months later. Most people blame their saw, but the real culprit is usually the moisture content of the wood. If you install trim that’s been sitting in a humid garage directly into an air-conditioned living room, it will shrink as it dries out. That’s exactly why your baseboard miters keep gapping in the winter. The trick is to let the material acclimate for at least 72 hours in the room where it will live and use the hot glue hack for holding baseboard miters while you nail them. This creates a mechanical bond that resists the natural movement of the wood. 
The “Oops” Factor of Subfloor Prep
I recently walked onto a job where the homeowner was frustrated that their new luxury vinyl planks were clicking and popping with every step. They had spent a fortune on the material but skipped the subfloor screw routine for stopping floor squeaks. If your subfloor isn’t rock solid and flat within 1/8th of an inch over 10 feet, the locking mechanisms on your planks will eventually snap under the weight of foot traffic. It’s a common flooring installation mistake to think that thick underlayment will hide a lumpy floor. It won’t; it just provides a temporary cushion for a permanent problem. You need a flat, stable surface before you even think about the finish. Have you ever fallen into this trap of skipping the prep work because you were in a hurry? Let me know in the comments.
Stop Guessing with a Quality Laser Level
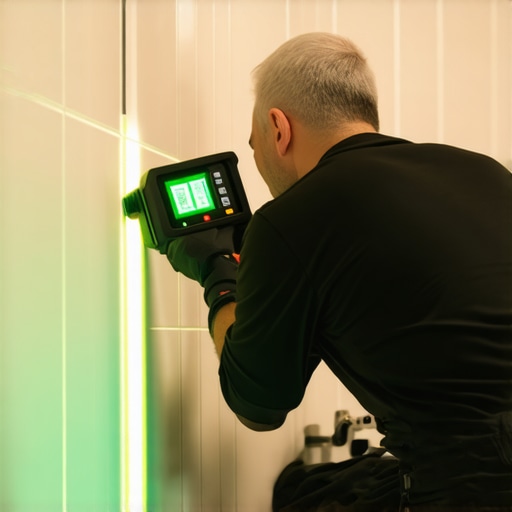
If you’re still relying on a four-foot bubble level to set your first row of tile, you’re playing a dangerous game with gravity. I personally swear by a green-beam cross-line laser. Why? Because red beams disappear the moment you turn on a work light, and bubble levels are only as accurate as the person holding them. When I’m setting up expert tips for modern bathroom makeovers, I need to know that my wrap-around lines meet perfectly at the corner. Using the laser level hack for straight tile rows saves me about two hours of layout frustration on every job. It’s not just about speed; it’s about ensuring that every joint remains consistent from the floor to the ceiling. If your first row is off by even 1/16th of an inch, by the time you reach the shower head, that error will have grown into a glaring mistake. When it comes to carpet, I’ve stopped using a knee-kicker for anything other than positioning. If you want a floor that doesn’t ripple when you move the sofa, you need to execute the power stretcher move to fix loose carpet bubbles from the start. Professional installers who follow the Carpet and Rug Institute (CRI) 105 guidelines know that the mechanical tension provided by a power stretcher is the only way to lock the secondary backing onto the tack strips permanently.
How do I keep my shower looking brand new for years?
Maintenance isn’t just about scrubbing with a brush; it’s about monitoring the structural integrity of your seals. The Tile Council of North America (TCNA) recommends in their Handbook that movement joints be inspected and maintained regularly to prevent moisture intrusion. I tell my clients to check their silicone joints every six months for signs of peeling or cracking. If you see a tiny gap, don’t just squeeze more caulk over it. You need to understand shower repairs: when to fix vs. replace for longevity. A small fix now prevents a full-blown mold remediation later. For the tile itself, stick to pH-neutral cleaners. Harsh acidic chemicals can eat away at your grout sealer, leaving the porous material vulnerable to staining and deep water absorption.
The Move Toward Barrier-Free Living
Looking ahead, the biggest shift I see in top trends in installation for 2025 is the move toward ‘curbless’ or barrier-free entries. This isn’t just for accessibility; it’s a high-end aesthetic that makes small bathrooms feel massive. However, it drastically ups the ante on your waterproofing. You have to be perfect with the linear drain setup for barrier-free showers to ensure the water actually flows to the waste line rather than across your bathroom floor. We’re also seeing a surge in fresh baseboard styles for 2025 that integrate hidden LED lighting channels. It sounds futuristic, but the installation principles remain the same: precision, moisture control, and a rock-solid foundation. According to the ANSI A108.02 standard, your subfloor must be flat within 1/8 inch in 10 feet for these large-format systems to work without lippage. Don’t let a ‘good enough’ subfloor ruin a five-figure renovation. This weekend, I want you to try the blue tape trick for cleaning up silicone beads on a small project. It’s the easiest way to elevate your work from ‘DIY’ to ‘Pro’ in under five minutes.
Hard Truths from a Decade of Demo Days
The first lesson I learned the hard way? Don’t trust a factory edge on baseboards for long runs. I found out through a very expensive callback that using the scarf joint rule for long baseboard runs is the only way to keep a seam from opening up as the house breathes through the seasons. Another lightbulb moment came when I stopped trying to miter inside corners. If you’re struggling with tight fits, mastering the inside cope method for beginners will make your trim look like it was carved out of a single piece of wood, even if your walls are far from square. Finally, never eyeball your stairs. One tiny discrepancy in height is a trip hazard waiting to happen; always use the stair nose alignment trick for even steps to ensure safety and professional symmetry.
The Gear That Makes the Difference
I always keep a physical copy of the TCNA Handbook in my truck; it is the industry bible for tile and waterproofing standards that you simply shouldn’t ignore. For finish work, I don’t start a room without first reviewing how to choose the perfect baseboards for your homes style to ensure the scale of the molding fits the ceiling height. And if I’m doing carpet, my power stretcher is my most essential asset. You can find more on the specific mechanics of this in my carpet install secrets guide. These tools aren’t about buying into luxury; they are about achieving professional-grade reliability that lasts for decades. #IMAGE_PLACE_HOLDER_E#
Build for a Lifetime of Peace
Whether you’re tackling a total shower renovation guide project or just updating your living room, remember that the most beautiful floor is the one you never have to think about again once it’s installed. As you look toward the top trends in installation for 2025, prioritize the structural bones of your home over the surface-level aesthetics. Your future self will thank you for that extra two inches of membrane overlap and the correctly tensioned carpet. Don’t be afraid to slow down and get the prep work perfect; it’s the only way to ensure your hard work stands the test of time. Have you ever discovered a hidden leak or a loose carpet bubble years after a quick-fix? Share your horror stories or big wins in the comments below!