

I remember being on my knees at 2 AM, sweat dripping onto a piece of pre-finished oak, staring at a 1/16th-inch gap that just wouldn’t budge. I had tried kicking it. I had tried swearing at it. Nothing worked. In my frustration, I took my framing hammer directly to the edge of the board. Crack. The delicate tongue snapped like a dry twig, and I was left with a ruined plank and a heavy heart. That was the night I learned that brute force is the enemy of a beautiful floor. It turns out, the secret to a professional finish isn’t more power; it is using a simple scrap of wood—the legendary block—to distribute that force exactly where it needs to go. Today, I want to show you how to avoid my early failures and master the ‘block-and-hammer’ hack for perfectly tight tongue-and-groove joints every single time.
Your Floor Only Looks as Good as its Tightest Joint
When you are deep into a step-by-step flooring installation, it is easy to get impatient. You want the room done, and you want to see the transformation. But those tiny gaps you see now? They won’t stay tiny. Over time, dirt fills them, or the boards shift, and suddenly your high-end project looks like a DIY disaster. If you have been following top trends in installation for 2025, you know that seamless, monolithic looks are in, and gaps are definitely out. The block-and-hammer method is the most reliable way to ensure your boards are seated properly without compromising the integrity of the material.
Will this old-school method actually damage my expensive planks?
I get this question all the time from neighbors who are terrified of ruining their investment. They see me with a hammer and a piece of wood and think I’m being reckless. Honestly, the real danger is not using a block. When you hit a board directly, you concentrate all that energy on a tiny spot, which almost always leads to splintering or crushing. By using a sacrificial block—ideally a scrap piece of the flooring itself—you protect the ‘good’ tongue and spread the impact across a wider surface area. It is actually much safer than relying solely on a pull bar, especially when dealing with stubborn wide-plank hardwoods. According to the National Wood Flooring Association (NWFA), improper impact techniques are a leading cause of localized board failure, which is why professionals rely on intermediate buffers to preserve the factory edge.
Early in my career, I made the mistake of using a block that was too soft, which eventually compressed and stopped being effective. Now, I always use a piece of the actual flooring material so the ‘groove’ of my block fits perfectly over the ‘tongue’ of the floor. It locks in, so there is zero chance of it slipping and marring the surface. Whether you are working on a durable flooring installation for a stylish home or just a small hallway, this one habit will save you hours of frustration. Have you ever felt that sinking feeling when a board just won’t close up, no matter how hard you hit it? Let’s talk about how to fix that properly.
Grab a Scrap Instead of a Store-Bought Block
You don’t need a fancy plastic kit from a big-box store to get this right. In fact, most pros prefer a ‘sacrificial’ piece of the actual flooring you are installing. By using a 6-inch offcut, you ensure the groove of the block perfectly nests with the tongue of the new plank. This 100% surface contact prevents the wood from crushing under the pressure of the hammer. If you are working with softer materials, remember the rubber mallet rule for locking vinyl planks to avoid surface marring, but for hardwood, a standard 16-ounce hammer and a wooden block are your best friends. I once tried to save time on a 400-square-foot living room by just ‘eyeballing’ the taps. By row ten, the boards were so skewed I had to rip up half the floor. Since then, I never move to the next row without my block in hand.
Tapping into Tight Joints Without the Damage
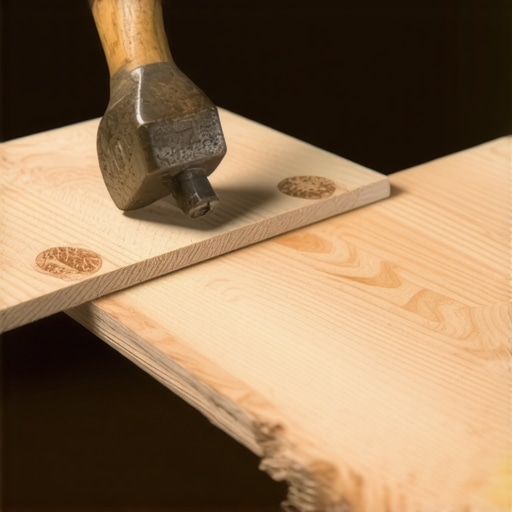
The secret is in the angle and the rhythm. When you set your new plank into the groove of the previous row, it likely won’t sit flush immediately. Don’t panic. Place your tapping block against the tongue side of the plank, centered along its length. Strike the block with short, sharp taps rather than one massive swing. Think of it like a heartbeat—tap-tap, move the block, tap-tap. This moves the board incrementally without jarring it out of alignment. If you notice the board bouncing back, check your subfloor for debris; this is one of the most common flooring installation mistakes to avoid for a seamless look. A clean surface is the only way that tongue and groove will ever truly shake hands.
When the Hammer Won’t Fit Against the Wall
Eventually, you are going to run out of swinging room. When you hit that final row against the baseboards, your hammer becomes useless because there is no space to strike the block. This is where the pull bar comes into play. It acts as a long-distance extension for your hammer’s energy. Even here, the principle of the block applies; I often slip a thin shim between the pull bar and the wall to protect my drywall. While you are working this close to the edge, don’t forget the penny gap rule for hardwood expansion space. If you hammer those boards too tight against the framing, the first humid day will turn your floor into a wooden mountain range. To keep everything stable, make sure you know how to stagger vinyl plank ends for maximum strength, ensuring your joints are at least 6 to 8 inches apart from row to row.
The Multi-Directional Tap for Stubborn Planks
Sometimes a board is slightly bowed, and it refuses to close on one end. I remember a particularly stubborn piece of Brazilian Cherry that fought me for twenty minutes. I realized I was only hitting the long edge. The trick is to alternate your focus. Give the ‘butt end’ (the short side) a quick tap to seat it, then work your way down the long edge. This ‘L-shaped’ tapping sequence forces the board to settle into its home without putting too much stress on a single corner. It is the same precision you’d use when learning the inside cope method for beginners—it’s about finesse and fitting the pieces together like a puzzle, not forcing them with a sledgehammer. Always keep a vacuum nearby to suck out any wood dust from the grooves; even a tiny grain of sawdust can prevent a joint from closing completely.
While that block-and-hammer trick solves the immediate problem of gaps, there is a deeper nuance that most DIYers—and even some ‘pros’—completely ignore. We often hear that a subfloor needs to be ‘level.’ This is one of the biggest myths in the industry. In reality, your floor doesn’t necessarily need to be level (perfectly horizontal to the horizon); it needs to be flat. You can install a beautiful hardwood floor on a slight slant in a 100-year-old house and it will last forever, but if that floor has a ‘dip’ or a ‘hump’ of just 1/8th of an inch, your joints will eventually fail. This is why many people wonder why your laminate floor is spongy in the corners even after they followed every instruction on the box. The issue isn’t the plank; it’s the topography beneath it.
Why Level Doesn’t Actually Matter for Your New Floor
The distinction between flat and level is the hallmark of an expert installer. If you are aiming for a step-by-step flooring installation that survives the decade, you need to stop obsessing over the bubble in your spirit level and start using a 10-foot straight edge. Any deviation greater than 3/16″ over a 10-foot span is a recipe for disaster. According to the National Wood Flooring Association (NWFA) Technical Publication A100, subfloor flatness is the single most critical factor in preventing mechanical noise and joint separation. When a board spans a dip, it ‘deflects’ every time you step on it. That constant movement acts like a crowbar, slowly prying the tongue out of the groove. If you’ve ever wondered why your floor leveler is cracking over plywood, it is usually because the installer didn’t account for this deflection or failed to use a primer.
Should I just keep adding screws until the squeaking stops?
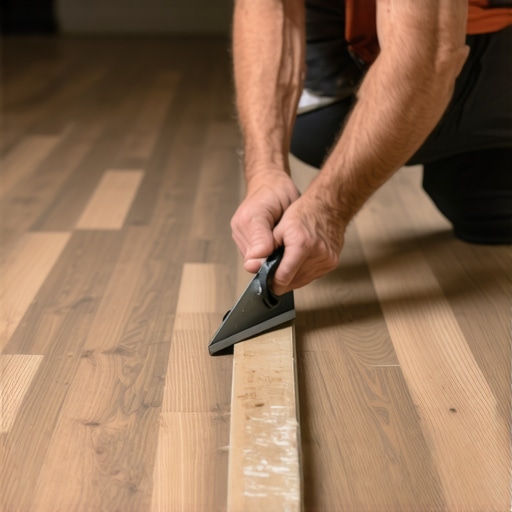
I see people go overboard with the drill, thinking that fifty screws will fix a bouncy subfloor. That’s a ‘trap’ that actually weakens the plywood. The ‘Oops’ factor here is ignoring the joists themselves. If the joist is undersized or rotting, no amount of surface screws will create a stable base for top trends in installation for 2025 like heavy large-format tile or thick wide-plank oak. Before you even reach for your tapping block, perform the subfloor screw routine for stopping floor squeaks by hitting the joists directly, but also check for ‘subfloor rub’ where the wood panels meet. A quick pass with a circular saw to create a 1/8-inch gap between subfloor sheets can prevent a lifetime of phantom noises. Have you ever fallen into this trap of thinking the underlayment would hide a bad subfloor? Let me know in the comments. It’s these hidden layers that separate a ‘nice’ floor from a professional masterpiece.
Once the subfloor is flat and the last plank is tapped into place, the real test of a craftsman begins. Most people think the job is over when the floor is down, but that is exactly where the long-term integrity of your home is decided. If you have been following my expert flooring installation tips for 2025, you know that the final 5% of the project—the trim, the seals, and the tension—is what prevents those dreaded ‘one-year-later’ repair calls. I’ve seen beautiful hardwood ruined by a lack of climate control and expensive carpets turn into wavy oceans because the installer was too lazy to use the right equipment. To keep your work looking gallery-ready, you need to transition from construction mode to maintenance mode.
The One Tool That Actually Saved My Sanity
If you told me I could only keep one power tool for the rest of my career, it wouldn’t be my miter saw; it would be my oscillating multi-tool. This surgical little beast is the secret to getting flawless results every time when you are fitting flooring around door casings. Instead of trying to calculate complex notches in your wood, you lay a scrap piece of flooring down and use the tool to undercut the casing perfectly. It allows the floor to slide underneath, creating a professional, seamless look without those ugly gaps. For anyone tackling a subgrade project, I cannot stress enough the importance of the moisture meter requirement for basement flooring jobs. I personally use a pinless Wagner meter because it tells me the truth about the concrete slab before I ever open a box of expensive vinyl. In the next few years, I expect we will see ‘smart’ underlayments with built-in sensors that alert your phone if a leak starts under your floor, but for now, these manual tools are your best defense.
How do I stop my baseboards from looking dated?
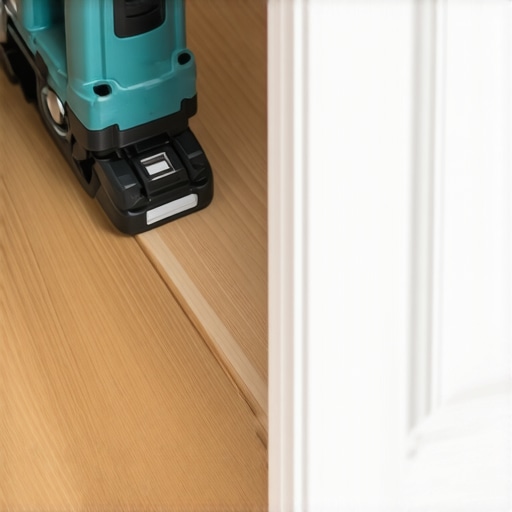
Maintenance starts with the install, and for baseboards, that means paint. I always tell my clients to paint your baseboards before installing. It sounds like extra work, but trying to cut in a brush line against a brand-new floor is a recipe for a headache. Once they are up, the key to longevity is moisture protection. In bathrooms, I swear by the silicon bead secret for waterproofing baseboards. It prevents the MDF from swelling the first time someone steps out of the shower dripping wet. If you notice your miter joints starting to separate during the winter, don’t just shove caulk in there; it will look like a mess. Wait for the humidity to stabilize and use a color-matched wax filler for a repair that moves with the wood.
Why Your Carpet Needs a Serious Stretch
Carpet isn’t a ‘set it and forget it’ material. If you didn’t use a power stretcher during the initial phase, you are going to see ripples within six months. The Carpet and Rug Institute (CRI) 104 Standard for Residential Carpet Installation is very clear: a knee kicker is only for positioning, while a power stretcher is mandatory for every room. I’ve gone back to countless homes to perform the power stretcher move to fix loose carpet bubbles simply because the original installer skipped this step. To keep that tension, avoid heavy steam cleaning which can delaminate the backing; instead, adopt the microfiber mist rule for spot cleaning to keep the fibers resilient without over-saturating the pad. My big challenge to you for your next project: try the blue tape trick for cleaning up silicone beads around your baseboards or shower transitions. It’s a tiny extra step that results in a line so clean your neighbors will swear you hired a high-end contractor.
Hard Truths I Learned the Expensive Way
Over the years, I’ve realized that a professional-grade finish is rarely about the big swings and usually about the tiny adjustments. One major lightbulb moment was realizing that acclimation isn’t a suggestion—it’s a law. If you rush the wood from the truck to the subfloor, no amount of tapping will save you from gaps six months later. Another big one? Dust is the silent killer. A single grain of sawdust trapped in the groove can prevent a board from seating perfectly, which is why I now keep a vacuum running for every single row. Finally, I learned to trust my ears more than my eyes; that deep, solid ‘thunk’ when the board finally seats is the only sound that lets me sleep at night knowing the floor won’t shift.
Tools That Earned Their Keep
If you are serious about getting flawless results every time, you need a kit that supports your skill rather than fighting it. I never start a job without a 16-ounce dead-blow mallet; it delivers the necessary force without the vibration or rebound of a standard framing hammer. For any project involving concrete or sub-grade rooms, I rely heavily on the moisture meter requirement for basement flooring jobs to ensure the slab won’t ruin my hard work. And for those finishing touches around door frames, a high-quality oscillating multi-tool is the only way to get those undercut casings to look factory-perfect. These aren’t just gadgets; they are the difference between a DIY look and a high-end architectural finish.
Take the First Step Toward a Flawless Finish
Installing a floor can feel like a marathon, but there is nothing quite like the feeling of clicking that final plank into place and seeing a perfectly uniform surface. By slowing down, using your sacrificial block, and respecting the flatness of your subfloor, you are doing more than just laying wood—you are building a durable foundation for your home’s interior. You now have the knowledge and the technical hacks to avoid the most common flooring installation mistakes to avoid for a seamless look. Now, grab your hammer and start creating the space you’ve always wanted. Have you ever run into a board that simply refused to seat properly no matter how much you tapped it? Let me know how you handled it in the comments below!