

I still remember the sharp, hollow “click-clack” of my dog’s claws on the first floor I ever installed. I had spent a small fortune on beautiful solid oak, but because I was intimidated by the mess of adhesive, I decided to just nail it down over a thin underlayment. Within six months, that floor sounded like a percussion ensemble in a high school gym. It felt bouncy. It felt cheap. My biggest mistake was underestimating how much the method of attachment dictates the soul of the room. If you are standing in your living room right now, staring at a stack of wood and wondering if those buckets of adhesive are worth the extra sweat, I am here to tell you that they are the secret to a home that feels permanent and high-end. Today, we are going to look at how the glue-down method transforms a simple flooring installation into a masterpiece of stability.
The Solid Thud of a Professional Finish
When you walk across a floor that has been properly bonded to the subfloor, it feels like it is part of the foundation. There is no bounce. No “give.” It is the difference between a high-end custom home and a temporary stage. I learned this the hard way after a DIY project where I skipped the bond, only to have the wood shift every time the humidity spiked. Now, I swear by the urethane glue secret for hardwood on concrete because it provides a moisture barrier and a flexible bond all in one. According to the National Wood Flooring Association (NWFA), adhesive-only or glue-assist methods are significantly more effective at reducing “vertical movement” which is the primary cause of floor noise. If you want that deep, satisfying thud when you walk, you cannot skip the glue. This is especially true if you are trying to avoid flooring installation mistakes that lead to call-backs and creaks.
Is the extra cost and mess actually worth the hype?
I get it. Glue is expensive, and it is a nightmare if it gets on your clothes. But think about the long game. Solid wood is a living material; it breathes, expands, and contracts with the seasons. Without a full bond, you are relying solely on mechanical fasteners, which inevitably loosen over time. I once had a client who refused to glue their wide-plank boards, and by the following winter, the gaps were large enough to swallow a dime. Have you ever walked into a room and felt like the floor was “floating” in a way that felt unstable? I would love to hear your horror stories or your current dilemmas. We are going to ensure your investment stays exactly where you put it, without the annoying squeaks that come from a job half-done.
Stop the Creaks at the Source
Prep is 90% of the battle. If your subfloor is loose, your glue won’t fix the noise; it will just bond to a moving target. I always start with the subfloor screw routine for stopping floor squeaks to ensure the foundation is rigid. Think of the adhesive like a specialized gasket—it fills small voids, but it cannot compensate for a floor that is buckled or uneven. One time, I tried to glue down over a patch of old linoleum that wasn’t fully stuck; by morning, the entire section had lifted like a giant blister because the glue was stronger than the old flooring’s bond to the slab. Scrape it down to the bone.
Never Skip the Moisture Check
Before you even open a bucket of urethane, you need to know what is happening under the surface. I once rushed a basement job in late spring, thinking the slab looked bone dry. Within three weeks, the boards were cupping like taco shells because the concrete was “sweating” moisture into the wood. This is exactly why your concrete subfloor needs a calcium chloride test before you commit to a full spread. It is a cheap insurance policy for your expensive wood investment.
Get the Trowel Angle Right Every Single Time
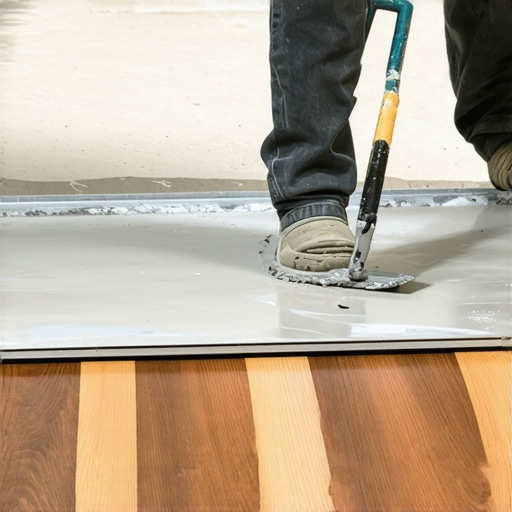
Applying the glue is an art of ridges. If you flatten the trowel, you do not get enough “meat” to create a bond. If you hold it too vertical, you waste product and create puddles that might bleed through the seams. Aim for a consistent 45-degree angle. It is like spreading thick peanut butter—you want those peaks to stand up so they can collapse and spread perfectly when the board is pressed into place.
Don’t Let Your Boards Go for a Swim
One of my biggest messes happened when I started laying boards immediately after spreading a massive section of glue. The adhesive was too “wet,” and as I tapped the planks together, the whole floor started sliding around like a hockey puck on ice. You have to wait for the “flash time”—the moment the glue gets tacky but does not transfer to your finger. When you hit that sweet spot, use the block and hammer hack for tight tongue and groove joints to lock them in without shifting the previous row. It keeps the installation tight and professional.
Give Your Wood Room to Breathe
Even with the strongest bond, wood is going to move. If you jam it tight against the drywall, it will eventually buckle in the center of the room. I follow the penny gap rule for hardwood expansion space to ensure there is enough “wiggle room” hidden under the baseboards. For those extra-wide planks that are so popular right now, I often switch to the glue-assist strategy for wide plank hardwood installs, which combines mechanical fasteners with strategic beads of adhesive for double the security. It is the ultimate belt-and-suspenders approach for a floor that will not budge for decades.
Most people assume that more cushion equals more comfort when it comes to carpet. I’ve seen homeowners insist on the thickest, plushest padding available, thinking they’re turning their bedroom into a cloud. But here’s the contrarian truth: that extra ‘squish’ is often the death of your carpet. When the pad is too soft, the carpet backing flexes too much underfoot, eventually leading to delamination—where the fabric literally pulls away from the backing. The Carpet and Rug Institute (CRI) actually recommends a maximum thickness of 7/16 of an inch for most residential cut-pile carpets to maintain structural integrity. This is exactly why your carpet pad is too thick for the tack strip; it creates a pivot point that pulls the carpet right off the spikes, leading to those annoying ripples. While we’re on the subject of ‘hidden’ failures, let’s talk about the biggest trap in bathroom renos: the belief that tile and grout are waterproof. They aren’t. Grout is naturally porous, and moisture will eventually find its way behind it. If you aren’t using the flood test secret for guaranteed leak-proof showers before a single tile is laid, you’re essentially just hoping for the best. I’ve seen many gorgeous marble stalls torn out because the installer failed to address why your shower bench is leaking into the wall cavity. It’s a massive mistake that could have been avoided with a properly installed waterproofing membrane.
How do you stop your baseboard joints from gapping when the heater kicks on?
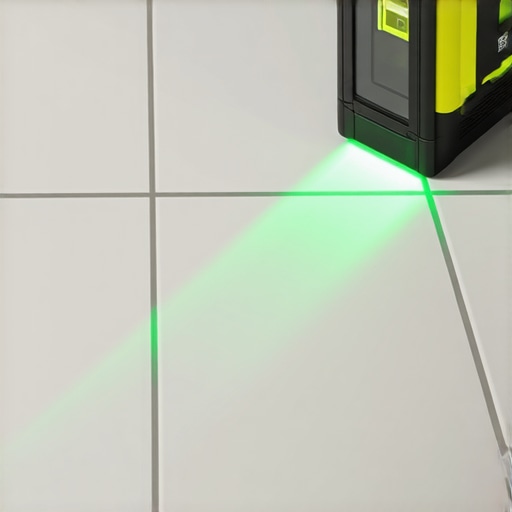
Winter is the absolute enemy of wood. You can spend days getting your miters perfect, but come January, they’ll look like they were cut with a chainsaw if you didn’t account for humidity. The secret isn’t just more wood filler; it’s understanding why your baseboard miters keep gapping in the winter. For long runs, I’ve stopped using simple butt joints entirely. I always follow the scarf joint rule for long baseboard runs because it allows the pieces to overlap and slide against each other slightly without showing a dark, ugly crack. 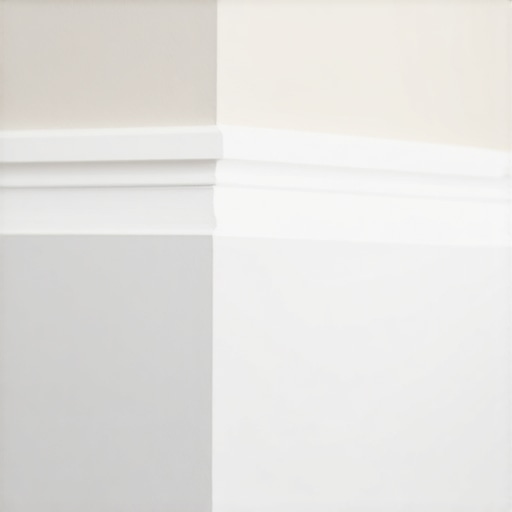 These are the tiny, ‘invisible’ choices that separate a standard flooring installation from a legacy project that lasts decades. Have you ever fallen into this trap or had a ‘pro’ tell you something that turned out to be totally wrong? Let me know in the comments below.I’ve spent years collecting tools, and if there is one thing I’ve learned, it’s that your eyes will deceive you, but a laser level won’t. When I first started, I relied on a bubble level and a prayer. Now, I don’t set a single tile without the laser level hack for straight tile rows. It’s the only way to ensure your grout lines don’t slowly drift into a ‘V’ shape by the time you reach the far wall. The same goes for carpet. If you’re still using a knee kicker for anything other than small closets, your shins—and your carpet—will pay the price. Professionals use the power stretcher move to fix loose carpet bubbles because it provides the tension necessary to prevent those ugly ripples from forming two years down the road. It’s about creating a tensioned system that stays flat regardless of foot traffic.
How do I maintain my flooring investment over time?
Maintenance isn’t just about a weekly vacuum; it’s about chemistry. For example, if you have matte-finish floors, traditional soap-based cleaners are your worst enemy—they leave a waxy film that attracts dust like a magnet. I always recommend the microfiber mist rule for cleaning matte floors to keep that high-end look without the streaks. In the bathroom, it’s about vigilance. According to the Tile Council of North America (TCNA) Handbook, particularly section ANSI A108.5, proper mortar coverage is non-negotiable for longevity. If you start seeing cracks, you need to evaluate shower repairs: when to fix vs replace for longevity before water infiltrates your subfloor. Mixing your mortar correctly is part of this too; always aim for how to mix thinset for the perfect peanut butter consistency to ensure the bond is chemical, not just mechanical.
Smart Floors are Coming Sooner Than You Think
Looking ahead, the ‘set it and forget it’ mentality is shifting toward smarter, more modular systems. I predict we’ll see more flooring with integrated sensors that can detect subfloor moisture before it causes cupping, or even self-healing finishes that react to UV light. We are already seeing huge leaps in waterproof laminate technology that rivals luxury vinyl in durability. If you really want to level up your next project, stop guessing and try using a laser level for your next layout; it will change the way you see your home’s geometry forever.
Hard-Won Truths from a Decade of Dust
After years of working on my hands and knees, I have realized that the most expensive tool in your kit isn’t a specialized saw—it is patience. I used to rush through the final stages, but now I know that speed often leads to structural disaster. For instance, I spent years debating the painter caulk vs silicone guide for baseboards because I realized that using the wrong sealer meant cracks would reappear before I even finished the job. Another lightbulb moment was discovering that air pockets are your silent enemy; if you do not roll your floor or use the correct trowel, you will eventually find out why your vinyl floor is bubbling in one specific spot after the first seasonal heat wave hits. Stability isn’t just about the boards you see; it is about the invisible bond you create with the subfloor below.
The Gear That Actually Earns Its Keep
If you are serious about achieving a professional look that holds up to scrutiny, you need more than just a hammer and a prayer. I never walk onto a job site without a reliable moisture meter. Before you spread a single drop of expensive adhesive, you absolutely must verify why your concrete subfloor needs a calcium chloride test—it is the only way to sleep well at night knowing your floor won’t warp or cup. I also swear by digital layouts for precision. Utilizing the laser level hack for straight tile rows took my work from basic home improvement to architectural quality. Additionally, I always keep a copy of the NWFA guidelines and the TCNA Handbook nearby; these are the industry bibles that prevent expensive rework.
Turn Your House into a Legacy
Every time I finish a room, I take a moment to stand in the doorway and simply feel the floor under my feet. There is a profound sense of pride in knowing that the very foundation of your daily life was built with care and technical precision. Whether you are tackling a small guest bathroom or a massive whole-house remodel, remember that a high-quality flooring installation is an investment in your home’s future value and your own daily comfort. Do not be intimidated by the mess or the learning curve; the mistakes are just part of the craftsmanship. Take it one board, one tile, and one bead of glue at a time. Have you ever had a flooring project turn into a bigger headache than you expected because of a missed prep step? Let me know in the comments below!