

I’ll never forget the sinking feeling—literally—when I realized my brand-new living room carpet felt like a thin sheet of paper over a sidewalk. I had spent weeks picking out the perfect shade of ‘misty morning’ nylon, only to realize I’d made the classic rookie mistake: I bought the cheapest, fluffiest-looking pad I could find. Within months, the main walkway from the couch to the kitchen was a compacted, lifeless trail of matted fibers. It’s a gut-punch when your investment fails because of something you can’t even see. Today, I’m going to pull back the curtain and show you exactly why your carpet pad is surrendering to the pressure and how you can stop the cycle of flat, uncomfortable floors for good.
The Sneaky Culprits Squashing Your Comfort
We often focus so much on the wear rating of the carpet itself that we treat the underlayment as an afterthought. But here is the hard truth I learned the hard way: your pad is the actual shock absorber for your home. When it fails, it’s usually because the density wasn’t matched to your lifestyle. I once thought a thicker pad meant a softer feel, but I actually discovered that why your carpet pad is too thick for the tack strip can cause its own set of mechanical failures during a carpet install. If the pad is too soft, it bottoms out every time you step, causing the cells within the foam to rupture and lose their memory almost instantly.
Does expensive padding actually make a difference?
I get it. You’re already spending thousands on the install and maybe even choosing the perfect baseboards to match. It feels like every upgrade is just another way for the store to reach into your wallet. But let me tell you, skimping here is like putting a Ferrari engine inside a golf cart frame. According to the Carpet and Rug Institute, a quality cushion can actually extend the life of your carpet by up to 50% by absorbing the impact that would otherwise break down the carpet backing. Have you ever noticed a specific spot in your house where the floor feels harder than the rest? Drop a comment below and let me know—I bet it’s a high-traffic pivot point where you turn a corner! To avoid the crush, you need to look at more than just the thickness. It’s about the density weight. A standard 6lb density pad might be fine for a guest bedroom that sees a visitor once a quarter, but for your main stairs or hallway, you really need best carpet types for high traffic areas paired with at least an 8lb density pad. I’ve spent years testing different setups, and I’ve found that the wrong pairing is the leading reason homeowners feel cheated by their new flooring. In the next section, I’ll show you how to test your current pad’s health without ripping up the whole room.
Try the Pinch Test Before You Buy New Flooring
To determine if your current setup is truly failing, you don’t need fancy equipment. Go to a corner of the room, peel back a small section of the carpet, and squeeze the padding between your thumb and forefinger. If you can feel your fingers meeting with almost no resistance, the cellular structure has collapsed. A healthy pad should feel like a firm piece of rubber that fights back against your grip. I remember helping a neighbor, Dave, who insisted his three-year-old pad was ‘fine’ because it was still thick. When we did the pinch test, it flattened like a wet sponge. We realized that while the height was there, the support was gone. This is why carpet install secrets start with the foundation; if you put a fresh carpet over a dead pad, you’re just putting a Band-Aid on a broken bone.
The Heavyweight Champion of High-Traffic Areas
When shopping for new padding, ignore the ‘plushness’ and look for the density rating, usually measured in pounds. For living rooms and hallways, an 8lb density is the gold standard. It provides the necessary counter-pressure to keep the carpet fibers standing upright. If you go too light, the carpet backing rubs against the subfloor, creating heat and friction that causes the fibers to fray from the inside out. Choosing the best carpet types for high traffic areas is only half the battle; you need that 8lb barrier to act as the shock absorber that prevents the ‘crushed’ look in your main walkways.
Master the Tuck on Every Staircase
Stairs are the ultimate test of an installer’s skill and a pad’s durability. Most people make the mistake of using a single long strip of padding that rounds over the nose of the step. This is a recipe for a slip-and-fall hazard once the pad begins to compress. Instead, use the step down method for carpeted stairs. This involves cutting the pad so it stops exactly at the edge of the tread, allowing the carpet to wrap tightly around the nose without a bulky, unstable cushion underneath. It creates a crisp, professional look that holds its shape for a decade rather than a year. 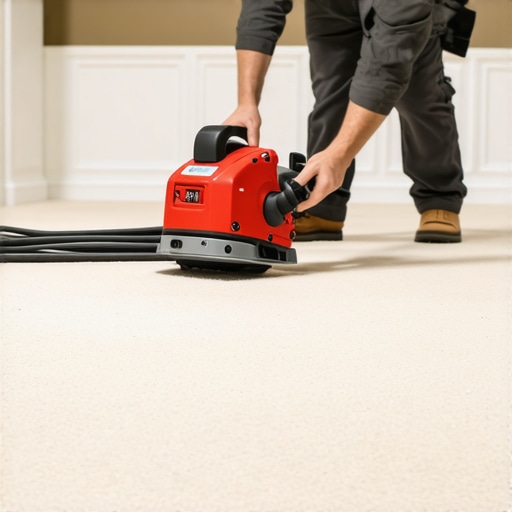
Stop Carpet Ripples Before They Start
If you’ve ever seen ‘waves’ in a carpet, it’s rarely a manufacturing defect. It’s almost always a failure of the stretch. A knee kicker is only for positioning; for a permanent fit, you must use the power stretcher move to fix loose carpet bubbles. This tool uses a long pole to brace against the opposite wall, applying hundreds of pounds of force to pull the carpet taut across the room. This tension is what keeps the carpet from shifting and explains why your carpet is coming loose in the hallway where foot traffic is constant. To finish the job with a high-end look, ensure your seams are invisible by using the double cut method for invisible carpet seams, which ensures the two pieces of carpet overlap and cut simultaneously for a perfect, microscopic fit.While we’re talking about the foundation, let’s dig deeper into the biggest lie in the flooring industry: that self-leveling compound is a ‘pour and forget’ solution. Most people think they can just dump a bucket on a low spot and walk away, but I’ve seen this backfire more times than I can count. In reality, the self-leveler mistake that creates new high spots often happens because the liquid follows surface tension rather than gravity, leaving you with a hump that’s harder to fix than the original dip. If you’re aiming for a step-by-step flooring installation from planning to perfect finish, you have to treat the subfloor like a surgical site. Have you ever fallen into the ‘it looks level enough’ trap? Let me know in the comments—I’ve definitely spent an afternoon grinding down a ‘leveler hump’ I created myself!
Stop Ignoring the Humidity Hiding in Your Concrete
One of the most sophisticated mistakes I see—even among seasoned pros—is skipping the moisture check on a concrete slab. You might think that because the house is ten years old, the concrete is dry. That is a dangerous assumption. Hydrostatic pressure can push moisture up through the pores of the concrete, turning your expensive new carpet or luxury vinyl into a petri dish of mold. The National Wood Flooring Association (NWFA) explicitly states that subfloors must be within specific moisture content ranges before any install begins. This is exactly why your concrete subfloor needs a calcium chloride test. It’s not just about the pad; it’s about the vapor. I always recommend using the underlayment tape move for moisture barriers to seal every single seam. If you leave even a quarter-inch gap in your plastic barrier, you’re essentially inviting a flood of humidity to rot your floor from the bottom up. 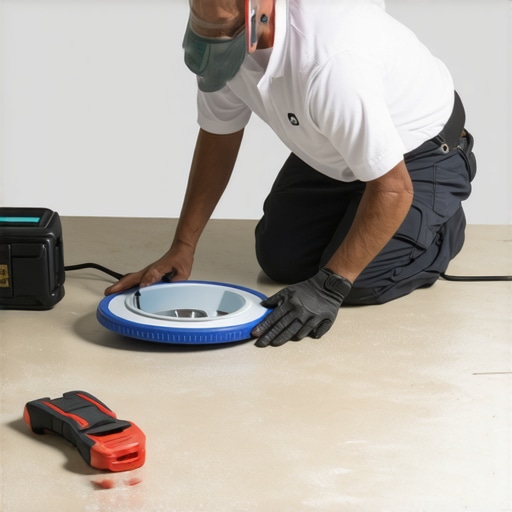
Is a Calcium Chloride Test Really Necessary for Modern Homes?
This is the question that separates the amateurs from the experts. Many believe that modern vapor barriers under the slab make testing redundant. However, according to experts at the Resilient Floor Covering Institute, slab-on-grade construction is notoriously unpredictable. A failure to test is one of the leading flooring installation mistakes to avoid for a seamless look that lasts decades. When you invest in a your guide to durable flooring installation for a stylish home, you aren’t just paying for the material you see; you’re paying for the peace of mind that the sub-surface chemistry isn’t working against you. Don’t let a $50 test kit be the reason your $5,000 floor fails in two years.
The Secret Arsenal for a Floor That Never Sags
Once the installer leaves, the real test of your patience and your wallet begins. I’ve found that the biggest mistake homeowners make is thinking the job is ‘done’ forever. For example, your carpet will naturally relax over the first year. If you didn’t ensure your pro used the power stretcher move to fix loose carpet bubbles during the initial phase, you’ll likely see ripples before your first anniversary. I personally advocate for owning a few specific maintenance tools; it’s the difference between a floor that lasts ten years and one that lasts thirty. For your hard surfaces, stop using those heavy wet mops. I always follow the microfiber mist rule for cleaning matte floors because it prevents the cloudy residue that ruins the look of a your guide to durable flooring installation for a stylish home. 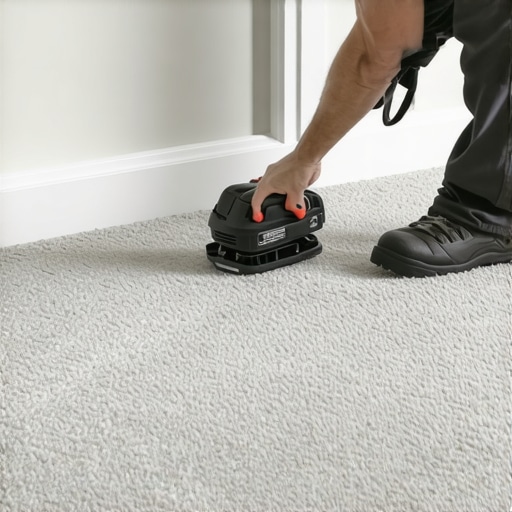
How do I maintain these surfaces for a lifetime?
Keeping your home pristine involves more than just a vacuum. You need to be proactive about shower repairs when to fix vs replace for longevity to avoid subfloor rot that can migrate into your hallways. Also, pay attention to your trim; knowing why your white baseboards are turning yellow can help you choose the right cleaning agents or touch-up paints that won’t react with the existing finish. According to the Carpet and Rug Institute (CRI) 104 Standard for Residential Carpet Installation, failure to use a power stretcher during install is the leading cause of premature carpet failure—a technicality often ignored by budget contractors.
Smart Floors are the Next Frontier
I predict that in the next few years, we will see the rise of ‘active’ underlayments and ‘self-healing’ flooring composites that can fill micro-scratches with ambient heat. Until then, the best thing you can do is stick to the fundamentals. My challenge to you: go grab a spray bottle and a microfiber pad today—stop the wet-mop madness and see how much faster your floors dry and how much longer they shine.
Lessons My Sore Knees Taught Me About Carpet Support
Reflecting on my first home, I realized that saving a few hundred dollars on padding cost me thousands in early carpet replacement. If I could go back, I would focus on density over fluff every single time. Another revelation was the absolute necessity of subfloor integrity; even the best carpet install secrets cannot hide a crumbly concrete slab or an unaddressed moisture problem. Lastly, I learned that a power stretcher is not an optional upgrade for the pros—it is the only way to prevent those ugly ripples that eventually explain why your carpet is coming loose in the hallway within just a few years. Take it from someone who has peeled back a lot of failed floors: the foundation is where the money is truly made or lost.
The Toolkit That Saves My Back and Your Budget
I never step onto a job site without a professional calcium chloride test kit. You can find these at most specialized flooring centers, and they are essential for avoiding common flooring installation mistakes to avoid for a seamless look. I also swear by a high-quality microfiber misting system for daily maintenance—ditch the heavy bucket and the old string mop forever to keep your finishes clear. Finally, if you are tackling a multi-level project, a specialized stair tool to execute the step down method for carpeted stairs will give you that tight, crisp edge that prevents tripping hazards and looks like a million bucks. These tools pay for themselves the first time you do not have to call a repairman.
Start Your Journey to a Solid Foundation
You now have the roadmap to avoid the most common pitfalls of home flooring. From testing for moisture to picking the right density padding, you are better equipped than the vast majority of homeowners. Remember, a truly your guide to durable flooring installation for a stylish home starts several layers below the surface. Do not be afraid to take your time on the preparation—it is the only part of the job that actually lasts forever. Grab your tools, trust your research, and build a floor that you will be proud to walk on for decades. Have you ever discovered a mysterious ‘squishy’ spot in your carpet that drove you crazy? Let me know in the comments how you handled it!