

I still remember the sinking feeling in my gut when I pulled up the drop cloths after a weekend painting marathon, only to see a fine, ghostly mist of eggshell white settled over my rich, dark oak planks. It is that moment of pure panic where you realize your ‘quick update’ just turned into a potential disaster. I had spent hours obsessing over modern baseboard trends, yet I had completely failed to protect the very foundation of the room. It felt like every step I took was crunching through microscopic beads of dried latex. I have been there, and I have made the rookie mistakes so you do not have to.
The Day I Almost Ruined My Finish for Good
Years ago, when I was first getting my hands dirty with home DIY, I panicked and grabbed a heavy-duty scouring pad. I thought I could just ‘buff’ the paint away. Big mistake. I ended up with dull, hazy patches that looked worse than the paint itself. If you are currently staring at those little specks, take a deep breath. Today, I am going to show you how to lift that over-spray without calling in a professional sanding crew or resorting to the tear-out dumpster. We are going to use simple, gentle methods that preserve your floor’s integrity while making that paint vanish.
Will these DIY methods actually destroy my hardwood finish?
It is the number one fear every homeowner has, and honestly, it is a healthy skepticism to have. You have worked hard on your flooring installation, and the last thing you want is a chemical burn or a deep scratch. But here is the reality: if you catch it early and use the right lubricants, the paint is much more fragile than your floor’s polyurethane seal. According to the National Wood Flooring Association (NWFA), maintaining the factory finish is all about chemical compatibility, not brute force. Have you ever tried a ‘miracle’ hack only to find it left a permanent mark on your wood? Tell me your horror stories in the comments!
Picking the Right Solvent Before You Start Scrubbing
Before we touch any tools, we need to talk about what we are up against. Most modern wall paints are water-based latex, which is actually great news for your floors. If you have wire-brushed finishes, the paint might be hiding in the grain, making it a bit trickier than a smooth surface. I once tried to use a harsh paint thinner on a pre-finished floor and learned quickly about the risks of surface damage. Instead, we are going to lean on things like warm soapy water or even a little bit of denatured alcohol on a rag. Remember, the goal is to soften the paint, not melt the wood’s protective layer. You should always follow up with the microfiber mist rule to keep the surface pristine as you go.
Plastic Putty Knives Are Your Best Friend
The first rule of paint removal is to put down the metal tools immediately. I once watched a friend try to use a flathead screwdriver to ‘pop’ a paint glob off his new floors, and he ended up with a series of gouges that looked like a tiny woodpecker had moved in. Use a plastic putty knife or even an old credit card. These tools have enough rigidity to catch the edge of the paint but are soft enough to flex before they dent your wood. Think of it like the block and hammer hack for tight tongue and groove joints—it is all about using the right intermediary tool to distribute force safely without scarring the surface.
The Magic of Warm Soapy Water
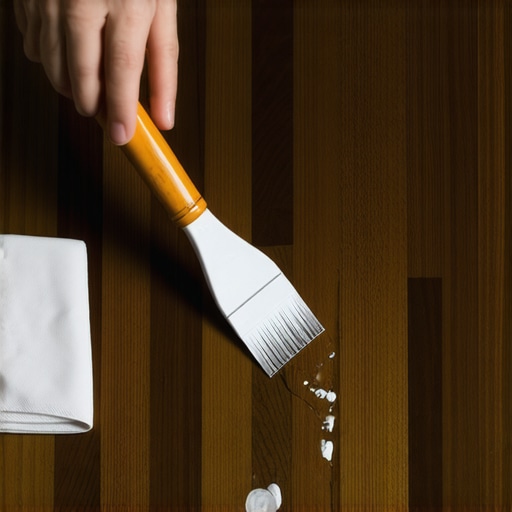
Before you get aggressive with solvents, try the gentlest method first. Mix a few drops of dish soap into a bowl of warm water. Soak a microfiber cloth, wring it out until it is just damp, and lay it over the paint splatter for about thirty seconds. This softens the latex bond. I remember a particularly stubborn spill in my hallway that wouldn’t budge until I let the moisture do the heavy lifting for me. Once the paint feels slightly gummy, use your plastic scraper at a 45-degree angle. It should peel up like a dry skin. If you are dealing with a flooring installation that is still relatively new, be extra careful not to let standing water sit in the joints, as expansion is still a risk.
What to Do When the Paint Won’t Budge
Sometimes water isn’t enough, especially if the paint has been curing for weeks. This is where denatured alcohol or rubbing alcohol comes in. Dampen a cotton ball and rub only the paint itself. Be extremely careful; while alcohol is generally safe for cured polyurethane, it can soften some finishes if left too long. I always keep a clean, damp rag in my other hand to neutralize the area immediately after the paint lifts. If you accidentally dull the shine, you can often buff it back using the microfiber mist rule for cleaning matte floors which helps restore a uniform look without adding an oily residue that attracts more dust.
Getting Paint Out of Wire Brushed Crevices
If you chose wire-brushed finishes specifically because they hide scratches well, you might now be regretting it. Those beautiful textures are magnets for paint over-spray. A flat scraper won’t reach the bottom of those artificial grains. In this case, I use a soft-bristled toothbrush dipped in my soap solution. Use a circular motion rather than scrubbing back and forth. It takes patience, but it prevents you from having to repeat the wood filler mistake on pre-finished hardwood by trying to fill a hole you accidentally dug while being too rough with a sharper tool.
The Spatula Disaster and Lessons Learned
I once spent a frantic afternoon in a rental property trying to hide evidence of a DIY project gone wrong. I didn’t have my toolkit, so I used a metal kitchen spatula. I was so focused on the paint that I didn’t notice I was stripping the top layer of stain right off the wood along with the white speckles. I ended up having to learn how to hide a scratch in dark walnut flooring on the fly with a stain marker. The lesson? If you feel yourself getting frustrated and pushing harder, stop. Walk away, grab a coffee, and come back with a softer tool. The paint will eventually give, but your wood’s factory finish is much harder to replace than a few minutes of your time.
Let’s dig deeper into why these surface-level fixes sometimes fail if you don’t understand the physics of your floor. Most homeowners believe that the tighter the fit, the better the quality of the job. In my experience, this is the quickest way to guarantee a floor failure. I have seen countless DIYers and even some ‘pros’ push planks right up against the drywall, thinking it looks cleaner. However, wood is a living material that breathes. If you ignore the penny gap rule for hardwood expansion space, your floor has nowhere to go when the humidity spikes, leading to buckling that no amount of paint cleaning can fix.
Stop Over-Securing Your Floors Before They Buckle
A common contrarian view I hold is that ‘more is not always better’ when it comes to fasteners or adhesives. I often see people over-nailing their boards or using too much glue, thinking they are making the floor ‘sturdier.’ In reality, restricted movement causes internal stress. According to the National Wood Flooring Association (NWFA), a floor needs to be able to expand and contract as a single unit. When you over-fasten, you create localized stress points that lead to why your hardwood floor sounds like a drum or develops annoying squeaks. Have you ever fallen into this trap of over-engineering a simple fix? Let me know in the comments!
The Invisible Moisture Trap in Modern Showers
The ‘oops’ factor usually hits hardest in the bathroom. People obsess over the aesthetic of their shower renovation ideas but completely ignore the weep holes in the drain or the pitch of the niche. If you don’t ensure a slight 1/16th-inch slope on your niche’s bottom ledge, you are inviting mold growth behind the tile. I’ve had to perform shower repairs on brand-new installs simply because the water sat stagnant on a perfectly level shelf rather than draining away.
How Can I Tell if My Carpet Installer Is Cutting Corners on the Seams?
For those dealing with soft surfaces, the nuance is all in the tension. An advanced reader knows that a seam shouldn’t just look good; it should be structurally sound. A common mistake is using a too-thick pad that the tack strip can’t properly bite into. If you see carpet coming loose in the hallway, it is usually because the installer relied on the weight of the furniture rather than a power stretcher. The Carpet and Rug Institute (CRI) 105 standard specifically mandates power stretching for all residential installs to prevent ‘restretching’ calls six months down the line. If your installer only used a knee kicker, they didn’t finish the job. Check your carpet install secrets to ensure you are getting a result that lasts a decade, not a season.
The Truth About Baseboard Caulking Failures
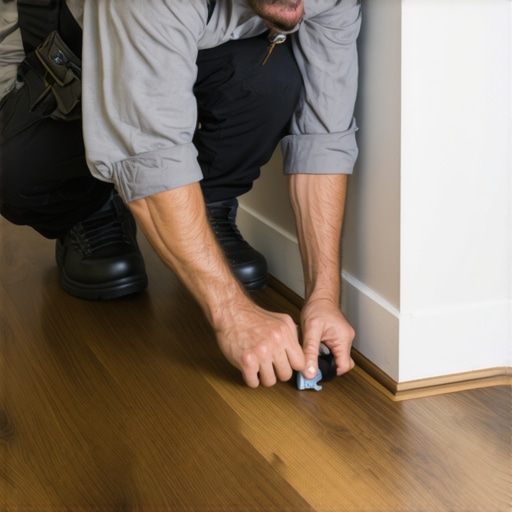
Finally, let’s talk about that finishing touch that often goes wrong: the baseboards. Most people grab the first tube of ‘all-purpose’ caulk they see. Big mistake. If you don’t understand the painter caulk vs silicone guide, you’ll end up with cracking baseboard joints within weeks. Silicone is great for water, but it’s a nightmare for paint. If you’re looking to elevate your interior, use a high-stretch acrylic caulk that can handle the expansion of the wood without snapping. Don’t let a $5 tube of the wrong goo ruin a $5,000 flooring project. Take your time, use the right solvents for the paint spills, and respect the expansion gaps—your home will thank you for it.
The Essential Kit That Prevents Costly Tear-Outs
After years of fixing my own blunders, I have realized that the difference between a floor that lasts five years and one that lasts fifty is often down to a single tool: the oscillating multi-tool. It is the only reason I can successfully navigate how to replace a single broken tile without total demo. If you are serious about DIY, stop using a hammer and chisel for precision work. I use my multi-tool with a diamond grit blade to surgically remove grout lines, which prevents the vibration from cracking the adjacent healthy tiles. It is about working smarter, not harder, especially when you are dealing with a complex flooring installation that you want to keep pristine for the long haul.
How do I maintain my flooring and shower seals over time?
Maintenance is not a ‘once-a-year’ event; it is a habit of observation. For hardwood, I stick strictly to the microfiber mist rule for cleaning matte floors because traditional mopping is the fastest way to ruin a finish. For showers, the secret is in the silicone. Most homeowners wait until they see black spots to act, but I recommend a proactive approach. Every two years, I strip and replace the sealant in the soft joints of the shower wall corners. This prevents moisture from ever reaching the substrate, effectively side-stepping the need for major shower repairs down the line.
Stop Guessing if Your Shower is Actually Waterproof
I cannot stress this enough: never close up a wall until you have performed the flood test secret for guaranteed leak-proof showers. I have seen beautiful, expensive tile jobs ruined because the installer skipped this 24-hour test. According to the Tile Council of North America (TCNA) Handbook, specifically the EJ171 standards for movement joints, the integrity of a waterproof system relies entirely on its ability to handle structural shifts. If your shower pan cannot hold two inches of water for a full day without the level dropping, your tile is just a cosmetic mask for a future mold problem. I always use the dry-pack method for a level shower base to ensure the pitch is perfect before the first tile even touches the thin-set.
Invisible Seams and the Future of Soft Surfaces
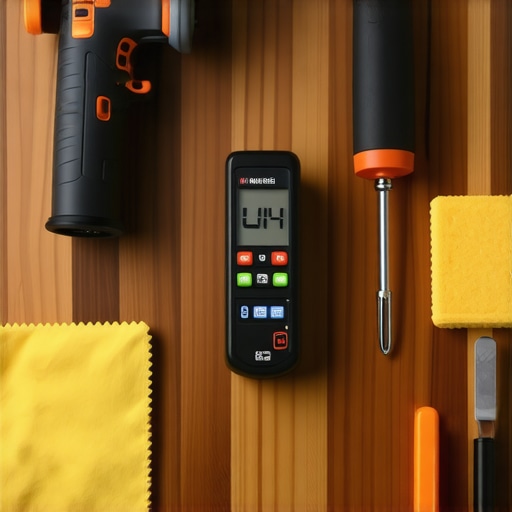
When it comes to carpet, the biggest long-term failure is the visible seam. If you want a professional result, you have to master the double-cut method for invisible carpet seams. This is where you overlap the factory edges and cut through both layers simultaneously. It creates a molecular-level fit that prevents the ‘speed bump’ look over time. Looking ahead, I predict we will see a massive shift toward ‘smart’ underlayments. We are already seeing prototypes of moisture-sensing pads that can alert your phone to a leak before it even hits your baseboards. For now, focus on the basics: use the right tools, respect the physics of expansion, and never skip the flood test. Try performing a ‘moisture map’ of your basement with a cheap handheld meter this weekend—you might be surprised where the humidity is hiding.
Hard Lessons from the Gaps and Smudges
After years of tackling flooring installation projects, I have learned that your biggest enemy isn’t the paint splatter—it is your own impatience. I used to think I could outsmart nature, but the wood always wins. Respecting the penny gap rule for hardwood expansion space saved my last living room project from a total buckle-and-warp disaster. I have also realized that if you do not use the feather edge tactic for smoothing subfloor seams, you will hear every tiny imperfection in your floor for the next decade. These aren’t just ‘pro tips’; they are the difference between a home that feels solid and one that feels like a temporary fix.
The Four Non-Negotiables in My DIY Toolkit
If you are building a kit to handle everything from paint drips to loose planks, start with these specific resources. First, a quality oscillating multi-tool is non-negotiable; it is the only way to master how to replace a single broken tile without total demo. I also swear by the Tile Council of North America (TCNA) handbook for any shower renovation ideas, as it provides the scientific backing for waterproofing that YouTube often skips. Finally, for a high-end finish on transitions, always use the hidden screw method for metal transition strips. I trust these methods because they have been stress-tested in real-world scenarios where failures aren’t an option.
Turn Your Flooring Frustrations into Professional Results
You don’t need to be a professional contractor to achieve a professional-grade look; you just need to respect the materials you are working with. Whether you are performing a sensitive shower repair or updating your home with the latest baseboard trends in 2025, your attention to detail is your greatest asset. Don’t be afraid of the mistakes—just be prepared to fix them with the right tools. Take the leap and start your next flooring installation today; your future self will thank you for the beautiful, durable foundation you’ve built. What is the one DIY mistake you are most afraid of making—or the one you have vowed never to repeat again? Let me know in the comments below!