

The sound of a $1,200 travertine floor cracking for the first time is something that stays with you. It is a sickening, sharp pop that echoes through the room, usually just as you are carrying a heavy basket of laundry. I will never forget the pit in my stomach when I realized that my beautiful, expensive stone was failing because I was too lazy to look under the hood. I thought I knew what I was doing, but I had basically built a marble palace on a foundation of crackers. If you are planning on laying down some gorgeous, heavy slate or marble, you are probably excited to see the finished result. But before you even touch a trowel, we need to talk about the skeleton of your room. Today, I am going to walk you through the process of stiffening up your home’s bones so your investment stays crack-free for decades. It is not the most glamorous part of the job, but it is the only part that really matters in the long run. [image_placeholder]
Stop the Bounce Before the Stone Goes Down
Natural stone is a diva. Unlike vinyl or even some ceramics, it has zero interest in flexing with your house. If your subfloor dips even a hair, that stone is going to snap. Early in my career, I made one of those classic flooring installation mistakes to avoid by assuming that 5/8-inch plywood was good enough for a small bathroom. It was not. The floor felt solid to my feet, but the weight of the stone combined with the slight bounce of the joists caused hairline fractures in the grout within six months. This is exactly why your floor joists need blocking before you even think about laying a single tile.
Is all this extra plywood actually worth the hassle?
You might be thinking that a few extra layers of wood are overkill, especially if your current floor feels fine. Here is the surprising reality: The Tile Council of North America (TCNA) requires that for natural stone, the subfloor system must not deflect more than L/720 of the span. That is twice as stiff as the standard code for basic ceramic tile! To get there, you often need to reinforce the structure significantly. Even if you have mastered mixing thinset for the perfect peanut butter consistency, it will not save a floor that moves like a trampoline. Have you ever noticed your kitchen chairs rattle when someone walks past? That is the bounce we have to kill. Let me know in the comments if you have ever felt that wiggle in your own home, and we can figure out if your joists are up to the task. We are going to dive into the nitty-gritty of joist spacing and plywood thickness next.
Reinforce Your Joists from the Bottom Up
Think of your floor joists as the ribs of your home. If those ribs are spaced too far apart, the ‘skin’ (your subfloor) is going to sag under pressure. For heavy stone, you ideally want joists spaced at 16 inches on center, but 12 inches is even better. If you have 24-inch spacing, you are basically asking for a disaster. I once worked on a master bath where the homeowner wanted large-format marble over 24-inch joists. Instead of tearing out the ceiling below to add more joists, we ‘sistered’ the existing ones by bolting new 2x10s alongside the old ones. It was a grueling weekend of overhead drilling, but that floor became as stiff as a concrete slab. If you cannot sister the joists, you must ensure your floor joists need blocking every 4 to 6 feet to prevent them from twisting or rolling under the weight. 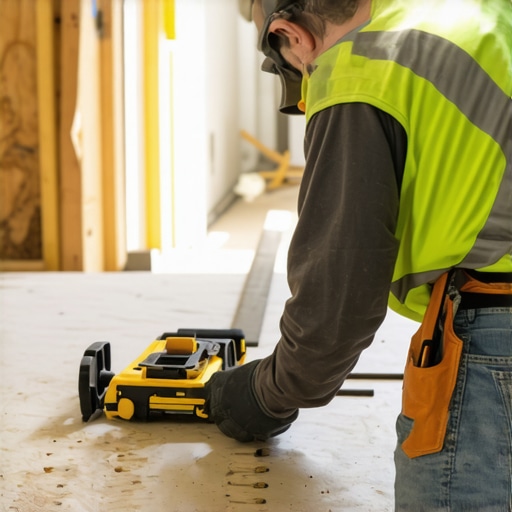
Build a Plywood Sandwich for Maximum Stiffness
One layer of plywood is almost never enough for stone. You need to create a rigid sandwich. The base layer should be at least 3/4-inch tongue-and-groove plywood, glued and screwed to the joists. But the magic happens with the second layer. You want to offset the seams of your second layer of plywood so they don’t line up with the first. This breaks the ‘hinge’ points where the floor wants to bend. I usually go with a 1/2-inch or 5/8-inch exterior-grade plywood on top. When I was first starting out, I ignored the seam offset on a small laundry room project. Within a year, a single long crack traced the exact line of the plywood junction right through the travertine. It was a painful lesson in why we never stack seams. Now, I always use the feather edge tactic for smoothing subfloor seams before the next phase to ensure there are no microscopic lips that could stress the stone.
Glue and Screw for a Silent Floor
When you are laying that second layer, don’t just throw nails at it. Use high-quality floor screws every 6 inches along the perimeter and every 8 inches in the field. But here is the pro tip: do not screw the second layer into the joists. You only want to screw it into the first layer of plywood. This allows the two layers to act as a single, thick plate without being directly tied to the inevitable seasonal movement of the house’s main framing. This is one of those flooring installation mistakes to avoid that people overlook because they think more ‘anchor’ is always better. It isn’t. You want a stiff platform, not a rigid connection to a moving house.
The Critical Transition to Backer Board
Once your wood is solid, you aren’t done. You need a transition layer—usually a cement backer board or an uncoupling membrane. If you choose backer board, you must set it in a bed of modified thinset. This isn’t for adhesion; it is to fill the tiny voids between the plywood and the board, eliminating any air pockets that could allow for ‘micro-bounce.’ Make sure you know how to mix thinset for the perfect peanut butter consistency because if it is too dry, it won’t fill those gaps, and if it is too wet, it won’t provide the structural support you need. For wall transitions, always remember the backer board rule for tile wall stability to ensure your vertical and horizontal surfaces meet at a rock-solid junction.
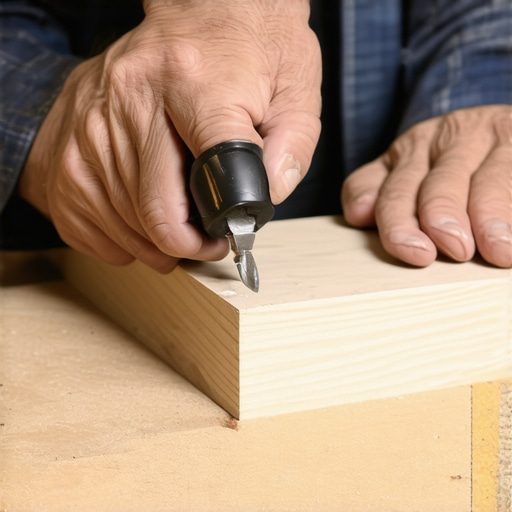
Once your backer board is set and your stone is down, the final ‘dress’ of the room—the baseboards—is where many projects lose their polish. There is a persistent myth in the DIY world that a perfect 45-degree miter cut is the pinnacle of craftsmanship for inside corners. In my experience, that is a recipe for heartbreak. Houses are breathing, shifting organisms, and a mitered inside corner will almost always open up as the seasons change. This is why I advocate for the inside cope method for beginners and pros alike. By cutting one board square and ‘scribing’ the profile of the second board to fit over it, you create a joint that stays tight even when the walls expand or contract. If you have ever spent hours on a miter cut only for it to look like a canyon two months later, you have fallen into this classic trap. Have you ever struggled with this? Let me know in the comments, and we can troubleshoot your specific trim profile.
Stop pinning your floors to the wall
One of the most dangerous flooring installation mistakes to avoid is ‘pinning’ a floating floor with your baseboards. According to the National Wood Flooring Association (NWFA), wood and composite floors need a minimum expansion gap—often up to 1/2 inch—to accommodate humidity changes. If you jam your baseboards down too hard or nail them into the flooring instead of the wall studs, you prevent the floor from moving. This leads to the floor ‘tenting’ or explains why your vinyl floor is bubbling in one specific spot. Always leave that ‘penny gap’ and let the baseboard hover a fraction of a millimeter above the surface. If you are worried about the look, the back-cutting secret for baseboard miters can help you get a tighter fit against the wall without sacrificing the floor’s freedom.
Will a thicker carpet pad actually extend the life of your floor?
Many homeowners assume that the thickest, softest carpet pad equates to the most luxury. This is actually a sophisticated trap. If a pad is too thick or too soft, it allows too much vertical movement, which pulls at the carpet’s backing and causes premature delamination. This is a primary reason why your carpet pad is crushing down too fast. For high-traffic areas, a denser, thinner pad is actually superior for longevity. It is all about the ‘nuance of the squash’—you want support, not just pillowy softness. This same principle applies to hard surfaces; for instance, understanding why your rigid core floor sounds hollow when you walk often comes down to using the wrong density of underlayment, not the thickness of the plank itself.
The caulk mistake that ruins expensive trim
Finally, let’s talk about the finishing touch: caulk. Most people grab the cheapest tube of painter’s caulk and go to town. Six weeks later, they are wondering why your caulked baseboards are cracking within weeks. The ‘Oops’ factor here is failing to realize that trim and walls move at different rates. You need a high-stretch, elastomeric sealant, not a basic rigid caulk. I always use a ‘big stretch’ variety because it acts like a rubber band between the wall and the wood. It is a tiny detail, but it is the difference between a job that looks pro for a month and one that looks pro for a decade. By mastering these hidden nuances—from coped joints to expansion gaps—you move from being a ‘installer’ to a true craftsman. What is the one detail you wish you had known before your last project? I would love to hear your stories below.
Maintaining that ‘day one’ look isn’t about luck; it’s about the hardware you use before the furniture moves back in. If you’re tackling a bedroom, the most common error I see is relying solely on a knee kicker. I’ve seen countless DIYers and even some ‘pros’ skip the big guns, which is exactly why your carpet is coming loose in the hallway after just a few years. You need to settle the power stretcher vs knee kicker debate once and for all in your tool shed. A power stretcher isn’t just an ‘extra’ tool; the Carpet and Rug Institute (CRI) Standard 105 explicitly states that power stretching is mandatory for most residential installs to prevent wrinkles and delamination. If you ignore this, why your carpet seam looks like a speed bump will be the only question you’re asking by next summer. I personally never step onto a job site without my Crain 800 stretcher because it provides the uniform tension that keeps those fibers locked tight.
How do I maintain my flooring and shower over time?
Consistency is the secret sauce for long-term durability. For showers, it starts with the drain. I always perform the dry fit test for shower drain alignment to ensure there is no stress on the plumbing that could lead to slow leaks behind the tile. Over time, keep an eye on your grout lines. If you see a hairline crack, don’t just ignore it; check my guide on shower repairs: when to fix vs replace for longevity to catch small issues before they become structural disasters. For your floors, the biggest threat is invisible. Even if you’re installing on a slab, the moisture meter test for concrete subfloors is non-negotiable. I use a Tramex CME5 because it gives me a non-destructive reading in seconds. If the moisture is too high, no amount of glue or click-lock precision will save you from buckling or mold growth. Looking ahead, I see the industry moving toward fully integrated waterproof systems where the tile itself becomes secondary to the ‘envelope’ of the room. We are seeing more ‘smart’ moisture sensors being embedded under luxury vinyl and tile to alert homeowners of a leak before it hits the subfloor. It’s an exciting time for creating a spa-like shower experience that is as intelligent as it is beautiful. 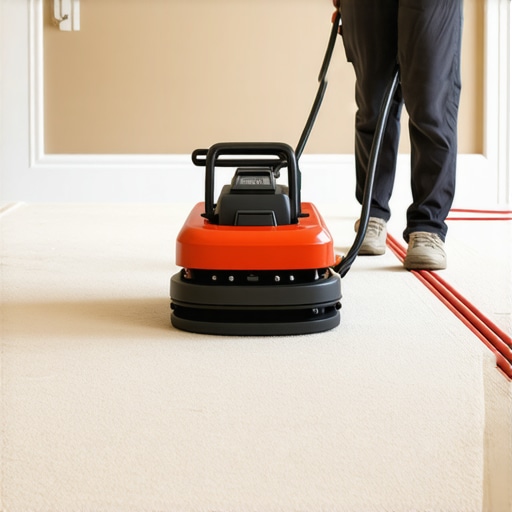 For now, focus on the basics of tension and moisture control. I want you to try one thing on your next project: rent a professional-grade moisture meter before you lay a single plank. It sounds like a chore, but it’s the only way to sleep soundly knowing your floor isn’t rotting from the bottom up.
Hard-Won Truths from a Decade on My Knees
Over the years, I’ve learned that a truly professional flooring installation isn’t just about what you see on the surface; it’s about the quiet confidence of a job done right. First, never underestimate the power of a flashlight. When you think a seam is perfect, lay a high-powered light flat on the floor—the shadows will reveal every tiny imperfection. Second, silence is your greatest endorsement. If a floor squeaks, it’s a sign that the subfloor wasn’t cleaned or screwed down properly, and no amount of finish work can hide that. Finally, remember that wood and stone are alive; they breathe with your home. If you don’t respect the expansion gaps, the house will eventually win. It’s better to spend two extra hours on prep than two decades regretting a $5,000 mistake. [image_placeholder]
Tools That Earned Their Permanent Spot in My Truck
When you’re aiming for a high-end finish, your results are only as good as the precision of your instruments. I always recommend the Tramex CME5 because the moisture meter test for concrete subfloors is the only way to prove your slab is ready for luxury vinyl or hardwood. For those of you tackling wall-to-wall projects, reviewing carpet install secrets for achieving flawless results will show you why I never leave home without a high-quality power stretcher. For finishing work, a simple Eclipse Coping Saw is my go-to for making those intricate inside corners look like they grew together perfectly. Lastly, the TCNA Handbook is the ‘bible’ of the industry—I keep a digital copy on my phone for those tricky moments when a client asks for a specialized stone layout outside the standard spec.
Build a Home That Stands the Test of Time
Stepping back and looking at a finished room where every miter is tight and every tile is level is one of the most rewarding feelings in the world. You are doing more than just putting down planks; you are creating the foundation for your family’s memories. Don’t be afraid to take it slow. If you follow these flooring installation principles and focus on the ‘hidden’ work—like the joists and moisture barriers—your floor will stay beautiful for decades. You’ve got the knowledge and the plan—now it’s time to get to work. For more inspiration on the latest aesthetics, check out how to transform your home with expert flooring installation tips for 2025. You’ve got this!
Have you ever had a ‘perfect’ floor develop a squeak or a crack months after the job was finished? Let me know in the comments, and let’s figure out what went wrong!