

I remember standing in my living room three years ago, staring at $4,000 worth of luxury vinyl planks that were literally lifting off the ground. I had spent two weeks meticulously laying them down, thinking I’d done everything right. The concrete looked dry. It felt dry to the touch. But within a month, those planks started to buckle like a mountain range in a middle school science project. I had fallen into the trap of assuming that if a subfloor looks old and gray, it’s safe. I was wrong, and that expensive lesson is exactly why I’m obsessed with the ‘moisture-meter’ test today. If you are planning a flooring installation, you cannot afford to skip this step.
Your Concrete Subfloor Is a Hidden Sponge
Concrete is porous. Even if a house has been standing for fifty years, that slab is constantly breathing and wicking up moisture from the earth below. When I made that mistake early on, I didn’t realize that trapping that vapor under a waterproof floor is a recipe for disaster. It leads to mold, adhesive failure, and that dreaded ‘hollow’ sound when you walk. I’ve seen it happen with everything from basement carpet install projects to high-end living room renovations. The reality is that according to the ASTM F2170 standard, the only way to truly know what’s happening inside the slab is through proper moisture testing, as surface-level checks are notoriously unreliable. If you don’t check, you’re basically gambling with your renovation budget. Have you ever noticed a weird, musty smell after putting down a rug or a new floor? That might be the moisture talking back to you.
Is a moisture meter really worth the extra hassle?
I get it. You’re already knee-deep in flooring installation planning, and the last thing you want to do is buy or rent another gadget. You might be thinking that the old ‘taped plastic sheet’ trick is enough. I used to think that too, but that method only tells you about the surface. A proper pinless or probe-based moisture meter tells you the truth about the core of the concrete. It’s the difference between guessing and knowing. I’ve seen beautiful baseboards makeover projects ruined because the walls absorbed the moisture that the floor couldn’t release. Before you even think about the underlayment tape move or laying your first plank, you need to know your numbers. Today, I’m going to walk you through how to use these tools properly so you never have to rip up a ruined floor like I did. We’ll cover why your concrete subfloor needs a calcium chloride test or a reliable meter reading before the real work begins.
Get Your Subfloor Ready for the Real Test
You cannot simply walk onto a job site and stick a meter to the floor. If the slab has been covered by old linoleum or a pile of debris, the moisture levels at the surface will be completely skewed. I learned this the hard way on a project where I thought I was being efficient by testing through a thin layer of drywall dust. The reading was bone-dry. Three days later, after a thorough cleaning, the ‘real’ reading was nearly double. To get an accurate baseline, you need to strip the concrete back to its raw state. This is especially critical if you plan on using the floor prime move for porous concrete subfloors, as primer won’t bond to a surface that is still exhaling heavy amounts of water vapor.
Pinless Meters vs. In-Situ Probes
Think of a pinless meter like a flashlight; it scans the surface and gives you a quick idea of where the ‘wet’ spots might be. It’s a great first-look tool. However, if you want the deep-down truth, you need in-situ probes. These require drilling small holes into the slab to measure Relative Humidity (RH) at specific depths. It sounds intimidating, but it is the only way to satisfy the ASTM F2170 requirements. I remember a carpet install where the surface felt dry, but the probes revealed a 90% RH level deep inside the concrete. If we had laid that carpet, the padding would have acted like a giant wick, pulling that moisture up and creating a permanent mildew smell within weeks.
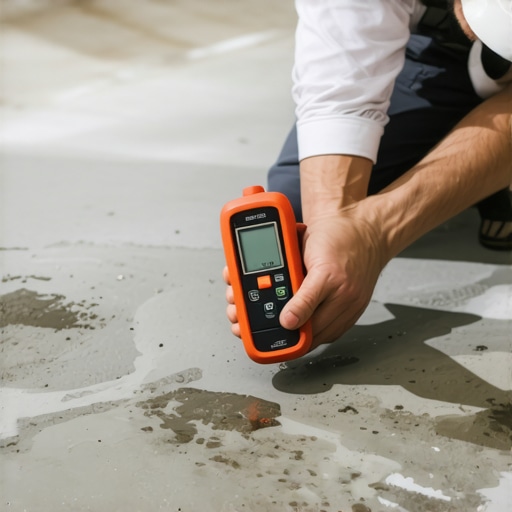
Map the Entire Room or Risk a Localized Disaster
Moisture is rarely uniform. It moves like a slow-motion underground river. I once worked on a living room where three corners were perfectly within spec, but the fourth corner—the one closest to a poorly graded exterior flower bed—was essentially a swamp. Because I took the time to map the room in a grid pattern every three feet, I caught the problem before the planks went down. If you find a high-moisture zone, you don’t necessarily have to cancel the project, but you do have to change your strategy. This might mean applying a specialized moisture mitigator or ensuring you don’t skip the underlayment tape move for moisture barriers to create a truly sealed envelope.
Why Your Concrete Needs Time to Acclimate
Concrete is a living, breathing material that changes with the humidity of your home. If you just turned on your HVAC system after it’s been off for months, your slab is going to react. I always tell homeowners that the expert flooring installation tips for 2025 all start with patience. You need the house to be at ‘living conditions’ for at least 48 hours before you trust your meter readings. Rushing this is why your rigid core floor sounds hollow when you walk; the slab was still shifting its moisture content while you were locking the joints together. Before you even think about the feather edge tactic for smoothing subfloor seams, ensure those RH numbers are stable. A stable subfloor is the only foundation for a floor that lasts decades rather than months.
Most contractors will tell you that once you hit that magic number on your moisture meter, you are good to go. I’m here to tell you that’s a dangerous oversimplification. I’ve seen projects where the moisture levels were technically ‘in spec’ at 9:00 AM, but because the installer didn’t account for the evening’s thermal shift, the entire flooring installation failed by the following season. The nuance most people miss is that moisture isn’t a static measurement; it’s a dynamic pressure system. If you ignore the rate at which that vapor is moving—known as the Moisture Vapor Emission Rate (MVER)—you are essentially building a ticking time bomb under your luxury planks.
Can you trust a ‘waterproof’ label when your slab is sweating?
There is a massive misconception in the DIY community that ‘waterproof’ flooring means you don’t need to worry about the subfloor. This couldn’t be further from the truth. While the planks themselves won’t rot, trapped moisture creates a hydrostatic pressure that can literally pop the locking joints or cause your rigid core floor to sound hollow when you walk. Even in a shower renovation, assuming the substrate is dry just because it’s new is a rookie move. According to a study by the National Wood Flooring Association (NWFA), nearly 75% of all flooring failures are moisture-related, and many of those occurred on slabs that were ‘tested’ but not understood. Have you ever fallen into this trap? Let me know in the comments because I’ve certainly been there.
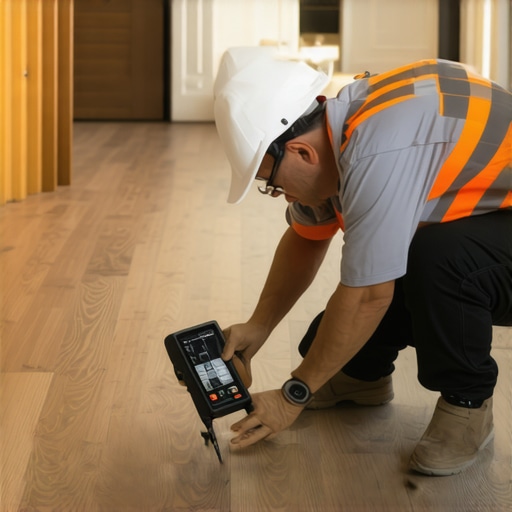
Another nuance that gets overlooked is the relationship between the floor and the walls. I often see beautiful baseboards makeover projects where the owner is frustrated because their caulked baseboards are cracking within weeks. What’s actually happening? The subfloor moisture is wicking up into the bottom of the baseboard, causing the wood to expand and contract at a different rate than the wall. It’s not a caulk problem; it’s a vapor management problem. This is why I always advocate for a small gap between the floor and the wall, hidden by the baseboard, to allow the assembly to breathe.
The hidden danger of over-padding your carpets
When it comes to a carpet install, the common logic is ‘the thicker the pad, the better the feel.’ Wrong. If you are installing over concrete, a pad that is too dense or too thick can actually trap moisture against the concrete, leading to a petri dish of mold. I’ve walked into homes where the carpet pad was too thick for the tack strip, causing the carpet to lose its tension and ripple within months. It’s about balance, not just softness. If you’re tackling a basement, you might even consider the cushion back carpet benefit specifically designed for higher moisture environments.
The biggest ‘oops’ factor I see with modern open-concept homes is the t-molding mistake most vinyl installers make. They want that seamless look, so they run the flooring 50 feet without a break. But without those transitions, the floor has nowhere to go when the subfloor humidity rises. You end up with ‘tenting’ at the seams. It’s the same principle as the vapor trap mistake seen in garage coatings—if the moisture can’t escape, it will force its way out by destroying your hard work. Always respect the expansion gap, and always, always test deeper than the surface.
I’ve spent thousands on tools over the years, but if you asked me which one saved my career, it is the Wagner Meters Rapid RH L6 system. While cheap pin meters give you a surface ‘vibe,’ these in-situ probes actually talk to the concrete’s soul by measuring deep relative humidity. When you’re deep into a complex flooring installation, guessing is the fastest way to lose money. I also swear by a high-quality miter saw with a 60-tooth blade for any professional baseboards makeover. If you want those tight corners that look like they grew out of the wall, you need to learn the back-cutting secret for baseboard miters; it makes the difference between a DIY project and a custom architectural finish.
Equip Your Toolkit With More Than Just a Hammer
Scaling your projects from a single room to a whole-house renovation requires efficiency. I’ve found that site management is just as important as the installation itself. For example, why a 20-yard dumpster is the right move for hardwood tear-outs becomes obvious the moment you realize how much space old subflooring and debris take up. If you are doing a carpet install, having a power stretcher isn’t a luxury—it is a requirement if you want to avoid those ugly ripples two years down the line. I always tell my friends that the difference between a pro and an amateur isn’t just speed; it’s the ability to anticipate how the materials will settle. Whether you are perfecting the stair nose alignment trick for even steps or setting up a laser level for a massive layout, the right gear prevents the need for future ‘repairs.’
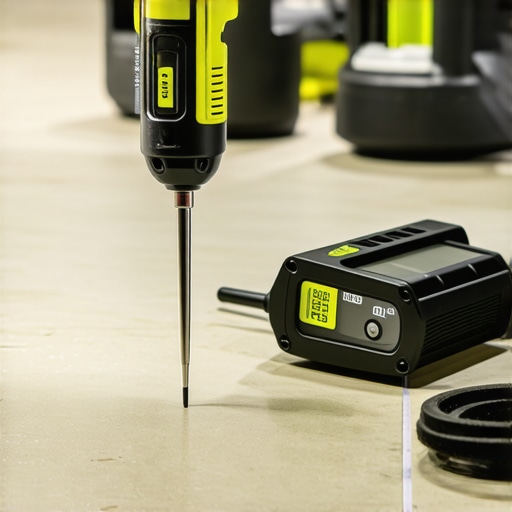
Maintaining these surfaces isn’t about scrubbing harder; it’s about scrubbing smarter. For example, the microfiber-mist-rule for cleaning matte floors is non-negotiable in my house. Traditional mopping is basically just pushing dirty water into the pores of your luxury vinyl or tile, which eventually ruins the finish. In my experience, even a high-end shower renovation requires a different mindset regarding long-term care. I follow the Tile Council of North America (TCNA) Handbook closely, specifically the EJ171 standards for movement joints. This technical documentation states that you must include flexible joints in any large tile run. If you don’t leave space for the house to shift, your grout will crack or tiles will tent, regardless of how much you spent on the materials.
How do I maintain my flooring and trim for the next decade?
Consistency is your best friend when it comes to longevity. I always suggest that you should paint your baseboards before installing them because it allows for a factory-smooth finish that you simply cannot achieve with a brush once they are nailed against a finished floor. For wet areas, keep a hawk-eye on the silicone beads. Understanding shower repairs when to fix vs replace for longevity is a skill that saves thousands in potential water damage. If you’re tackling living spaces, choosing the best carpet types for high-traffic areas in 2025 will save you from the inevitable ‘crushing’ effect of heavy furniture and footsteps.
The Future of Smart Subfloors Is Closer Than You Think
As we look toward the future of home renovation, I predict we are moving toward a world where ‘smart’ underlayments will have built-in moisture sensors. Imagine getting a notification on your smartphone that says, ‘Your subfloor moisture just spiked in the kitchen—check the dishwasher.’ Until those become standard, we have to rely on manual diligence and high-quality moisture barriers. If you are serious about your home’s value, I challenge you to try the back-cutting method on your next room. It will change how you see trim work forever. If you have questions about which probe is right for your slab, feel free to reach out via my contact us page.
Lessons Bought With My Own Wallet (And a Bucket of Regret)
After years of fixing failures, I realized that the biggest lie we tell ourselves in the middle of a renovation is that ‘it feels dry enough.’ Here are a few lightbulb moments that completely changed how I approach every job site:
- The Touch Test Is a Dangerous Trap: Your fingers cannot detect a 5% difference in moisture, but your flooring adhesive definitely can. Never trust your skin over a calibrated sensor when the stakes are this high.
- Ambient Air Tells Half the Story: If you aren’t checking the relative humidity of the room alongside the slab, you’re missing the big picture. They work in tandem to determine how your materials will expand or contract over time.
- Don’t Use Trim to Hide Symptoms: I’ve seen beautiful work ruined because the quarter round mistake occurred—installers used trim to hide gaps caused by moisture expansion rather than addressing the vapor problem at the source.
The Non-Negotiables I Take to Every Job Site
I don’t get paid to promote these tools, but I wouldn’t step onto a project without them because they protect my reputation and my clients’ investments. First, the TCNA Handbook is the ‘industry bible’ for any ultimate shower renovation guide you might be following; it sets the standard that prevents mold and structural failure. Second, the Wagner Rapid RH L6 probes are the only way I sleep at night when working on high-dollar slabs. Finally, a quality laser level is essential—it’s the only way to spot the slight dips where moisture likes to pool before you ever open a box of planks. Even when choosing the right carpet for a cozy living space, knowing your subfloor’s profile is key to a long-lasting finish.
Stop Guessing and Start Building for Decades
Renovating your home should be an investment that adds value, not a source of hidden anxiety. When you take the extra time to measure, map, and mitigate, you aren’t just following technical rules—you’re ensuring that your hard work stays beautiful for the next generation. Whether you are avoiding the t-molding mistake that ruins open concept floors or just laying a small hallway, the data is your best friend. A truly successful flooring installation is 10% laying the visible material and 90% respecting the invisible science happening beneath it. Have you ever discovered a hidden moisture problem after you thought the job was finished? Let me know your horror stories in the comments!