

I still remember the sinking feeling—literally—as I stepped onto my brand-new vinyl plank floor for the first time. I had spent the entire weekend meticulously clicking planks together, thinking I’d nailed it. But as I walked toward the kitchen, I heard that dreaded *pop*. Every step felt like I was walking on a drum, and I knew exactly what I’d done wrong. I had skipped the most important five minutes of the entire project: the straight-edge test. I assumed the thick rigid core would bridge any gaps in my uneven concrete. I was wrong. If you want to avoid a floor that sounds hollow or, worse, snaps at the joints, you need to get real about subfloor flatness before the first plank even leaves the box. Today, I’m going to walk you through why this one simple check saves your knees, your wallet, and your sanity.
Your Flooring Will Only Be as Good as the Ground Beneath It
Many homeowners fall into the trap of thinking that modern underlayment is a cure-all. It’s a common flooring installation mistake that leads to a ‘hollow’ sound or planks that eventually pull apart at the seams. I’ve been there, thinking a slightly thicker pad would mask a dip, but physics always wins. According to the National Wood Flooring Association, most manufacturers require a subfloor to be flat within 3/16 of an inch over a 10-foot radius. If you miss that mark, your floor is basically a bridge waiting to collapse under your weight. This is why a step-by-step flooring installation must always start with a 6-foot or 8-foot level. Have you ever finished a room only to realize it feels like a trampoline in one specific corner?
Is vinyl plank really that sensitive to a tiny dip?
You might think, ‘It’s plastic, it bends!’ and you’re right—but that’s the problem. While vinyl is flexible, the locking mechanisms are incredibly rigid and brittle. When you step over a low spot, the plank deflects. This puts immense pressure on the tongue and groove. Over a few months, that repeated flexing causes the locking system to fail. That’s why your rigid core floor sounds hollow or starts gapping. I learned the hard way that spending an hour with a straight-edge and some floor patch is a lot cheaper than ripping up a thousand dollars worth of ruined material. We need to look at our subfloors as the foundation of a house; if the foundation is crooked, nothing else will ever sit right.
Grab Your Straight Edge and Hunt for Low Spots
To get this right, you need to stop guessing. Take a 6-foot level or a perfectly straight piece of lumber and sweep it across the room like a clock hand. When you see light peeking under the level, that’s a dip. When the level teeters like a seesaw, you’ve found a high spot. I remember a job in McCordsville where I thought a 1/4-inch valley was ‘close enough.’ Three months later, the homeowner called because the floor sounded like a drum every time their golden retriever walked across it. I had to pull up the baseboards and half the floor just to fix a spot I could have leveled in ten minutes. If you’re working on concrete, you should also perform the moisture test your concrete subfloor needs to ensure you aren’t trapping water that will eventually cause your planks to bubble.
Fixing Valleys Without Creating New Peaks
Once you’ve marked your low spots with a pencil, it’s time to fill them. Think of self-leveling compound like thin pancake batter; it wants to find its own level, but it needs a little help. One common error is pouring it onto a dusty, dry floor. If the concrete is porous, it will suck the moisture out of the leveler before it can flatten out. This is where the floor prime move for porous concrete subfloors becomes your best friend. Priming seals the surface so the leveler flows smoothly. However, be careful not to overwork it, or you’ll run into the self-leveler mistake that creates new high spots, leaving you with more grinding to do later. 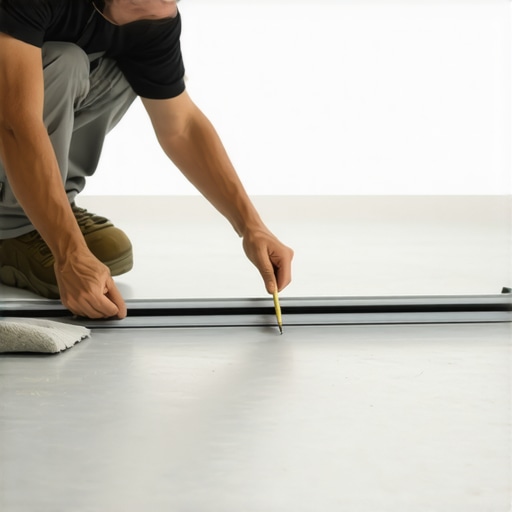
Smooth Out Those Plywood Seams on Wood Subfloors
If your subfloor is plywood or OSB, your enemies are the seams. Wood expands and contracts, and those tiny ridges at the joints will telegraph right through thin vinyl. I’ve seen beautiful floors ruined because the installer didn’t realize how to hide a plywood seam under thin vinyl properly. You need to sand down any ‘peaked’ seams with a belt sander (wear a mask!) and then use a cement-based floor patch. Instead of just glopping it on, use the feather edge tactic for smoothing subfloor seams. This involves pulling your flat trowel out past the joint to create a long, gradual slope that the human eye—and your feet—can’t detect.
Why Your Vacuum Is Your Most Important Installation Tool
After all the sanding and patching is done, the floor must be surgically clean. Any leftover grit or sawdust acts like sandpaper under your new floor. This friction is exactly why your vinyl floor is bubbling in one specific spot or making a gritty, crunching noise when you walk. I once spent two hours vacuuming a single living room because I knew that even a stray drywall screw could cause a visible bump once the heavy rigid core planks were clicked into place. Take the time to run your hand over the floor; if you feel anything other than smooth subfloor, it isn’t ready for the planks yet. Precision here is the difference between a floor that lasts twenty years and one that fails in two.
Once you have a clean slate, it is tempting to think that a thick, luxurious underlayment will act as a ‘reset button’ for any remaining imperfections. Here is a contrarian take that might surprise you: more padding is often your floor’s worst enemy. While it feels soft underfoot, excessive cushion allows rigid core planks to move vertically. This vertical movement is the primary reason for joint failure. I have seen hundreds of homeowners use a double-layer of foam thinking they were being ‘extra thorough,’ only to find why your vinyl floor is bubbling in one specific spot a month later because the joints simply could not handle the flex. Stick to the manufacturer’s specifications, and always execute the underlayment tape move for moisture barriers to ensure no humidity creeps up from the slab to ruin your hard work.
Does a Power Stretcher Really Make a Difference for Residential Carpet?
Many ‘pro’ installers will show up with nothing but a knee kicker, claiming they can get a carpet tight enough by hand. Don’t believe them. According to the Carpet and Rug Institute (CRI) 105 Standard, a power stretcher is mandatory for all residential installations to prevent wrinkling and premature wear. If your installer skips this, you are effectively cutting the lifespan of your carpet in half. This is the core of the power stretcher vs knee kicker debate; without that mechanical leverage, the carpet fibers will eventually relax, leading to those unsightly ripples that are impossible to vacuum over. 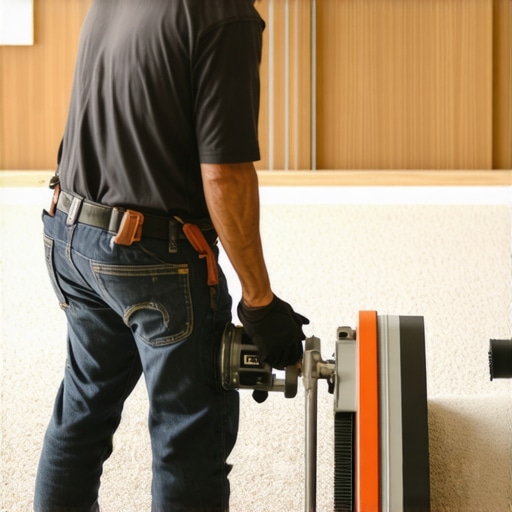
The ‘oops’ factor also extends into your wet areas. A common trap in bathroom remodels is assuming that water only hits the bottom five feet of a wall. In reality, steam and splash-back are relentless. I always tell my clients why your shower waterproofing needs to go higher than they think—ideally all the way to the ceiling if you want to avoid hidden rot. If you are working in a garage or basement, beware of the vapor trap mistake that peels your geist garage coating, which happens when you seal moisture into the concrete without a proper calcium chloride test first. These advanced nuances are what separate a ‘weekend project’ from a professional-grade renovation.
Even your finishing touches like trim can hide subtle traps. Have you ever wondered why your white baseboards are turning yellow or why your perfectly cut corners suddenly gap after the first winter? Most people forget the back-cutting secret for baseboard miters, which allows for a tighter fit against walls that aren’t perfectly square. Precision is not just about the first day; it is about how the materials behave three years from now. Have you ever fallen into this trap or noticed your floor sounding ‘hollow’ after a DIY attempt? Let me know in the comments below, and let’s figure out where things went sideways.
If you want your renovation to survive the next decade, you have to stop thinking about the installation as the finish line. It’s just the starting block. To get there, you need the right steel in your hand. I’ve seen guys try to install a whole house of vinyl with nothing but a utility knife and a prayer. If you want joints that stay tight, you need to master the block and hammer hack for tight tongue and groove joints. A dedicated tapping block—not a scrap piece of wood—ensures you’re distributing force across the entire edge of the plank rather than mushrooming the delicate locking mechanism. I also never step onto a job site without a high-quality oscillating multi-tool. It is the only way to avoid the door jamb saw mistake that leaves huge gaps. For carpet, don’t even think about a DIY seam if you haven’t mastered the iron temperature secret for flat carpet seams. Too hot and you melt the backing; too cool and the tape never bonds. It’s a delicate dance that requires a professional-grade seaming iron with a shielded base. 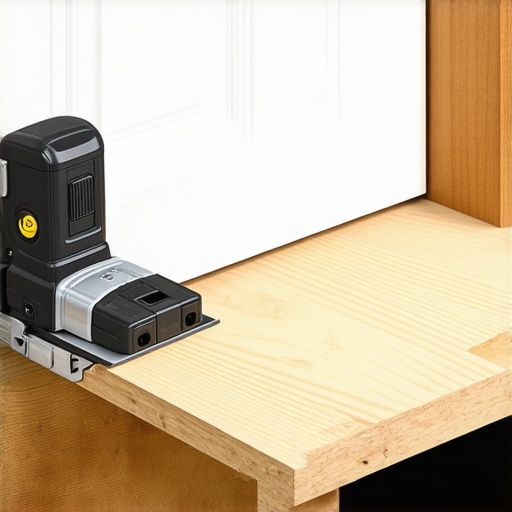
How do I keep my high-traffic floors from wearing out too soon?
Long-term success is 80% climate control. I’ve had clients call me in a panic because their expensive planks started separating, only to find out they turned off the AC while on a two-week summer vacation. This is why your hardwood floor is gapping in the winter or buckling in the summer; wood and even some composites are living, breathing materials. Use a hygrometer to keep your home between 35% and 55% humidity. In the shower, maintenance means more than just scrubbing grout. You need to keep an eye on shower repairs when to fix vs replace for longevity because a small crack in the silicone today is a massive rot problem tomorrow. The Tile Council of North America (TCNA) Handbook (specifically Method B412) emphasizes that the integrity of the waterproofing membrane is the single most critical factor in shower longevity. If you suspect a leak, don’t wait. Check the niche first, as that is why your shower niche is growing mold behind the tile in nine out of ten cases.
Predicting the Move to All-Waterproof Interiors
Looking ahead to baseboard trends in 2025 fresh styles for every room, we’re seeing a massive shift toward taller, thinner profiles that require even more precision during the nailing phase. I predict that within the next few years, we’ll see a complete phase-out of traditional wood baseboards in favor of fully waterproof, high-density polymers that handle the mop as well as the floor does. This shift will make baseboard styles that elevate your interior design more durable than ever before. When you’re scaling up from a single room to a whole house, organization is your best tool. I use a digital measuring app to map out transitions and seams before I even make the first cut. This avoids why your carpet seam looks like a speed bump because you can plan exactly where the high-traffic footfall will land. It’s the difference between a floor that looks homemade and one that looks like it was born in the house. My advice? Grab a dedicated tapping block and try that hammer hack on your very next row of flooring. You’ll feel the difference in the first five minutes.
Hard Lessons from the Subfloor Trenches
If a decade of working on hands and knees has taught me one thing, it is that your eyes will lie to you, but a straight edge never does. I used to think I could ‘feel’ if a floor was flat enough, but that overconfidence led to the very popping sounds I now help others avoid. One lightbulb moment occurred when I realized that transforming your home with expert flooring installation tips for 2025 starts with the humility to re-check your work three times before the first plank is laid. Another hard-won insight is that humidity is the invisible enemy; I have seen perfectly installed floors buckle because the owner didn’t keep the home’s climate stable during a vacation. Finally, never force a locking joint. If it doesn’t click naturally, there is either debris in the groove or a hump in the subfloor that you missed. This level of precision is also what defines carpet install secrets for achieving flawless results—tension and preparation are everything.
The Pro Toolkit You Actually Need
You do not need an entire warehouse of gear, but you do need these three specific items. First, a heavy-duty nylon tapping block. Avoid the cheap plastic ones that shatter or leave black scuff marks on your new finish. Second, a digital hygrometer. This is the only way to accurately monitor the air your floor lives in, which is vital whether you are doing a simple room or an upgrade for a luxury shower renovation. Third, a high-quality 18-gauge brad nailer with a no-mar tip is essential. Once you know how to choose the perfect baseboards for your home style, the last thing you want is to dent the wood with a heavy hammer during the final trim stage.
Build a Foundation for the Life You Want
A renovation is more than just material and labor; it is an investment in your daily peace of mind. When you take the time to prep the subfloor correctly, you aren’t just following a manual—you are ensuring that your home feels solid and quiet for years to come. Whether you are tackling your first DIY project or managing a large-scale flooring installation, remember that every expert was once a beginner who decided that ‘good enough’ wasn’t an option. Have you ever encountered a subfloor dip that seemed impossible to fix? Let me know in the comments below, and let’s troubleshoot it together.