

I remember standing in a hallway three years ago, staring at a radius wall that looked more like a challenge from a geometry textbook than a part of a house. I had a piece of expensive baseboard in my hand and a tube of caulk in my pocket, wrongly assuming that the latter would fix the gap caused by the former. It didn’t. In fact, that ‘caulk it and walk’ approach is exactly the kind of flooring installation mistake that keeps you up at night when the light hits the wall just right. It was ugly. Really ugly. The gap was so wide I could have parked a bicycle in there, and my attempt to fill it with a mountain of painters’ caulk only made the mess more permanent. Today, I’m going to make sure you don’t repeat my embarrassment by showing you exactly how to marry your trim to even the most stubborn curved walls.
Stop Forcing Your Trim and Start Scribing
When you try to bend a standard piece of trim to a curved wall, physics usually wins. Most people think their walls are straight until they try to install modern baseboard styles, only to find the drywall has more waves than the Atlantic. Scribing is the secret language between the wood and the wall. It’s the process of transferring the exact profile of your wall onto your material so they fit together like two puzzle pieces. Early in my career, I tried to skip this, thinking I could just ‘nail it harder.’ All I ended up with was a cracked piece of oak and a dented ego. Scribing is why some baseboard updates look professional while others look like a weekend project gone wrong. It’s about more than just aesthetics; it’s about structural integrity and preventing those annoying gaps that collect dust and pet hair. According to the carpentry experts at Fine Homebuilding, successful scribing depends heavily on maintaining a consistent angle with your compass or scribe tool to avoid ‘creeping’ measurements.
Is this extra effort actually worth the headache?
You might be wondering if you can just hide the gaps with a thicker bead of sealant and call it a day. I’ve been there, and the answer is a resounding no. Within six months, as the house settles and the wood breathes, that caulk will crack, peel, and look terrible. Taking thirty minutes to properly use the scribe tool trick is the difference between a job you’re proud of and one you have to explain to guests. Have you ever looked at a wall in your home and wondered if the builder was using a protractor or a lucky guess? Tell me about your worst wall-gap nightmare below before we dive into the step-by-step process.
Set the board and find your widest gap
Before you even pick up a pencil, you need to lock your trim into a fixed position. It’s a lot like trying to draw a portrait of someone who won’t stop moving—if the board shifts mid-scribe, the line is useless. Use a few pin nails to tack the board loosely against the wall. I learned this the hard way on a job in a Victorian-era library. I tried to hold the board with my knee while scribing with my right hand. The board slipped 1/8th of an inch halfway through, and when I finished the cut, it looked like I had chewed the wood off with my teeth. Tack it down first. Find the largest gap between the wall and the wood; that gap dictates how wide you set your compass.
Trace the wall’s secret curves with a compass
Think of your scribe tool as a bridge. One leg follows the ‘chaos’ of the drywall, while the pencil leg replicates that chaos onto your clean board. If you’re working with particularly difficult surfaces, like a rustic fireplace, you will need the scribe tool trick for baseboards against stone walls to handle those deep undulations. Keep the tool perfectly perpendicular to the wall. If you tilt it up or down, you are essentially changing the ‘radius’ of your measurement, and you will end up with a board that is too short in some spots and too long in others. It is about consistency, not speed. 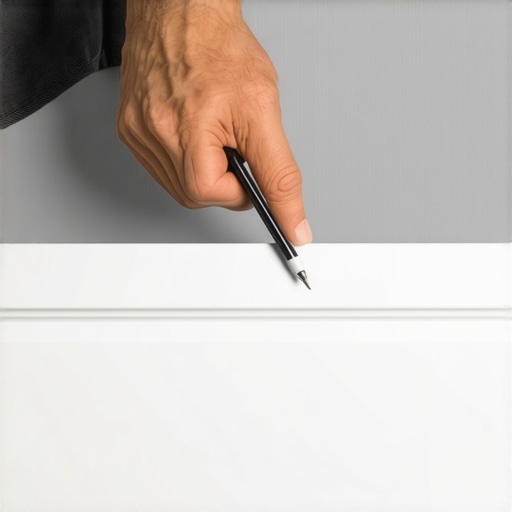
Master the back-bevel to hide the thickness
Once you have your line, do not just cut straight down. This is where most DIYers fail. If you cut at a 90-degree angle, the back edge of the wood might hit a bump in the drywall before the front edge touches the line. By using the back-bevel move for tight baseboard miters and scribes, you are essentially thinning out the contact point. Angle your jigsaw or sander so you are removing more material from the back of the board than the front. This creates a sharp ‘feathered’ edge that can bite into the drywall. On that same Victorian library project, switching to a back-bevel turned a frustrating afternoon into a ‘hero’ moment where the wood looked like it grew right out of the plaster.
Clean up the line for a factory finish
Even the best jigsaw cut can look a bit hairy. I always keep a sanding block or a sharp plane nearby to fine-tune the scribe. If you are following baseboard trends in 2025 that favor clean, minimalist lines, any jagged edge will stand out like a sore thumb. Use the razor scribe method for baseboards on wavy drywall if you need surgical precision. Gently take down the high spots until the board ‘clicks’ into place. It should feel less like construction and more like fitting a key into a lock. When you get it right, you will not even need that tube of caulk.
While scribing baseboards solves the visual gap at the wall, what’s happening under the trim is where most ‘professional’ jobs actually fall apart. Everyone tells you that as long as the carpet looks flat on day one, the job is a success. I’m here to tell you that’s a lie that leads to massive headaches down the road. In my experience, a carpet that looks perfect on Monday can become a wavy mess by the following year if you rely solely on a knee-kicker. This tool is meant for positioning, yet many installers use it for the heavy lifting, leading to the knee kicker mistake that ruins luxury carpets. If you aren’t seeing a tool that spans the entire room, your carpet isn’t actually stretched; it’s just lying there.
The ‘Flat’ Carpet Myth
The biggest trap in carpet install secrets is the assumption that ‘tight enough’ is good enough. Modern synthetic backings have a ‘memory’—they want to return to their original, relaxed state. If the material isn’t stretched to its physical limit during installation, the natural foot traffic and humidity changes will cause it to relax, resulting in those ugly, trip-hazard ripples. This is exactly why your carpet is buckling only three years later. According to the Carpet and Rug Institute (CRI) 104/105 installation standards, power stretching is a non-negotiable requirement for residential carpets, but it’s the first thing cut by budget contractors looking to save twenty minutes.
Why do your ripples return even after a professional restretch?
If you’ve already had someone come out to ‘kick out’ the bumps and they still reappeared, it’s likely because the subfloor or the padding was the true culprit. Many people overlook the importance of the power stretcher rule for large living room carpets, but just as critical is the moisture content of the floor below. I once saw a beautiful install ruined because the contractor skipped the subfloor moisture test on concrete. The rising vapor caused the latex in the carpet backing to break down, making it impossible for the tack strips to hold any tension. It’s a total ‘oops’ factor that costs thousands to fix once the furniture is in place.
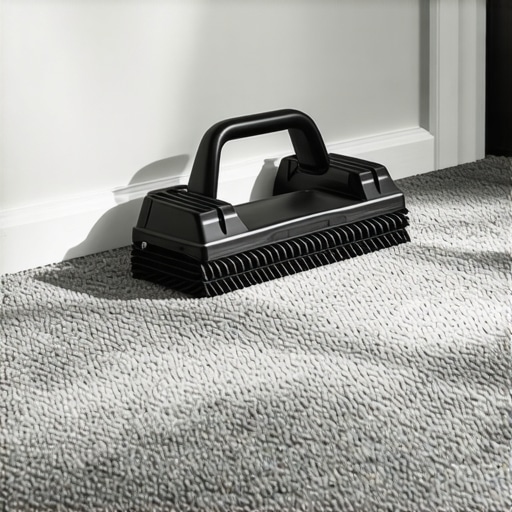
Let’s dig deeper into the nuances of transitions. When you move from that plush carpet to a hard surface, don’t just slap down a generic metal strip. If you want a high-end look, you need to master the transition strip move for carpet to bathroom tile. This involves tucking the carpet edge into a hidden channel, creating a flush look that doesn’t scream ‘DIY project.’ This level of detail is what separates a renovation from a true home upgrade. Have you ever fallen into the trap of thinking a knee-kicker was enough for your whole house? Let me know in the comments, and we can troubleshoot those ripples together.
Maintaining that high-end look isn’t just about the first week; it’s about the first decade. When it comes to wet areas, I have seen more $10,000 bathrooms ruined by a $50 mistake in the pan than I care to count. This is where you absolutely cannot skip the flood test requirement. It’s the ultimate insurance policy. If you’re building a shower, fill that pan and let it sit for 24 hours. If the water level drops, you’ve saved yourself from a catastrophic mold issue down the road. It’s a habit I picked up after watching a mentor lose a whole week of work because of a pinhole leak in a liner.
Stop guessing and start measuring the moisture
I used to trust my knuckles to ‘knock’ on a subfloor to see if it was dry, but that’s pure amateur hour. Now, I never start a project without the moisture meter requirement. According to the Tile Council of North America (TCNA) Handbook, specifically the EJ171 standards for expansion joints, movement is inevitable, and moisture is the catalyst. If your slab is over 4% moisture, your flooring is going to fail, period. Whether it’s luxury vinyl or solid oak, that little digital readout is the only thing standing between you and a warped floor.
The tools that make you look like a pro
If you want those perfectly horizontal lines that make guests ask who you hired, you need to adopt the laser level move. A bubble level is fine for a shelf, but for a 10-foot shower wall, the cumulative error will eat you alive. I use a 360-degree green beam laser because it stays visible even in bright rooms. It allows me to set the level line rule for the first row and walk away knowing every subsequent tile will be dead-on. 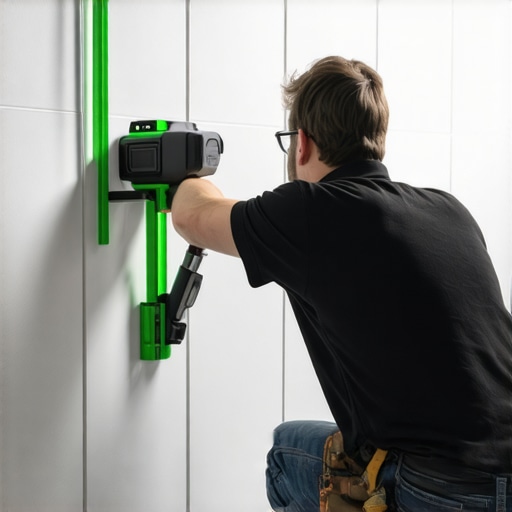 While you’re at it, swap your miter saw for a high-quality coping saw when finishing trim; the coping saw technique is the only way to get a tight fit on inside corners when walls aren’t square—and they never are.
How can I keep my flooring and showers looking new for years?
Maintenance is mostly about prevention. For tile, you need to stop shower grout from staining by sealing it before you even use the shower for the first time. For hardwood, it’s about humidity control. Looking forward, I predict we will see more ‘smart’ flooring systems that include integrated moisture sensors under the subfloor that alert your phone if a leak starts behind the wall. Until then, you are the sensor. If you’re ready to take your project to the next level, I challenge you to try the laser level trick on your next backsplash. If you hit a snag or need a pro eye, feel free to contact us for a consultation.
The Invisible Details That Differentiate Pro Jobs from Amateurs
After years of crawling on my knees, I’ve realized that the most expensive materials in the world can’t hide a rushed foundation. One of the biggest eye-openers for me was learning the finger test for checking thinset moisture in a shower; it’s a simple tactile check that prevents you from grouting too early and trapping residual water. Another lightbulb moment was realizing that an expansion gap isn’t a suggestion—it’s a survival requirement for your floor. If you don’t leave that space, the physics of humidity will eventually buckle even the best-laid planks. Finally, remember that your subfloor is the soul of your project. If it isn’t flat, your finish will never be perfect, no matter how many expert flooring installation tips for 2025 you follow.
#IMAGE_PLACEHOLDER_E#
My Must-Have Gear for a Flawless Finish
If you’re serious about a professional result, put down the tape measure for a moment and invest in precision. I never step onto a job site without a high-quality digital moisture meter and a 360-degree laser level. These aren’t just pro luxuries; they are the baseline for step-by-step flooring installation that actually lasts. I also highly recommend keeping a dedicated coping saw for your baseboards rather than relying solely on miter cuts—it’s the only way to handle corners that aren’t a perfect 90 degrees. For those tackling wet areas, looking into modern shower renovation ideas can give you a roadmap for which specialized spacers and waterproofing membranes are currently leading the industry.
Build a Home That Stands the Test of Time
Renovating your space is a journey of patience and precision. It’s easy to get overwhelmed by the dust and the details, but remember that every scribe line and every moisture test is an investment in your home’s future. Whether you are choosing the best carpet types for high-traffic areas in 2025 or mastering the art of the back-bevel, you are creating a sanctuary that reflects your hard work. Don’t be afraid to take it slow; the finish line is much sweeter when you know the job was done right and you won’t have to revisit it for a decade. Have you ever discovered a secret gap or a wavy wall that nearly ruined your project? Let me know your biggest renovation hurdle in the comments below!