

I was kneeling on a cold tile floor, sweat stinging my eyes, holding a piece of primed MDF that cost me more than my lunch. I lined up my trusty 18-gauge brad nailer, squeezed the trigger, and *pop*—a hairline fracture shot right through the face of the molding. I’d spent all morning prep-working that baseboards makeover and in one millisecond, it looked like amateur hour. It’s a gut-punch every DIYer knows. You want that high-end, seamless look, but the very tools meant to help you end up causing more damage. That’s when I realized that for the delicate stuff, the ‘standard’ tools are actually your biggest enemy.
Stop Wrecking Your Trim with Oversized Fasteners
We’ve been conditioned to think that bigger is better, especially when it comes to construction. But when you are working with thin profiles or brittle hardwoods, an 18-gauge nail acts like a wedge, forcing wood fibers apart until they snap. I learned this the hard way during a kitchen remodel where I tried to force thick nails into narrow shoe molding; it was a splintered mess. Today, I want to show you why the 23-gauge pin nail is the hidden hero of finish carpentry. It is the difference between a project that looks professional and one that looks like a botched repair job covered in wood filler. By using this simple tactic for the most fragile pieces, you save yourself hours of frustration.
Can those tiny needles really hold anything in place?
I get the skepticism. When you first look at a 23-gauge pin, it looks like a piece of stiff thread. You might wonder if your baseboards will just fall off the wall the first time the vacuum hits them. Here’s the reality: they aren’t meant to do the heavy lifting alone. They are there to ‘stitch’ the wood in place while your adhesive sets. According to research from the Forest Products Laboratory, the structural integrity of a joint is often more about the bond than the fastener size, especially with decorative trim. When you combine pins with a quality wood glue, those boards aren’t going anywhere.
The Invisible Finish You Have Been Dreaming Of
The real magic of the pin-nail secret isn’t just about avoiding splits; it’s about the finishing stage. Have you ever spent hours stopping baseboard gaps with the caulk and paint sequence only to realize you can still see the puckered holes from your nail gun? Pin nails are headless. They leave a hole so small that a single swipe of paint usually makes them vanish completely. When you combine this with the inside corner cope for perfect baseboard installs, the result is a transition that looks like it grew out of the wall. Have you ever had a piece of trim split on you right at the finish line? Tell me your horror stories—I have definitely been there.
Glue is the real muscle in this setup
Think of the 23-gauge pin as a temporary clamp, not a permanent anchor. Much like the glue-assist method for wide-plank hardwood floors, your primary bond comes from the adhesive. I apply a thin, zigzag bead of high-quality wood glue to the back of the molding. If you rely solely on the mechanical fastener, you are asking for trouble when the house inevitably settles. The glue fills the microscopic gaps between the trim and the drywall, creating a unified structure that won’t move.
Position your gun for maximum stealth
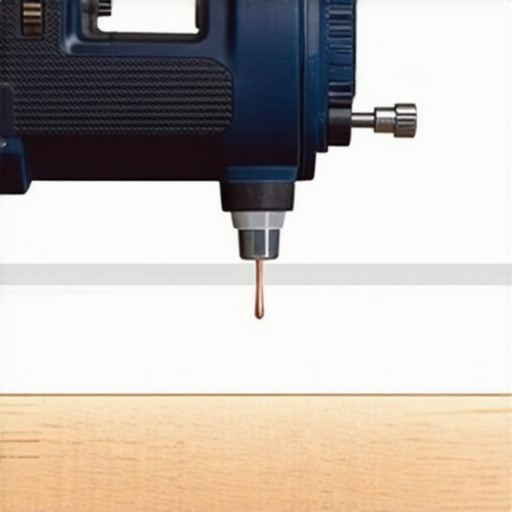
When you are ready to fire, keep the gun perfectly perpendicular to the surface. Because these pins have no heads, they can “wander” if they hit a particularly dense grain in the wood. I remember working on a mahogany trim project where I tilted the gun just a few degrees; the pin exited the side of the wood like a stray wire, scratching the newly finished floor. Keep it straight, and fire into the thickest part of the molding whenever possible.
How to handle those tricky return pieces
Small pieces are where standard 18-gauge nails go to die. I was once finishing a wrap around a small structural column—a task that requires the double mitre trick for wrapping baseboards around small pillars—and I tried to use a standard brad on a piece only an inch wide. It exploded into three pieces instantly. Now, I use the stitch method. I apply a tiny drop of CA glue to the miter, hold it for five seconds, and then pop two 23-gauge pins through the face. The result is a joint so tight you cannot even slide a razor blade into it.
Make your corners tighter than ever
To get that high-end look, you need to master the spring miter secret for tight crown and baseboard corners. Pin nails allow you to pull the miter together from the outside in without the risk of the wood shifting under the pressure of a larger nail. If the wall is slightly out of square, I often use the back bevel move for tight baseboard miters to ensure the front edge touches perfectly. The pin nails hold that delicate geometry in place while the glue cures, ensuring you don’t end up with common flooring installation mistakes to avoid for a seamless look.
The secret to dealing with uneven walls
Walls are rarely straight; they bow and dip like a rolling hill. If you try to force a stiff piece of baseboard to follow a massive dip using large nails, you will likely pull the drywall anchors loose or create a puckered appearance. Instead, use the pin nailer to tack the board at the high points. Choosing baseboard styles that elevate your interior design often means working with taller profiles that are less flexible, so this delicate approach is even more critical for a flush finish.
Stop trusting the ‘waterproof’ label blindly
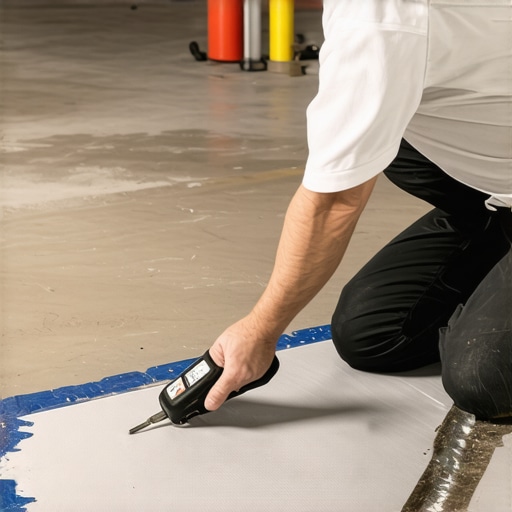
Most homeowners believe that luxury vinyl is the ultimate ‘set it and forget it’ solution because the material itself is plastic. But here is the hard truth: a waterproof floor doesn’t make a waterproof home. In my experience, the biggest trap is skipping the subfloor moisture test on concrete just because the planks won’t rot. While the vinyl survives, trapped moisture creates a breeding ground for mold underneath, which can eventually ruin your baseboards and air quality. If you are installing over a slab, the moisture barrier move isn’t an optional upgrade; it is the only thing standing between you and a hidden environmental disaster. Have you ever fallen into this trap of trusting the materials more than the installation prep? Let me know in the comments.
Fix the subfloor before you touch the flooring
The most common mistake I see isn’t in the finish work; it is the refusal to accept that your subfloor is uneven. Even a tiny 3/16-inch dip can lead to why your vinyl plank floor is clicking every time you step on it. No amount of heavy baseboard or expensive underlayment will fix a bouncing floor. You have to commit to the self-leveler move to ensure a dead-flat surface. When the floor is flat, the joints stay locked, the baseboards sit flush, and the entire room feels like a high-end build rather than a weekend rush job.
Why does my waterproof shower still have damp drywall?
In high-moisture areas like showers, people often obsess over the tile patterns but ignore the assembly behind them. According to the Tile Council of North America (TCNA) Handbook, specifically Method B421, the waterproof layer must be completely continuous to be effective. I have seen countless ‘pro’ jobs fail because they skipped the liquid membrane move over the fastener heads and seams. Water migrates via capillary action through the tiniest gaps, eventually rotting the studs behind your beautiful new tile. It isn’t just about the tile being waterproof; it’s about the entire system being a sealed envelope.
Perfecting the transitions that most people ignore
The difference between an amateur and a master is how they handle the places where different worlds meet. Even with carpet, many DIYers assume a ‘knee kicker’ is enough, but skipping the power stretcher rule is a recipe for ripples in just a few years. When you are moving between rooms, knowing how to transition from thick carpet to thin vinyl without creating a trip hazard is essential for a professional finish. These small details—the hidden moisture barriers, the perfectly flat subfloors, and the seamless transitions—are what actually protect your investment and make your home stand the test of time.
Invest in the tools that handle the precision work for you
If you are still using a bubble level for your bathroom projects, you are fighting a losing battle against gravity. I personally switched to a green-beam self-leveling laser—specifically the Bosch GLL3-330CG—because it is far easier to see in bright rooms than the old red versions. Using the laser level move for perfectly horizontal shower tiles ensures that your layout doesn’t start to ‘stair-step’ as you move around the room. For my baseboards, I ditched the standard miter box for a high-tooth-count finish blade. A 10- or 12-inch miter saw with a 90-tooth blade is the only way to avoid the ragged edges that make even the best baseboard styles that elevate your interior design look cheap and unfinished. It is about reducing the friction between your vision and the physical material.
How do I keep my new floors and trim looking showroom fresh?
Maintenance isn’t just about cleaning; it’s about prevention and physics. According to the National Wood Flooring Association (NWFA) Technical Manual, wood is hygroscopic, meaning it constantly gains and loses moisture based on the air around it. To keep your joints tight, you must maintain a consistent indoor humidity between 30% and 50%. If you notice a small ding, I always keep a clean rag and a clothes iron handy. You can actually perform the iron and towel trick for dented hardwood planks to steam the wood fibers back into place. For daily upkeep, stop using those ‘shine-enhancing’ sprays that leave a waxy buildup. Instead, stick to the felt pad routine on all furniture legs and use the vacuum seal trick for cleaning dust out of floor grooves to prevent grit from acting like sandpaper under your feet.
The future of DIY is more digital than you think
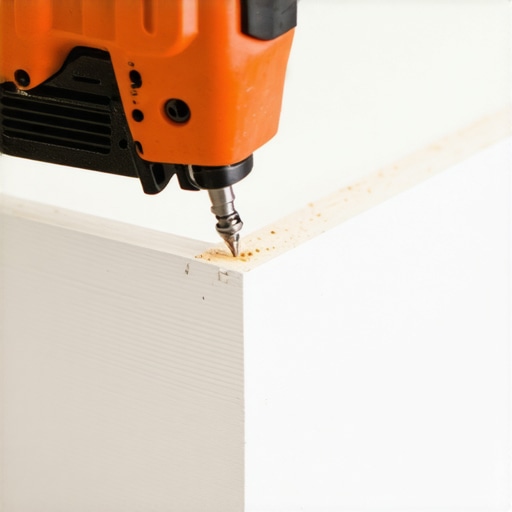
I predict that within the next two years, we will stop using tape measures for complex layouts entirely. We are already seeing LiDAR technology on smartphones allowing for sub-millimeter room scans. This will make planning top trends in installation for 2025 much easier, as you can ‘drop’ virtual baseboards into a 3D model of your home before buying a single stick of lumber. We are moving toward a ‘measure once, print once’ reality where precision is automated. Even with these advancements, the fundamentals of a solid build remain the same. If you have an annoying squeak that digital tools can’t find, try the soap bottle trick for finding hidden subfloor squeaks to pinpoint the friction before you lock everything down with permanent fasteners.
Your house is a living system that needs checking
Don’t just finish the job and walk away forever. Every six months, I do a ‘perimeter walk.’ I check the caulk lines in the shower corners to see if they need a refresh with the masking tape trick for clean silicone joints. I also look for any signs of carpet movement, because catching a small wave early is easier than dealing with it after you have skipped the power stretcher rule and the backing has fully delaminated. If you are planning a more intensive project like a full ultimate shower renovation, these small maintenance habits will teach you exactly where your home’s weak points are. My biggest advice? Pick up a 23-gauge pin nailer this weekend and try it on just one piece of small return trim. Once you see that invisible hole, you will never go back to bulky brad nails again.
The Hardest Lessons Learned from a Thousand Splinters
Over the years, I have realized that the most expensive mistakes are the ones you cannot see until it is too late. For instance, I once assumed that if a floor looked flat, it was flat. I skipped the self-leveler move for perfectly flat vinyl installs and spent the next three years listening to a phantom ‘click’ under my feet every time I walked to the kitchen. It taught me that prep work isn’t just a stage; it is the entire job. Another hard-earned truth? Never underestimate the power of hidden moisture. Even if you are installing luxury vinyl planks that claim to be waterproof, skipping the subfloor moisture test on concrete is playing Russian roulette with your home’s air quality and the longevity of your baseboards. Finally, remember that your fasteners should never be the star of the show; if a visitor can see exactly where you nailed the trim, you likely used a tool that was too aggressive for the material.
The Gear That Actually Makes a Difference
You don’t need a warehouse full of expensive equipment to get professional results, but you do need a few specialized items that provide surgical precision. I never step onto a job site without my 23-gauge pin nailer because it allows me to achieve that seamless look without the constant fear of splitting expensive molding. For layout, I rely heavily on the laser level move for perfectly horizontal shower tiles to ensure my lines are dead-on from the first row to the last. I also suggest keeping a high-quality moisture meter in your bag; it is the only objective way to verify the acclimation test for avoiding hardwood floor gaps before you lock everything down. These tools act as the guardians of your professional reputation, catching the errors that a standard tape measure might miss.
Your Home Deserves These Invisible Details
It is incredibly easy to get overwhelmed by the sheer scale of a flooring installation, but the magic truly happens in the tiny measurements. Whether you are mastering the inside corner cope for perfect baseboard installs or finally tackling that ultimate shower renovation, take it one step at a time and prioritize the bond over the fastener. The goal isn’t just to finish the room; the goal is to build a system that doesn’t creak, leak, or crack when the house inevitably settles. You have the insider knowledge now—go use it to create a finish that looks like it was done by a master. Have you ever had a DIY project look perfect until the very last nail caused a heart-breaking split? Let me know how you handled it in the comments below!