

I’ll never forget the sinking feeling in my gut when I stood back to admire my first ‘professional’ shower wall. It looked okay from a distance, but up close? It was a disaster. I’d relied entirely on those little plastic crosses, assuming they were foolproof. They aren’t. Gravity is a sneaky beast, and by the time I reached the third row, my grout lines were already starting to sag. It’s one of those flooring installation mistakes that haunts you every time you step into the shower. I ended up ripping out three rows of wet tile, wasted twenty pounds of thinset, and sat on the cold floor questioning my life choices. That’s when an old-timer down the street showed me the ‘spacer-block’ move. It changed everything. Today, I am going to show you how a simple scrap of wood can save you from the crooked-tile nightmare and ensure your layout stays laser-straight from the first row to the ceiling.
Stop Trusting Plastic Spacers Alone
The reality of tiling is that subfloors are rarely flat and walls are almost never plumb. When you stack heavy porcelain, the weight compresses those tiny plastic spacers just enough to throw your alignment off by a hair. Over ten rows, that hair becomes a mountain. I used to think my laser level move was enough, but a laser doesn’t support the weight of the tile—it just shows you where it should be. The spacer-block is a rigid, physical gauge—usually a cut-to-size piece of 1×4 or a specific plywood scrap—that ensures your first row stays exactly where it needs to be while the thinset cures. Have you ever found yourself frantically shoving toothpicks into grout lines to keep tiles from sliding down a slippery wall? Leave a comment and let me know I’m not the only one who has been there!
Is this actually worth the extra setup time?
I get it. You want to start sticking tile to the wall and see progress immediately. Setting up a ledger board or a series of custom spacer blocks feels like a chore when you are eager to finish. However, accuracy is non-negotiable. According to the Tile Council of North America (TCNA), cumulative lippage and misalignment are the primary reasons for homeowner dissatisfaction and technical failure in tile installs. Taking ten minutes to cut a few scrap blocks to a specific height—matching your level line rule—guarantees that you aren’t fighting gravity all day. It builds a foundation that’s as solid as a dry pack secret for a shower floor. Trust me, the peace of mind you get when that second row sits perfectly on the first is worth every second of prep. If you fail to support that bottom row, everything else is just guesswork.To get started, you need to treat your layout like the framing of a house. You wouldn’t build a roof on shaky studs, so don’t build a tile wall on flimsy plastic. Grab some scrap 1×4 lumber or even pieces of rigid plywood. You’re going to cut these into several identical blocks that match the distance from your tub ledge or floor to the bottom of your first full tile. This creates a physical shelf that cannot compress under the weight of heavy porcelain. If you’ve ever dealt with flooring installation mistakes, you know that consistency is the only way to win against gravity.
Ditch the Shims and Cut Your Guide Blocks
Most people think a few plastic shims are enough to level a row, but when you’re working with large format tiles, that weight is unforgiving. Think of your spacer block as a car jack—it’s there to hold the load so you can focus on the finish. You want to measure from your highest point on the floor (or the tub rim) using your level line rule. Once you’ve established that mark, subtract the width of your grout joint and cut at least four wood blocks to that exact dimension. By placing these blocks along the wall, you create a perfectly level ‘bench’ for your tiles to sit on. This ensures that every tile in the first row is locked in at the same height, which is the secret to a step-by-step flooring installation that actually looks professional. 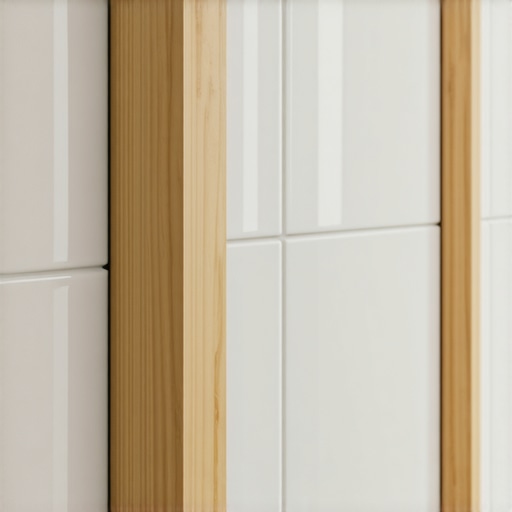
How to Dial in the Perfect Height
Precision at this stage is what separates a DIY job from a master craftsman’s work. I remember a guest bathroom project where I thought I could eyeball the first row using just standard spacers. Halfway through the second row, the tiles started to droop and slide like a melting cake. The grout lines were widening at the top and narrowing at the bottom. I had to pull eight tiles off the wall, scrape the drying mortar, and start over. That was the day I started using 1×4 blocks for every single job. When you place that first tile onto a solid block of wood, you hear a satisfying ‘thud’ that tells you it isn’t going anywhere. It’s a much more secure feeling than hoping a piece of rubber doesn’t squish.
Set the Anchor Row with Confidence
Once your blocks are in place, apply your mortar using the trowel notch secret to ensure 95% coverage. Press the tile firmly onto the block and against the wall. Because the wood block is rigid, you can apply significant downward pressure to bed the tile without worrying about it sinking too low. This stability allows you to immediately move to the next tile, and the next, without waiting for the thinset to ‘grab.’ If you are using a thinset comb secret approach, you’ll find that the tiles stay exactly where you put them.
Avoid the Dreaded Tile Slump
As you move up the wall, the cumulative weight increases. By the time you reach the fourth or fifth row, that bottom row is supporting a lot of mass. This is where you should stop tile lippage by combining your wood blocks with a mechanical leveling system. The blocks hold the vertical height, while the leveling clips keep the faces of the tiles flush. It’s a two-pronged attack on the physics of tiling. Using this method, I’ve been able to tile entire 8-foot walls in a single session without a single tile migrating south. It turns a stressful, high-speed race against curing mortar into a methodical, calm process where you are always in control of the geometry.While the spacer-block handles the vertical battle, there’s a horizontal myth I need to debunk: the idea that ‘waterproof’ flooring is a magic shield. I’ve seen homeowners skip critical steps because they bought a product labeled 100% waterproof. But here is the reality: while the plank itself won’t swell, the water that seeps through the tiny gaps will rot your subfloor from the inside out. This is why I always insist on the liquid membrane move for fail-proof shower pans even if the tile is ‘impervious.’
Stop Blaming the Material for Poor Subfloor Prep
The most common ‘oops’ I see involves the expansion gap rule for heavy kitchen islands on laminate and vinyl. People think because the floor doesn’t ‘breathe’ like oak, they can pin it down. Wrong. Temperature shifts cause these floors to expand and contract. If you pin the floor under baseboards that are nailed too tight, or worse, under a massive island, it will eventually buckle. I’ve been called to fix floors where the planks were literally ‘peaking’ in the middle of the room because they had nowhere to go. It’s one of those flooring installation mistakes that costs a fortune to fix after the fact. Have you ever fallen into this trap? Let me know in the comments—I once had to dismantle a whole kitchen island just to give the floor some breathing room!
Does your subfloor need to be flatter for vinyl than for tile?
It sounds counterintuitive, but while thinset can mask minor dips in a tile floor, a click-lock vinyl plank has zero tolerance. According to the National Wood Flooring Association (NWFA), a floor should be flat within 3/16-inch over a 10-foot radius. If you ignore this, you’ll end up with that annoying ‘click-clack’ sound or, worse, broken tongues and grooves. This is why your vinyl plank floor is clicking when you walk. You have to address those dips before the first plank goes down. 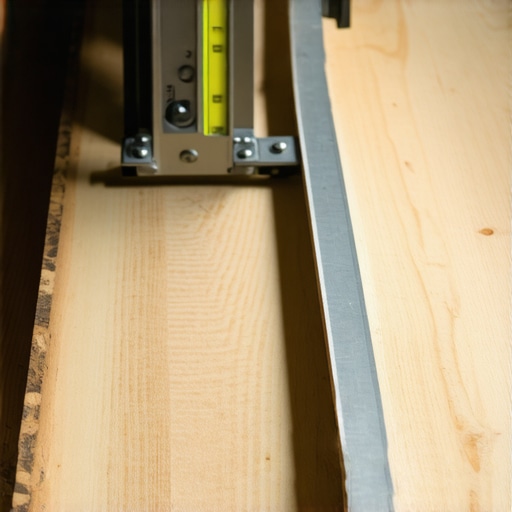
Ditch the Knee Kicker for Real Results
Another nuance people miss is the baseboard transition. If you’re dealing with baseboard styles that elevate your interior design, don’t just slap them against the floor. I use the razor scribe method for baseboards on wavy drywall to ensure there are no ugly gaps. When you’re installing baseboard trends in 2025, remember that walls are rarely straight. If you force a stiff MDF board against a curved wall, you’ll see the gap from across the hall. Instead of just caulking the Grand Canyon, try the inside corner cope for perfect baseboard installs. Finally, when it comes to carpet, the ‘knee kicker’ is often misused. It is a tool for positioning, not for the actual stretch. The power stretcher rule for large living room carpets is non-negotiable if you want to avoid ripples in three years. Professionals who rely only on their knees are doing you a disservice. Following a step-by-step flooring installation process means knowing which tool provides the tension and which provides the finesse.
I used to think that finishing the last row of tile or clicking the final plank into place meant the job was over. I was wrong. The real work begins about six months later when the house settles and the seasons change. If you don’t have a plan for the ‘aftermath,’ you’ll be looking at cracks and gaps before the year is out. I’ve learned that the secret to a durable flooring installation isn’t just about how you start, but how you prepare the materials to live in your home’s unique environment.
The tool kit that actually makes a difference
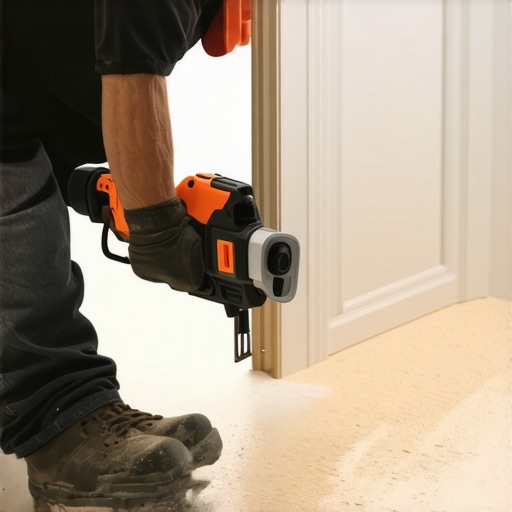
Forget the flashy, expensive gadgets for a second. If you want to avoid flooring installation mistakes during repairs or finishing touches, you need a high-quality oscillating multi-tool. It is my absolute ‘desert island’ tool. Whether I need to undercut a door casing that I missed or surgicaly remove a single piece of grout, it’s the only tool that offers the precision needed for a professional finish. I also swear by the stay sharp blade rule for cutting luxury vinyl. Using a dull utility knife is the fastest way to slip and ruin a plank or, worse, your hand. I change my blades every 50 square feet. It seems excessive until you see how much cleaner the joints click together when the edges are crisp.
How do I keep this floor looking brand new?
Maintenance is where most DIYers drop the ball. If you’ve gone through the trouble of a shower renovation, you cannot treat the grout as an afterthought. I always implement the stop shower grout from staining with the pre-seal move. By sealing the tile before you even apply grout, you prevent the pigment from leaching into the tile surface. For those with high-end finishes, knowing how to seal a marble shower without changing the color is the difference between a timeless look and a yellowing mess. And if life happens—like dropping a heavy vacuum on your new carpet—don’t panic. I use the iron and towel trick for fixing carpet dents to bring the pile back to life. It’s these little ‘rescue’ moves that maintain the value of your hard work.
The future of DIY installations is getting smarter
I predict that in the next few years, we are going to see a massive shift toward ‘smart’ subfloors with integrated moisture sensors. Until then, we have to rely on traditional methods like the bead and smooth strategy for shower corners to keep water where it belongs. According to the Marble Institute of America, nearly 50% of stone installation failures are due to improper sealing and moisture management, not the stone itself. This reinforces why we must be diligent with our prep. Before you move on to your next project, I challenge you to try the razor-scribe method on just one piece of trim. Seeing that hair-thin gap disappear will change the way you look at carpentry forever. If you’re ever unsure if a project is worth the effort, check out my guide on shower repairs: when to fix vs. replace for longevity to make the right call for your budget.
The Most Expensive Lesson I Ever Paid For
I used to think that ‘good enough’ was a valid metric in construction. It isn’t. If your first row of tile is off by even a sixteenth of an inch, physics will ensure that error grows until your top row looks like a staircase. This is the root of most flooring installation mistakes. I’ve learned that the ‘spacer-block’ isn’t just a helper; it’s a stabilizer for your sanity. When you stop fighting the material and start controlling the environment, the work stops being a chore and starts being a craft. I’ve also realized that carpet install secrets aren’t just for professionals—they are simple habits, like checking your stretch twice and cutting once.
Gear That Lives in My Toolbox for a Reason
If you are serious about a durable flooring installation, you need to invest in the right physical supports. I never go to a job site without a calibrated laser level and a dedicated power stretcher. Using a knee kicker for a whole room is a shortcut to a ripple-filled floor in two years. I also swear by the stay sharp blade rule for cutting luxury vinyl. It’s a tiny expense that prevents thousands of dollars in ruined material. Finally, for those finishing touches, understanding different baseboard styles that elevate your interior design will help you choose a profile that hides your expansion gaps while looking intentional, not like an afterthought.
#IMAGE_PLACEHOLDER_E#
Go Build Something That Lasts
You now have the blueprint to move past basic DIY and into the realm of professional-grade results. Whether you are tackling a complex step-by-step flooring installation or just updating a single bathroom, remember that the prep work is the actual job—the installation is just the reward. Don’t be afraid to slow down, cut your spacer blocks, and double-check your level. Your future self will thank you every time you walk across that perfectly flat, silent floor. Have you ever had a ‘perfect’ layout suddenly go crooked on the very last row? Let me know how you fixed it in the comments below!