

I was standing in a client’s basement three years ago, staring at a $2,000 mistake that I had to pay for out of my own pocket. I’d just finished what I thought was a perfect install, but within weeks, the floor started making a sickening click-clack sound every time someone walked on it. It turned out my ‘clean’ concrete subfloor was actually a thirsty monster. It had sucked every bit of moisture out of my self-leveling compound before the mix could even bond to the surface. I learned the hard way that skipping the prep is like trying to paint a dry sponge; you’re just wasting time and money. Today, I’m going to show you exactly how to avoid those flooring installation mistakes to avoid by mastering the ‘Floor-Prime’ move.
Stop Letting Your Subfloor Steal Your Success
Most homeowners and even some pros think concrete is a solid, impenetrable block of stone. In reality, it’s a network of tiny capillaries. It’s porous. If you don’t seal those pores, the concrete will literally rob your adhesives and levelers of the hydration they need to cure. This leads to delamination, cracking, and that dreaded hollow sound. I once made the rookie mistake of thinking a quick sweep and a damp mop were enough. It wasn’t. When I finally pulled up that failed floor, the leveler just crumbled in my hands like a dry biscuit. According to the Tile Council of North America (TCNA), substrate preparation—specifically managing the absorption rate of the subfloor—is the single most critical factor in a successful bond. Whether you are prepping for a flawless carpet install or laying down luxury vinyl, the primer is your insurance policy.
Is the extra step of priming actually worth the hassle?
You might be looking at that extra jug of primer and wondering if it’s just another way for the hardware store to get into your wallet. I get it. Home renos are a money pit. But consider this: have you ever noticed a spill on your garage floor disappear in seconds? That is your concrete ‘drinking.’ If it drinks your floor glue, the bond fails. If it drinks your leveler, your rigid core floor sounds hollow. I’ve seen beautiful baseboards pull away from the wall because the flooring underneath started to shift and dip. Have you ever encountered a subfloor that seemed to soak up everything you threw at it? It’s a common nightmare, but the fix is simpler than you think. By following a step-by-step flooring installation plan that includes a high-solids primer, you create a bridge between the old slab and the new floor.To stop the ‘thirsty monster’ I mentioned earlier, you first have to identify it. I use the water drop test—flicking a few droplets onto different areas of the slab. If the water vanishes in less than 60 seconds, you’ve got a high-absorption problem. This is exactly why your concrete subfloor needs a calcium chloride test if you’re planning on anything more sensitive than simple tile, as it measures the actual moisture vapor emission rate.
Stop Guessing and Start Testing Your Slab
Once you know the slab is hungry, don’t just pour primer out of the bucket. I remember a job in a tight laundry room where I got lazy and dumped a gallon in the center, thinking I’d just spread it out. Huge mistake. The center stayed wet for hours while the edges dried, creating a gummy mess that wouldn’t cure. Now, I use a 3/8-inch nap roller on an extension pole. Think of it like painting a wall, but with higher stakes. You want a thin, even film—no puddles, no dry spots.
Pick the Primer That Actually Sticks
Not all primers are created equal. If you are prepping for a step-by-step flooring installation using self-leveling compound, you need a high-solids acrylic primer. These are designed to soak into the pores and create a ‘velcro’ surface for the leveler to grab onto. If you’re working on plywood instead of concrete, the rules change slightly. You might need the double glue method for vinyl on plywood to ensure the subfloor doesn’t pull moisture from the adhesive. 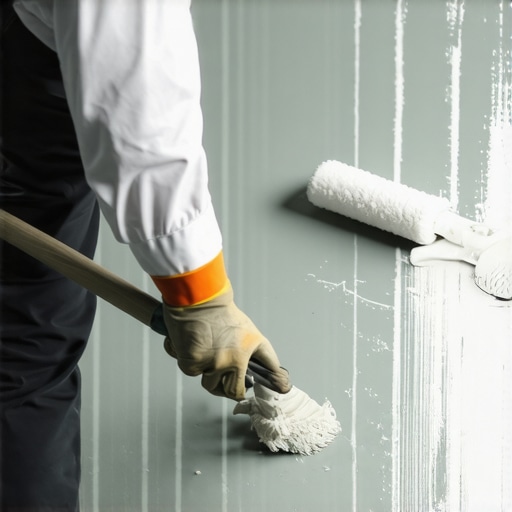
Master the Application Without Making a Mess
When you start rolling, go from the furthest corner toward the exit. It sounds obvious, but I’ve seen seasoned guys box themselves into a closet more times than I can count. As you roll, watch for ‘pinholing.’ These are tiny bubbles that pop up as air escapes the concrete. If you see them, it means you need a second coat. A single coat often isn’t enough for old, porous slabs. If you skip that second pass, you’ll end up with the self-leveler mistake that creates new high spots because the air bubbles will displace the wet compound.
Watch the Clock Instead of Your Phone
Dry time is the one variable you can’t rush. Most primers need to be ‘tacky’ but not wet. If you walk on it too soon, you’ll peel the primer right off the slab with your boots. If you wait too long (usually over 24 hours), dust settles on the surface, and you’ve lost your bond. I usually wait until the primer turns from a milky white to a clear, shiny film. This window is your sweet spot. If you’re installing over a particularly tricky area, like near a bathroom, make sure your baseboards are already removed so you can prime right up to the wall plate. This prevents the floor from dipping at the edges, which is a major reason your rigid core floor sounds hollow when you walk. Even if you are transitioning to a different material, like a carpet install, ensuring the subfloor is sealed and dust-free prevents that ‘crunchy’ sound under the pad later on. It’s all about the preparation that no one sees, but everyone feels.Most people think a thicker carpet pad equals a more luxurious feel. I’ve had clients insist on 1/2-inch super-soft foam, thinking they’re doing their feet a favor. But here’s the contrarian truth: a pad that’s too thick is a recipe for a failed install. If the cushion exceeds the height of your tack strip, the carpet can’t actually ‘bite’ into the pins. This is exactly why your carpet pad is too thick for the tack strip. You end up with a floor that feels unstable and a carpet that eventually detaches. According to the Carpet and Rug Institute (CRI), residential cushion should generally not exceed 7/16 of an inch for most cut-pile carpets. Go thicker, and you’re actually risking the structural integrity of the pile and potentially voiding your warranty. This is one of the most overlooked carpet install secrets that separates pros from amateurs.
Why does your bathroom trim fail despite high-end paint?
You spend a fortune on moisture-resistant paint, yet two years later, the bottom of the baseboard looks like soggy cardboard. Most pros tell you to just ‘caulk it.’ My experience? Caulking the front isn’t enough. You need the silicon bead secret for waterproofing baseboards in bathrooms. The real culprit is capillary action—water from a wet bath mat or a minor spill gets sucked under the baseboard and rots it from the back. If you don’t seal that bottom edge against the floor with a 100% silicone bead, your baseboards makeover will be short-lived. 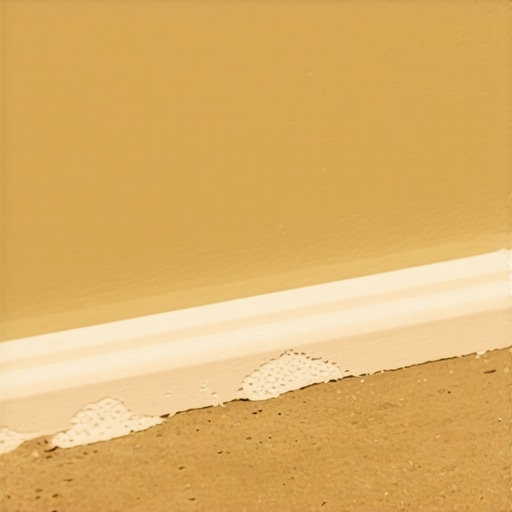
Don’t Tile a Shower Until You Drown It
One of the biggest ‘traps’ I see in shower renovation projects involves the ‘visual check.’ Many DIYers and low-bid contractors assume that if the waterproofing membrane looks continuous, it’s good to go. This is a dangerous gamble. You shouldn’t even think about laying tile until you’ve performed the flood test secret for guaranteed leak-proof showers. You plug the drain, fill the pan, and wait 24 hours. If the water level drops even a fraction, you have a fail. Skipping this is the number one reason your shower niche is growing mold behind the tile or why you’ll eventually see a ceiling stain in the room below. Finally, let’s talk about that transition from the bathroom to the hallway. If you use a generic transition strip, you’re missing a chance for a high-end finish. I prefer the hidden screw method for metal transition strips because it eliminates those ugly, exposed nail heads that always seem to catch on socks. Have you ever fallen into this trap of skipping a ‘minor’ test only to have it haunt you later? Let me know in the comments.I used to use a manual pull-saw for door jambs until I realized I was leaving ragged edges and 1/4-inch gaps that no amount of caulk could hide. That is the door jamb saw mistake that leaves huge gaps that screams ‘amateur.’ Now, I never walk onto a job site without a high-quality oscillating multi-tool. It allows for a surgical flush cut that lets the plank slide underneath perfectly. If you want those baseboards makeover projects to look like they were done by a master, precision at the floor-to-wall junction is non-negotiable. I also rely heavily on a three-plane green beam laser. A standard level is okay for a small shelf, but when you’re trying to keep a 30-foot run of tile straight, the laser level hack for straight tile rows is the only way to ensure you don’t end up with a ‘wedge’ cut at the far wall. Once the dust settles, the real work of preservation begins. I see homeowners spend thousands on floors only to destroy the finish with a steam mop or harsh vinegar. According to the National Wood Flooring Association (NWFA), maintaining a consistent relative humidity between 30% and 50% is vital to prevent natural wood from checking, crowning, or gapping. If you have matte-finish luxury vinyl or tile, forget the heavy chemicals. I swear by the microfiber mist rule for cleaning matte floors—it’s about using less moisture and more friction to pull up oils without leaving a cloudy film. 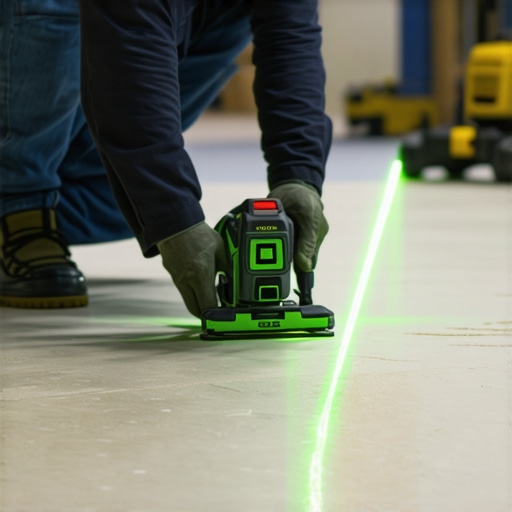
How do I keep my new flooring and trim looking fresh for years?
Maintenance isn’t just about cleaning; it’s about anticipating seasonal shifts. You’ll eventually notice why your baseboard miters keep gapping in the winter as the wood shrinks in dry air. Instead of reaching for the caulk gun every December, focus on stabilizing your home’s climate with a humidifier. Also, keep an eye on your trim color; if you notice why your white baseboards are turning yellow, it’s often a sign of older oil-based enamel aging or a complete lack of natural light. A quick wipe with a pH-neutral cleaner once a month prevents the buildup of kitchen grease that eats away at the finish. For high-moisture areas, always re-inspect the silicon bead secret for waterproofing baseboards in bathrooms. If that bead cracks or peels, replace it immediately before water gets behind the paint and into the drywall. Looking ahead, I suspect we’re going to see a massive shift toward ‘smart’ underlayments and moisture-reactive sensors. Imagine a subfloor moisture barrier that sends an alert to your phone the second a pipe leaks under your hardwood. Until then, we rely on the fundamentals of good prep and the right tools. I challenge you to try the ‘laser level’ method on your next project—even if it’s just for one small room. The difference in alignment will ruin you for traditional bubble levels forever.
The Brutal Truth About What Lies Beneath Your New Floor
Over the years, I’ve realized that the subfloor is essentially the ‘ghost’ of your renovation. You might cover it up with expensive hardwood or beautiful tile, but if it wasn’t prepped right, it will haunt you through squeaks, cracks, and shifting. One of my biggest lightbulb moments was realizing that level and flat are two different things; a floor can be tilted but perfectly flat, and your vinyl will love it, but a wavy floor will destroy those locking joints in months. I also learned that patience with primer is your best friend. If you rush the tack-time, you’re just laying your floor on a layer of grease. Finally, never underestimate the power of a clean site—a single grain of sand under a luxury vinyl plank can feel like a mountain once you’re walking on it daily.
The Gear That Separates a Weekend Warrior from a Master Craftsman
If you want to move beyond basic DIY, you need more than a hammer and a prayer. I always recommend the TCNA Handbook for anyone doing tile; it’s the industry bible that takes the guesswork out of thinset choice. For my expert flooring installation tips for 2025, I swear by the Bosch green-beam laser level—it’s much easier to see in daylight than the old red ones. I also never start a trim job without a dedicated coping saw or a high-end miter box. If you’re looking at baseboard trends in 2025, you’ll see that precision is more important than ever as styles become more minimalist and less forgiving of gaps.
Why Your Next Floor Will Be Your Best One Yet
Installation is about more than just aesthetics; it’s about the peace of mind that comes from knowing the job was done right from the slab up. Whether you are tackling shower repairs or a full-house renovation, the difference is in the details you usually can’t see. By mastering the primer, the testing, and the precision cuts, you aren’t just putting down a surface; you’re building a foundation for your home’s future. Every flooring installation is an opportunity to improve your craft and create a space that feels solid and professional. Have you ever pulled up an old floor only to find a ‘nightmare’ subfloor waiting for you? Let me know in the comments below!